Upgrade Your contact.center™ Plan
Upgrading your contact.center™ plan gives you access to higher sending limits, multi-channel communication, and advanced automation capabilities.
With a paid plan, you can:
Send large-scale email marketing campaigns
Launch SMS and WhatsApp campaigns
Build cross-channel automations
Scale your contact database without restrictive limits
Whether you are growing your email marketing or expanding into multi-channel engagement, upgrading ensures your workspace can support your communication strategy.
Before You Begin
Ensure your account has a positive balance before upgrading your plan. If your balance is insufficient, top up your account balance.
Step 1: Open Billing page
In the top-right corner, click your current plan and usage widget.
In the dialog, select Upgrade now.
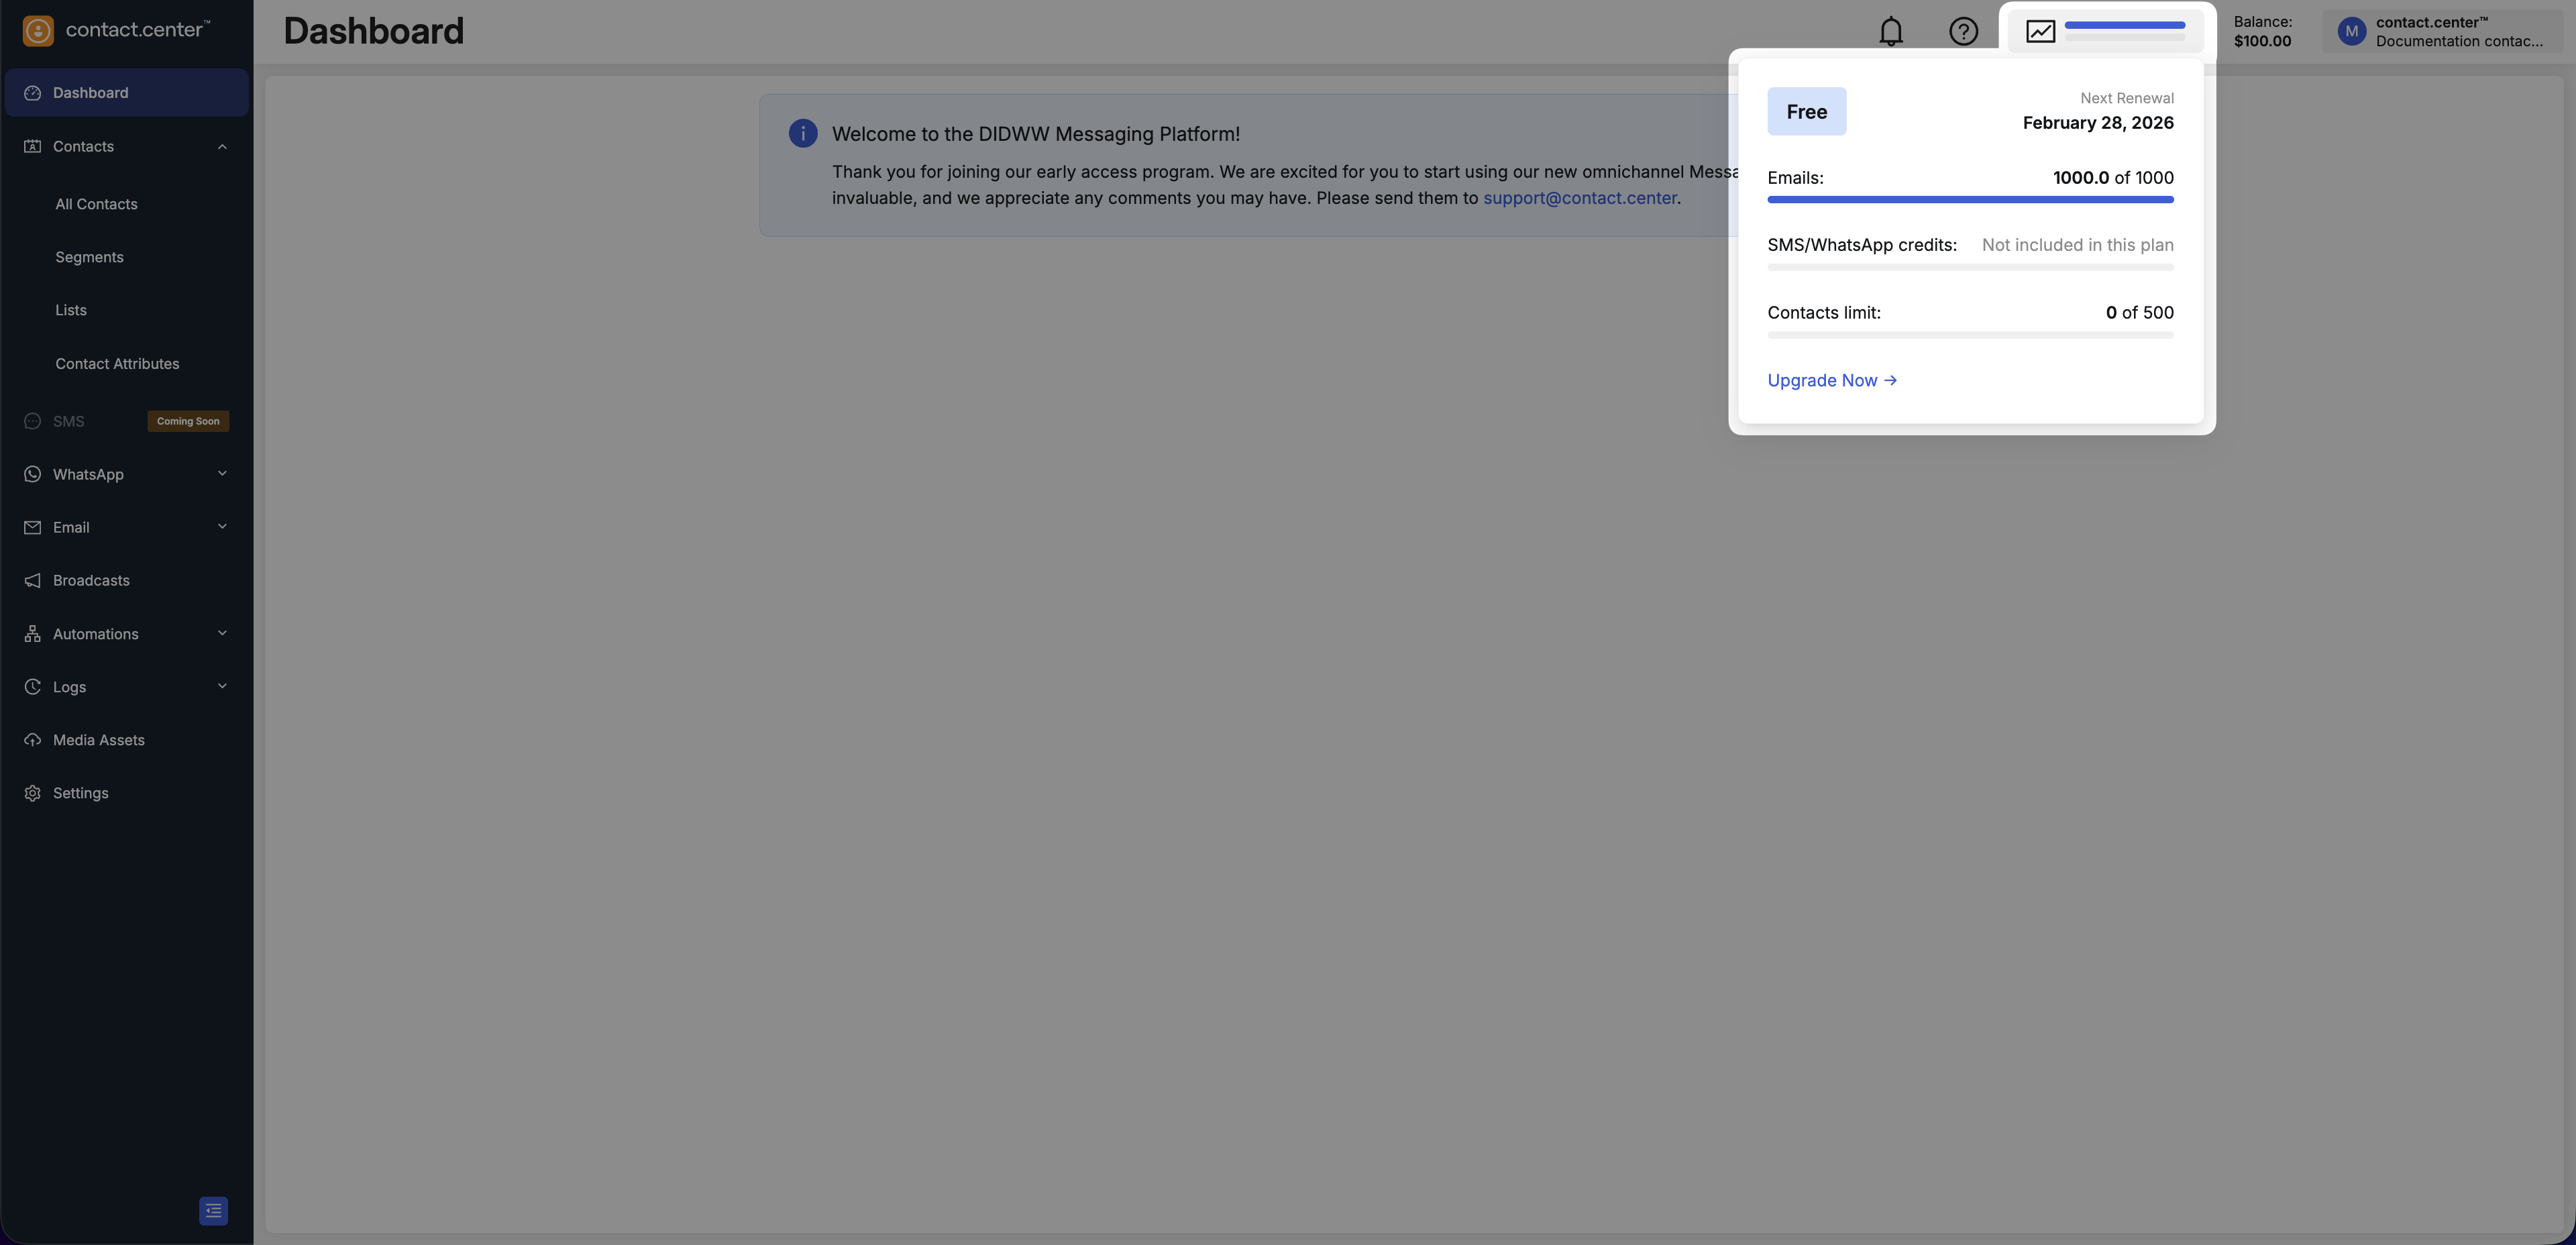
Fig. 1. Open Billing from the plan and usage widget.
Step 2: Start the Plan Change
On the Billing → Overview page, the available actions depend on your current subscription.
Choose the option that appears in your account:
In Your Plan section, select Upgrade Plan.
Note
Available features and limits depend on the plan you select.
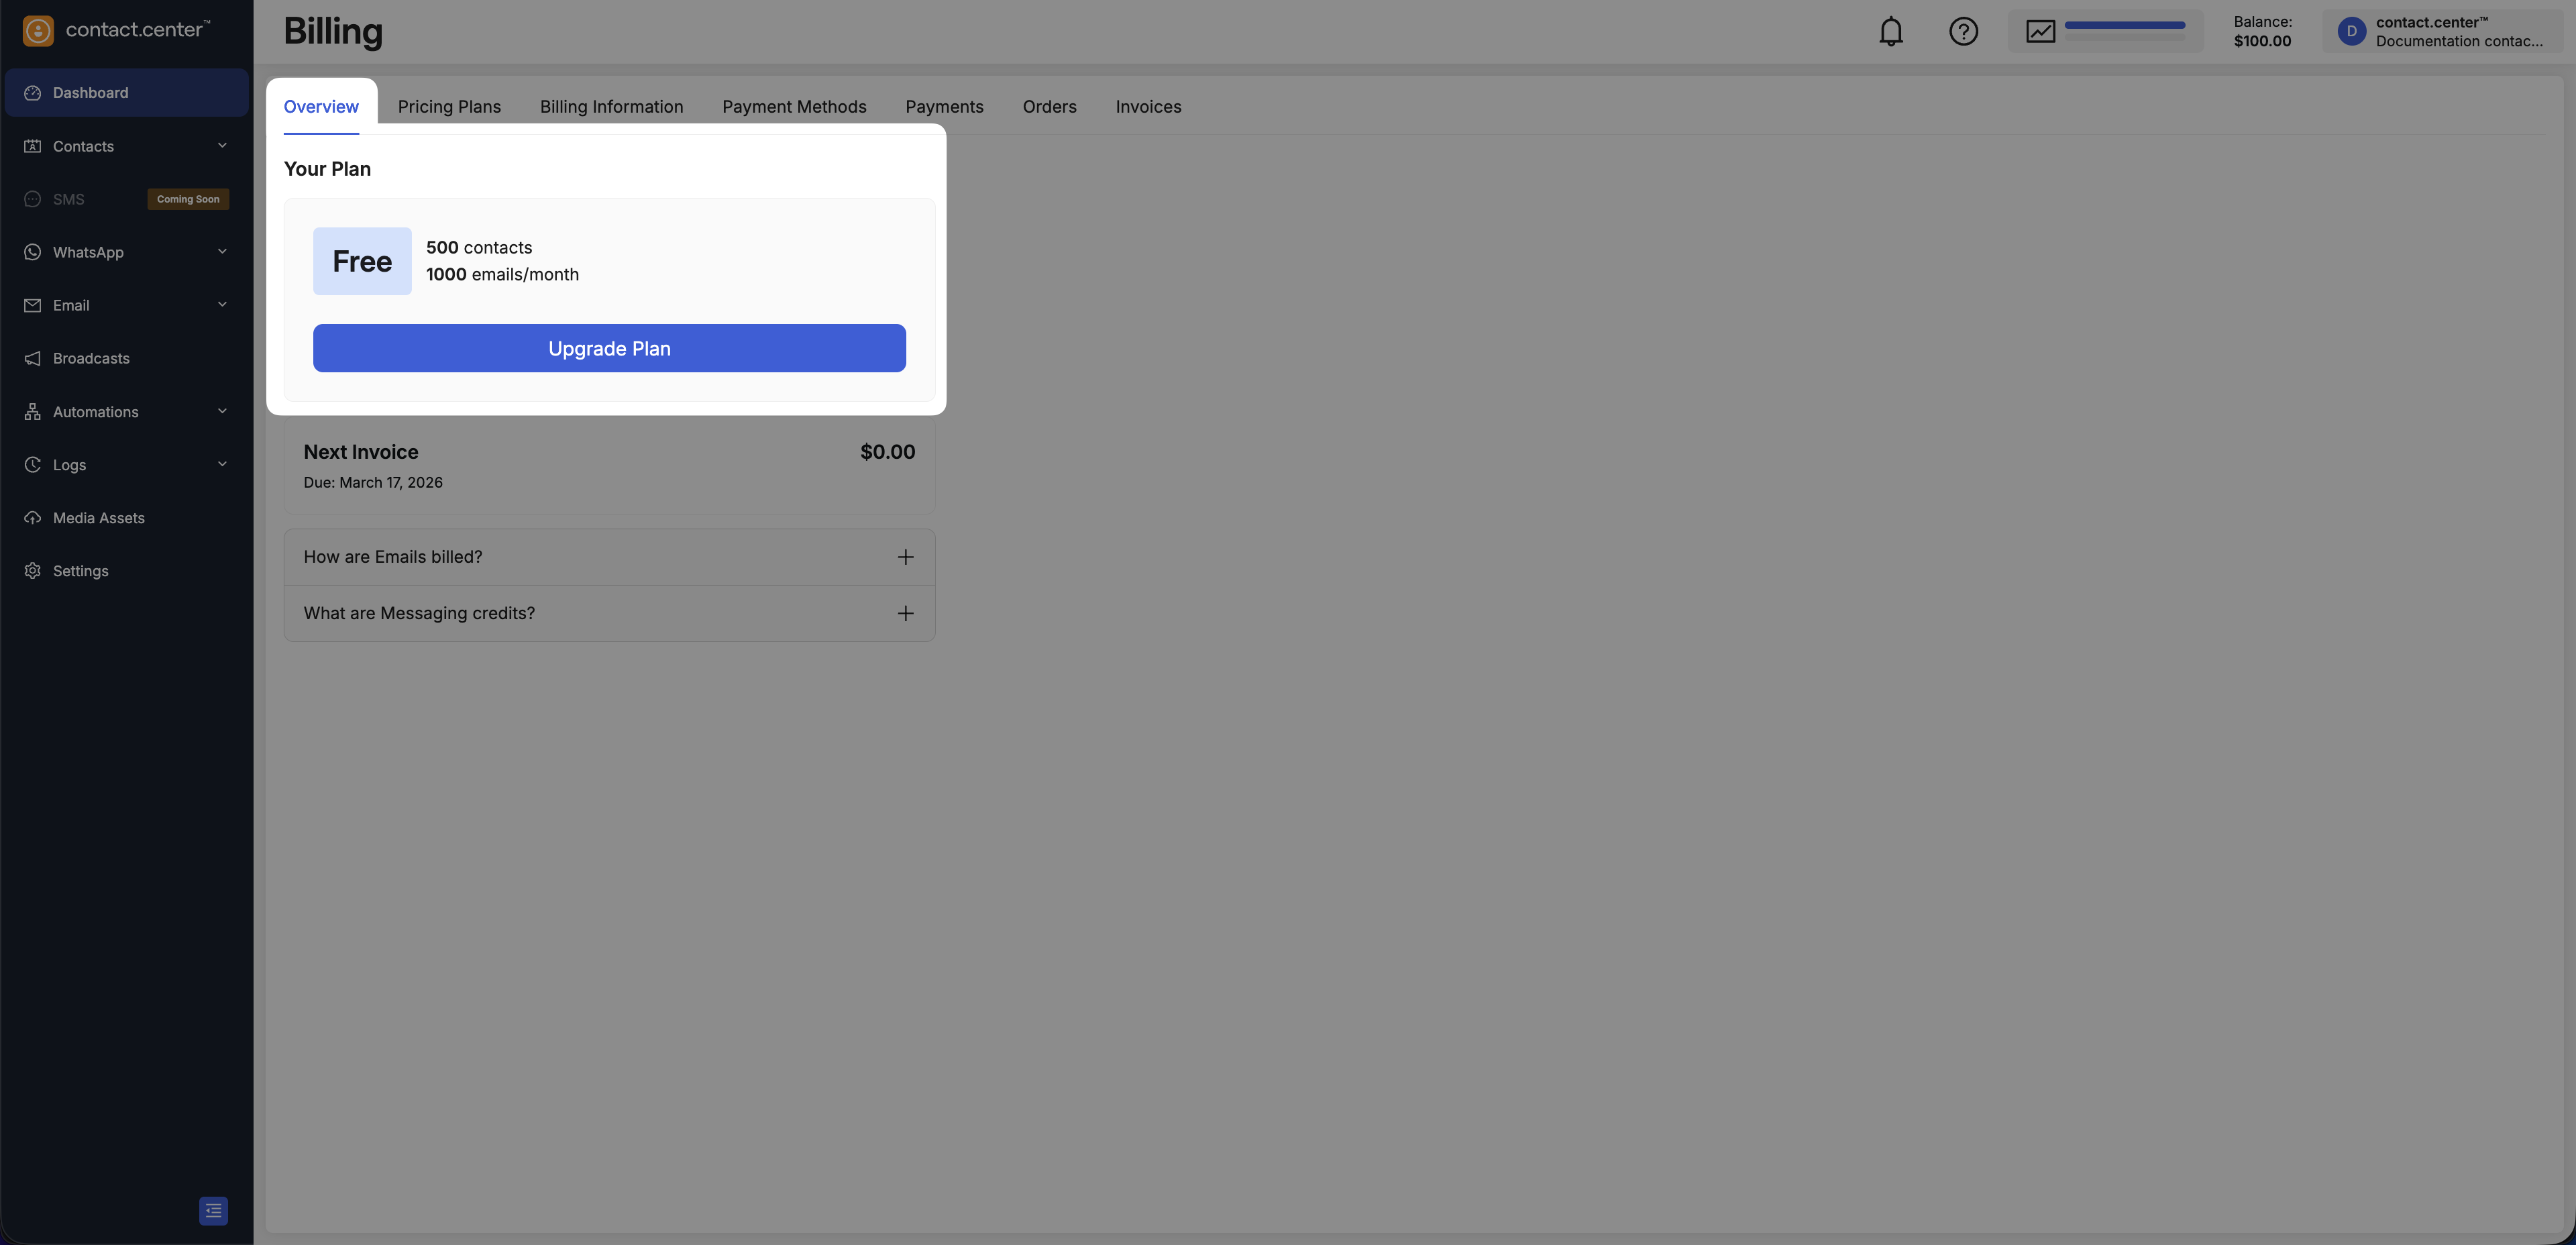
Fig. 2. Upgrade Plan button for Free users.
In Your Plan section, click Customize Current Plan.
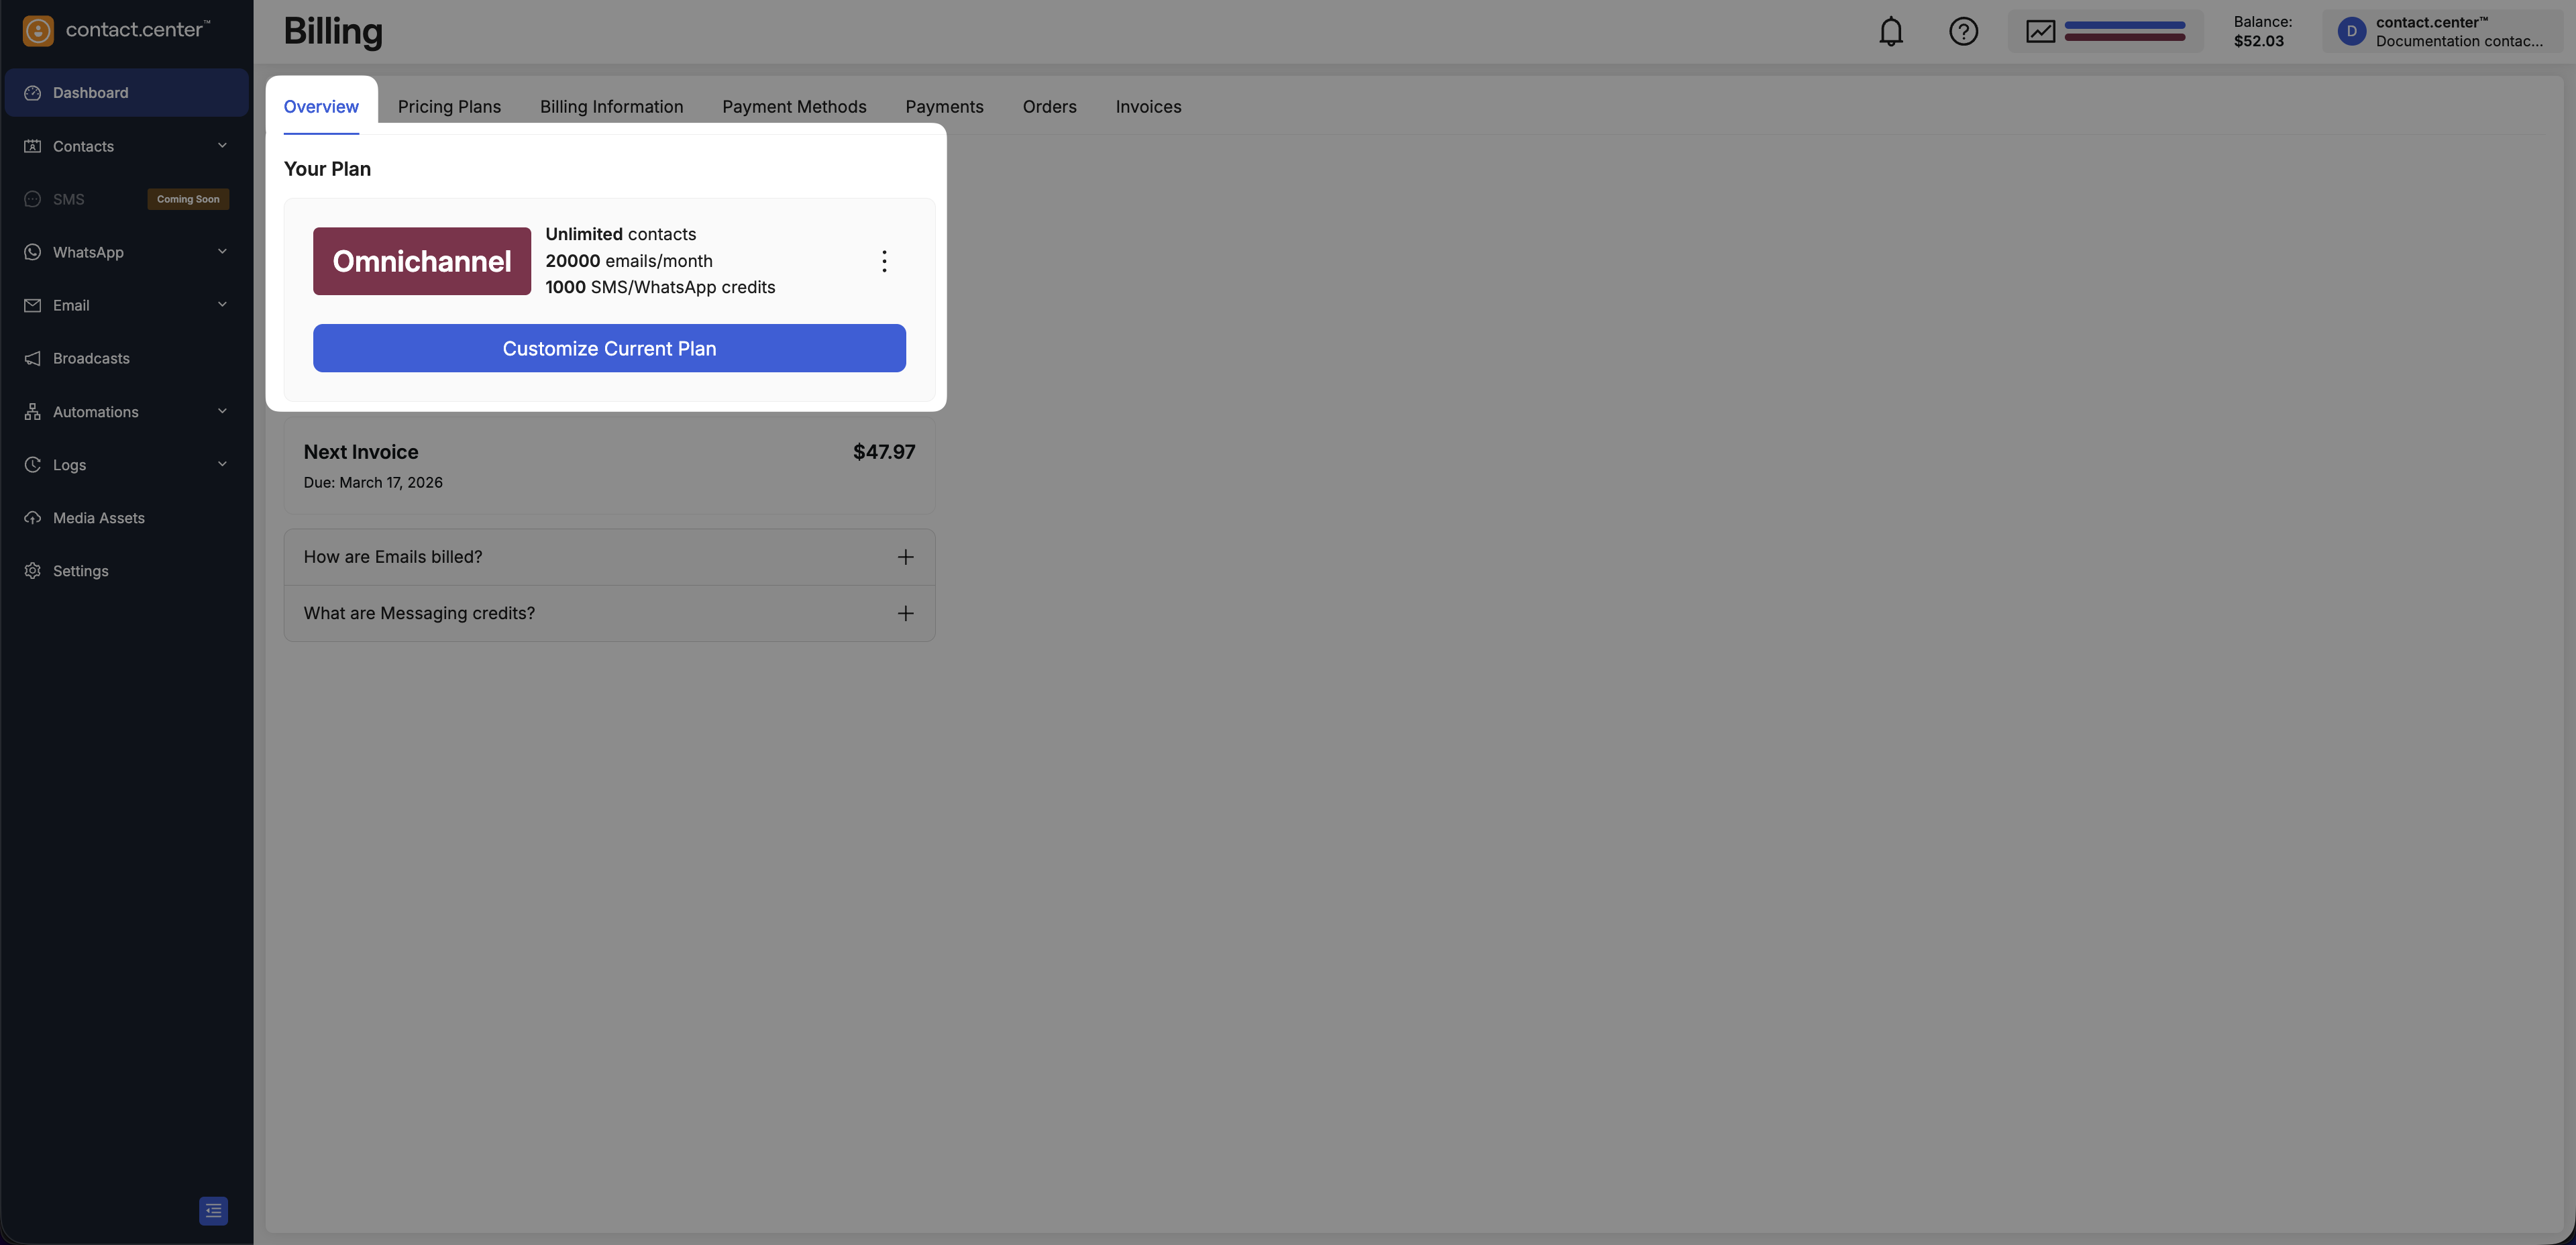
Fig. 3. Customize Current Plan button.
In Your Plan section, click the three-dot menu.
Select Change Plan.
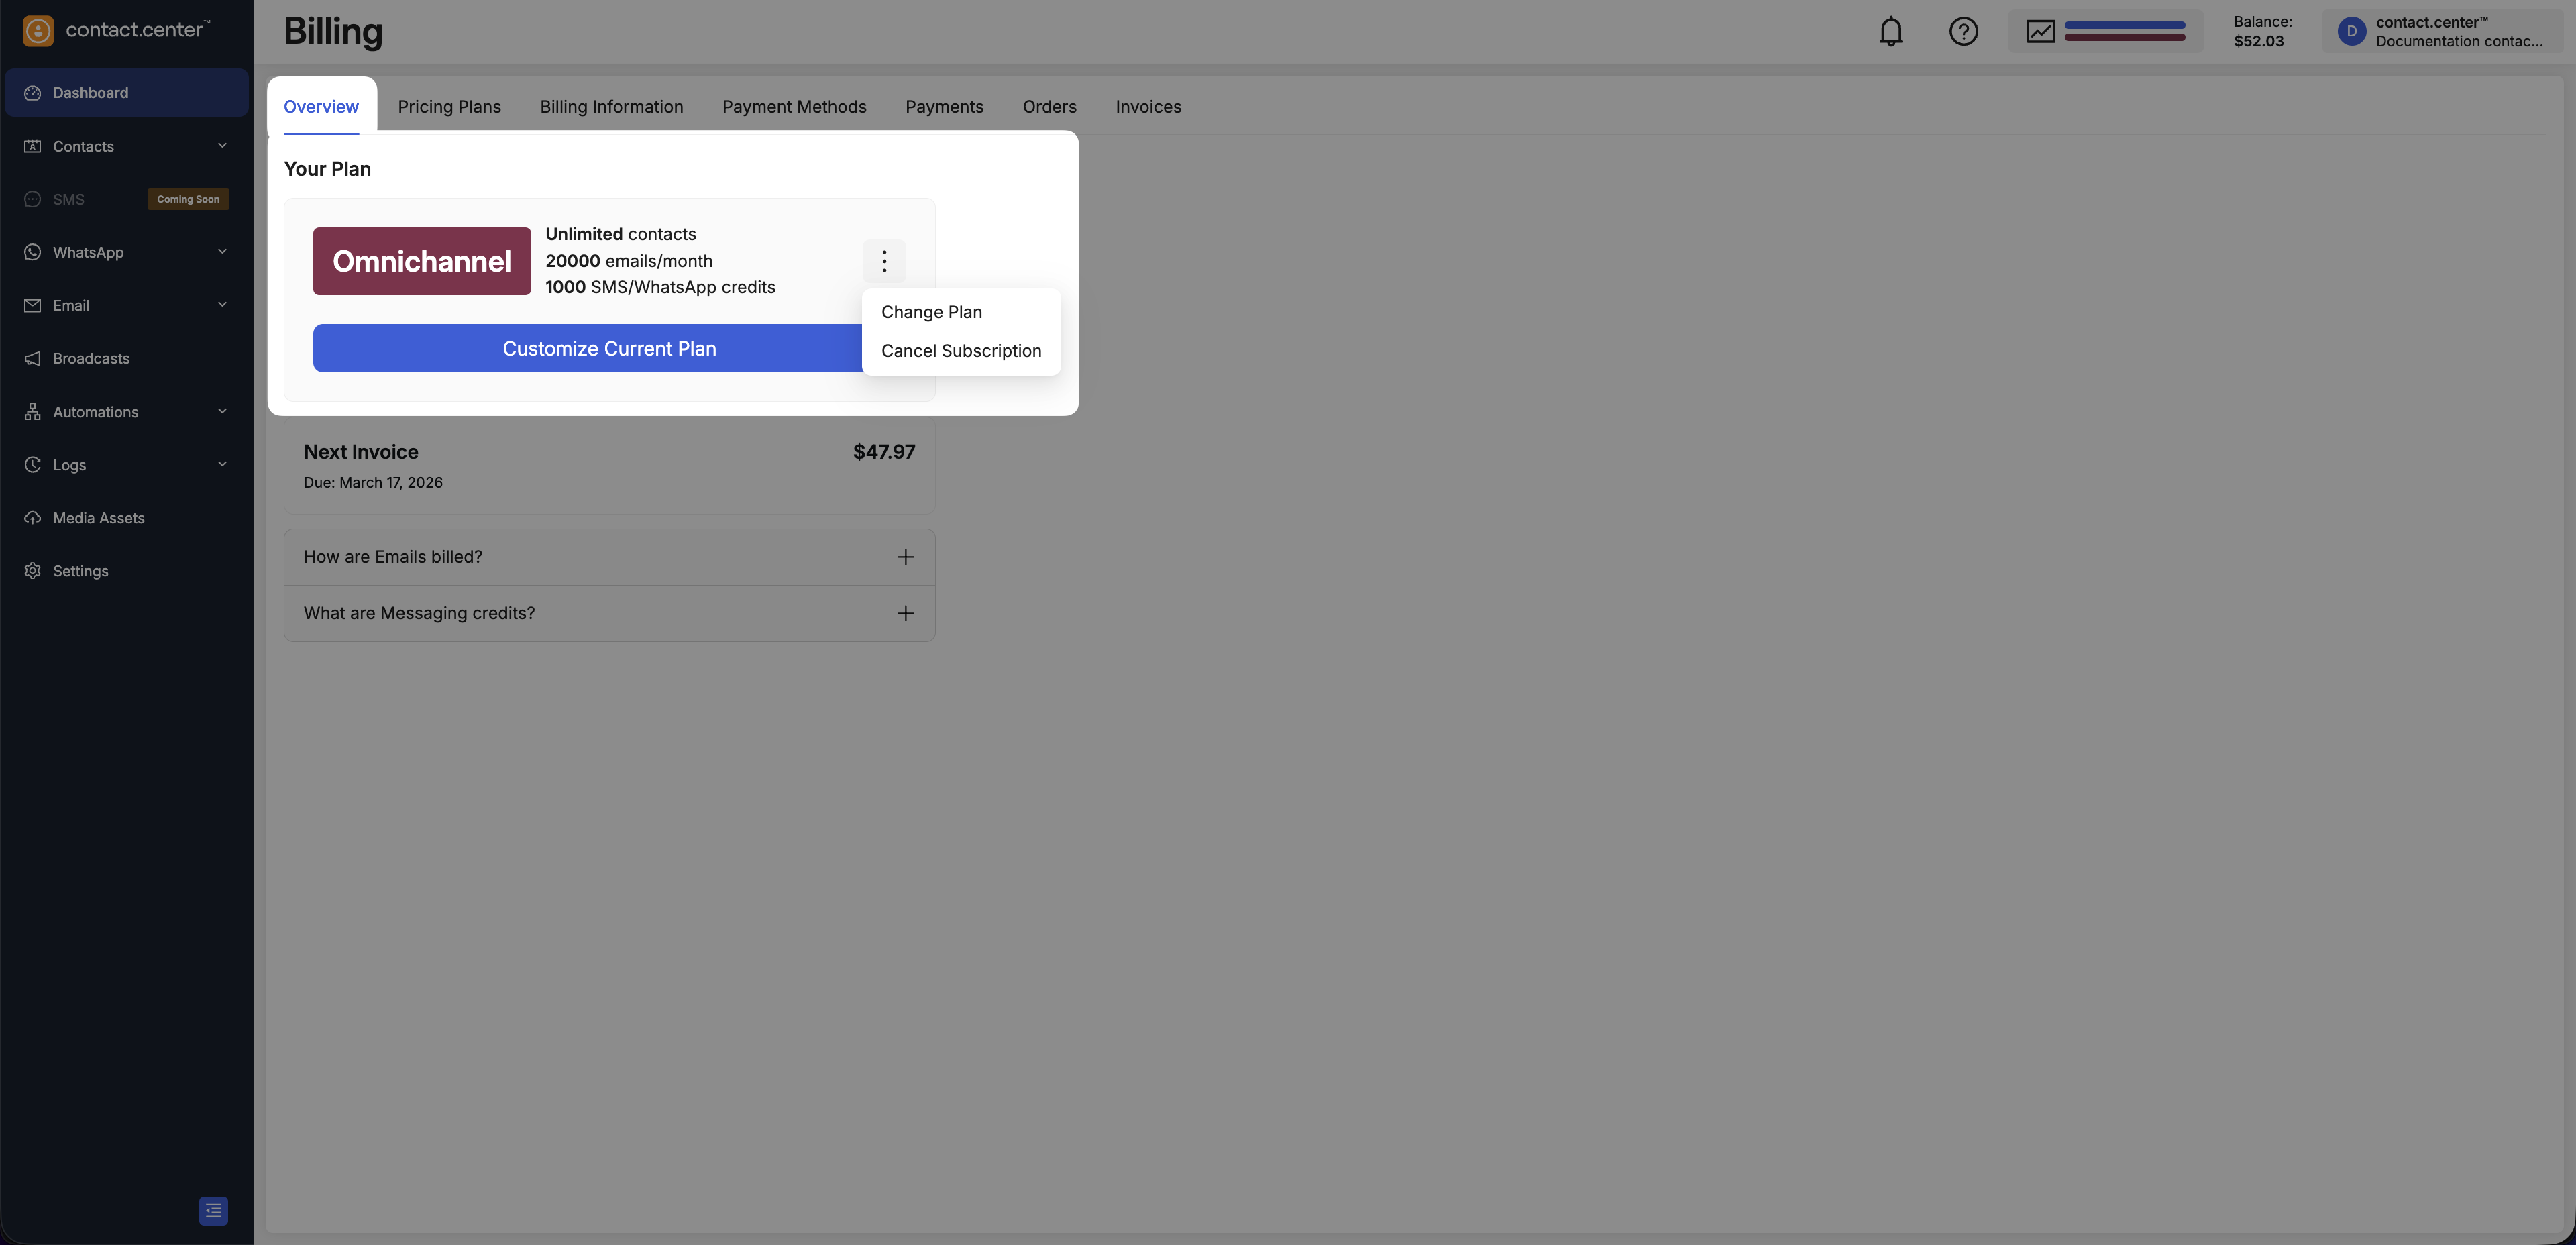
Fig. 4. Change Plan option in the plan actions menu.
Step 3: Select a Plan
On the Select a Plan page, review the available subscription options and choose the plan that matches your business needs.
Note
If you switch to a lower-tier plan, the new plan takes effect at the start of the next billing period. Your current plan remains active until renewal.
Select Free if you want to use the product with basic limits.
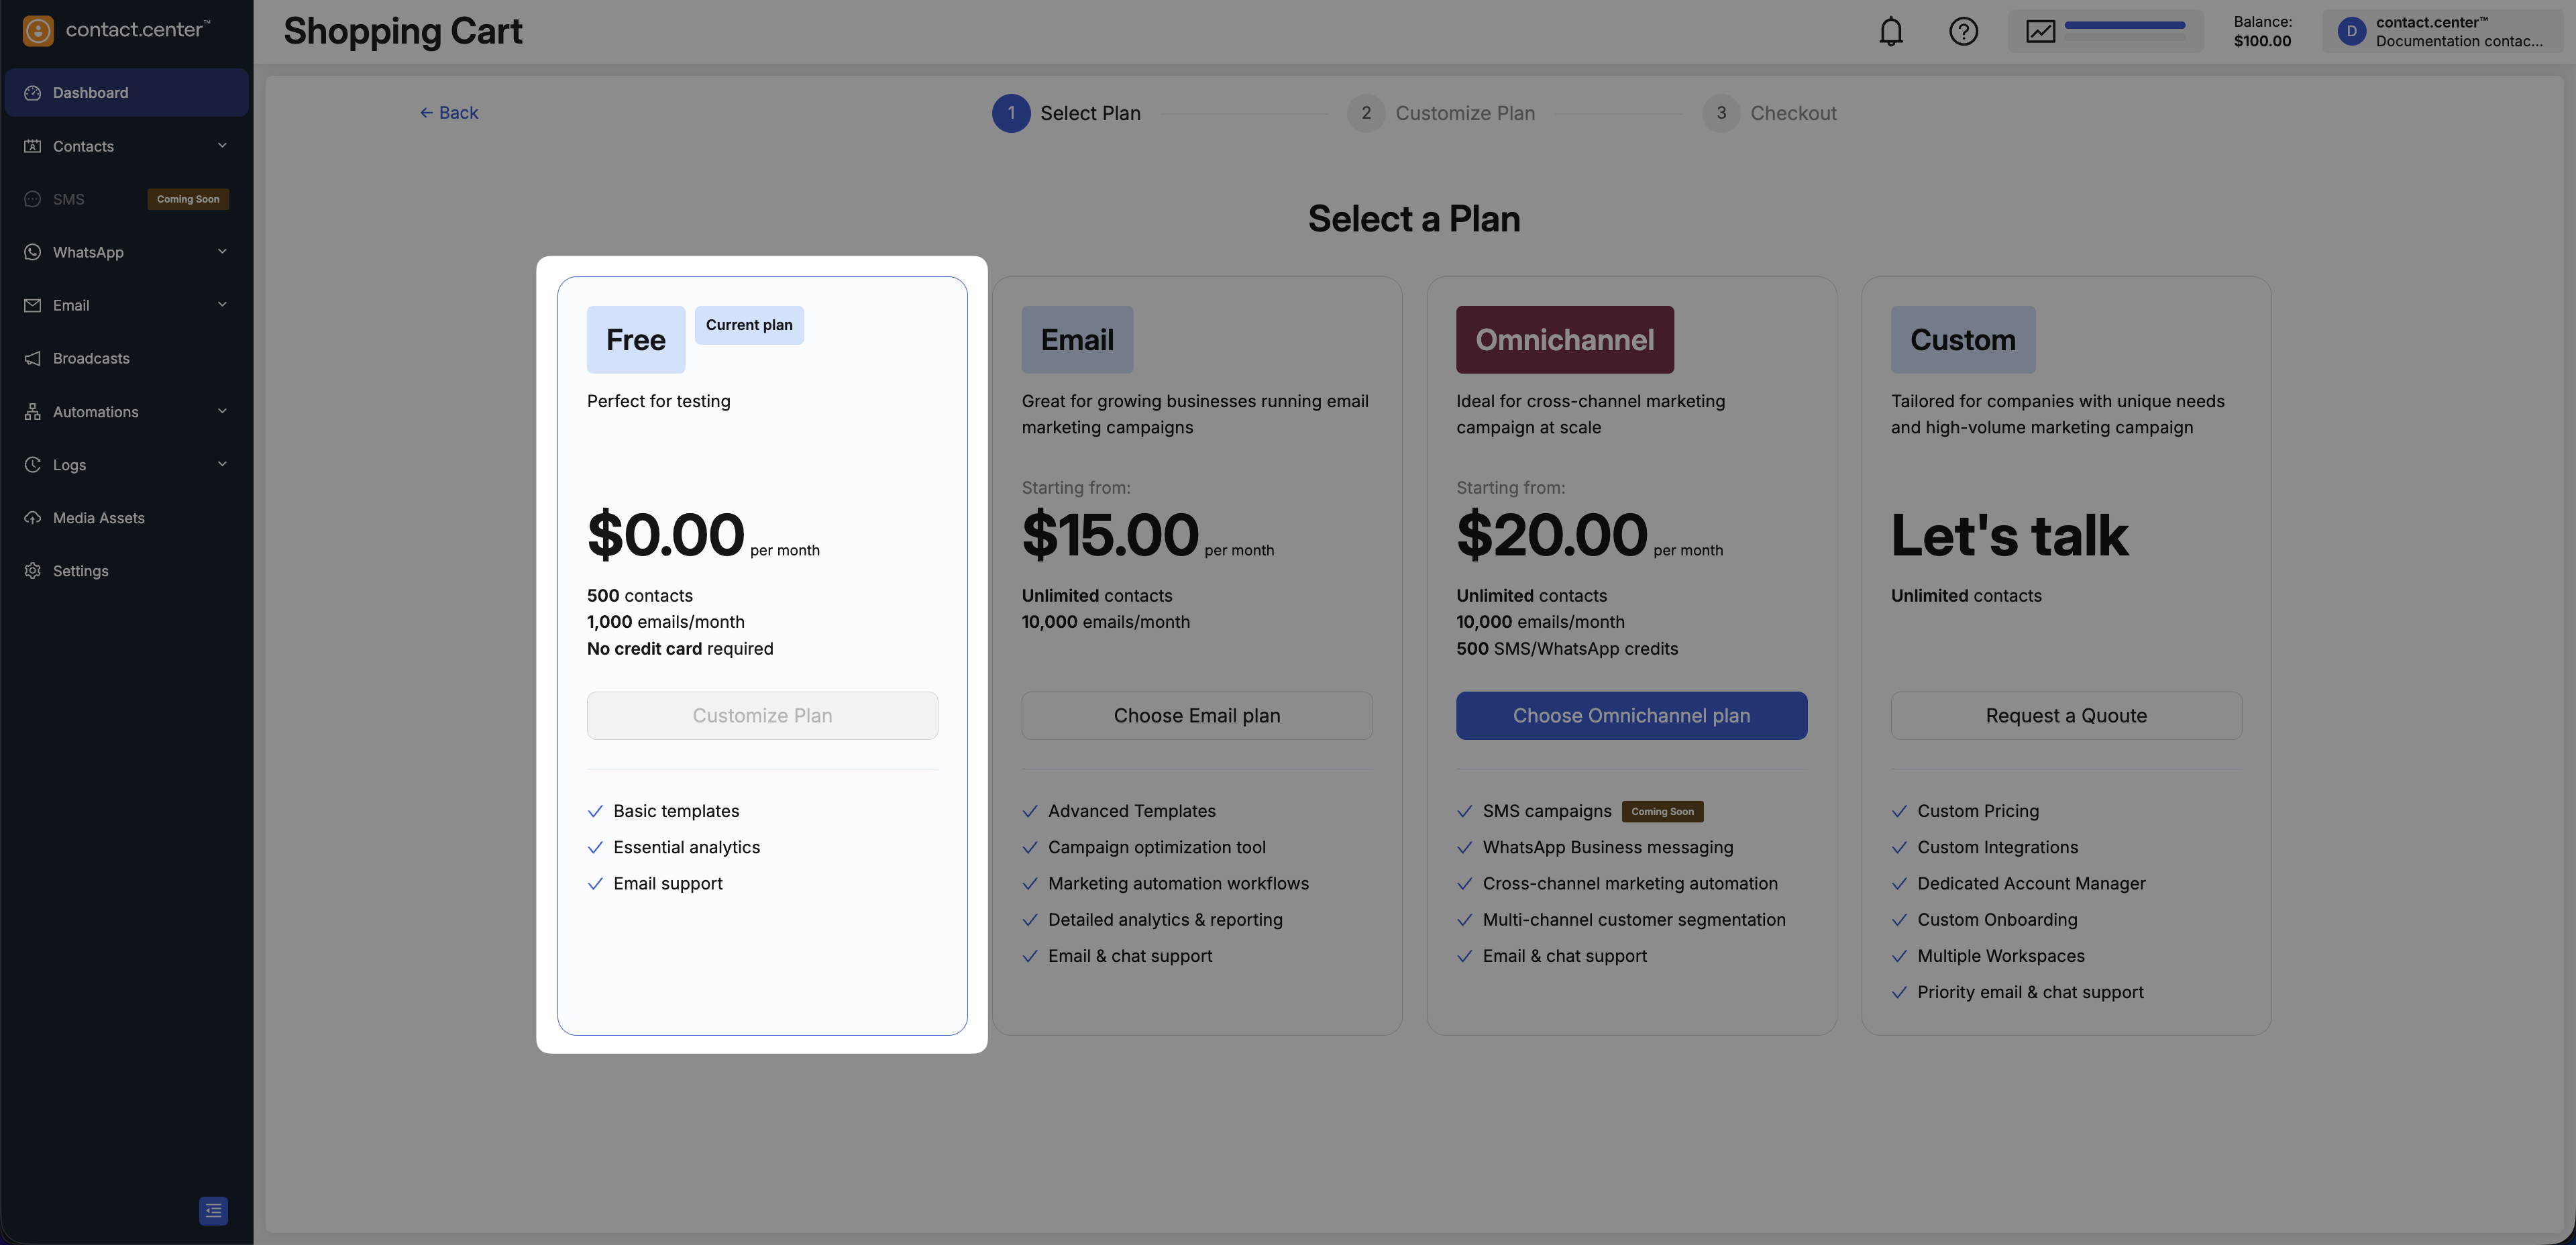
Fig. 5. Free plan option.
Select Email if email is your primary channel.
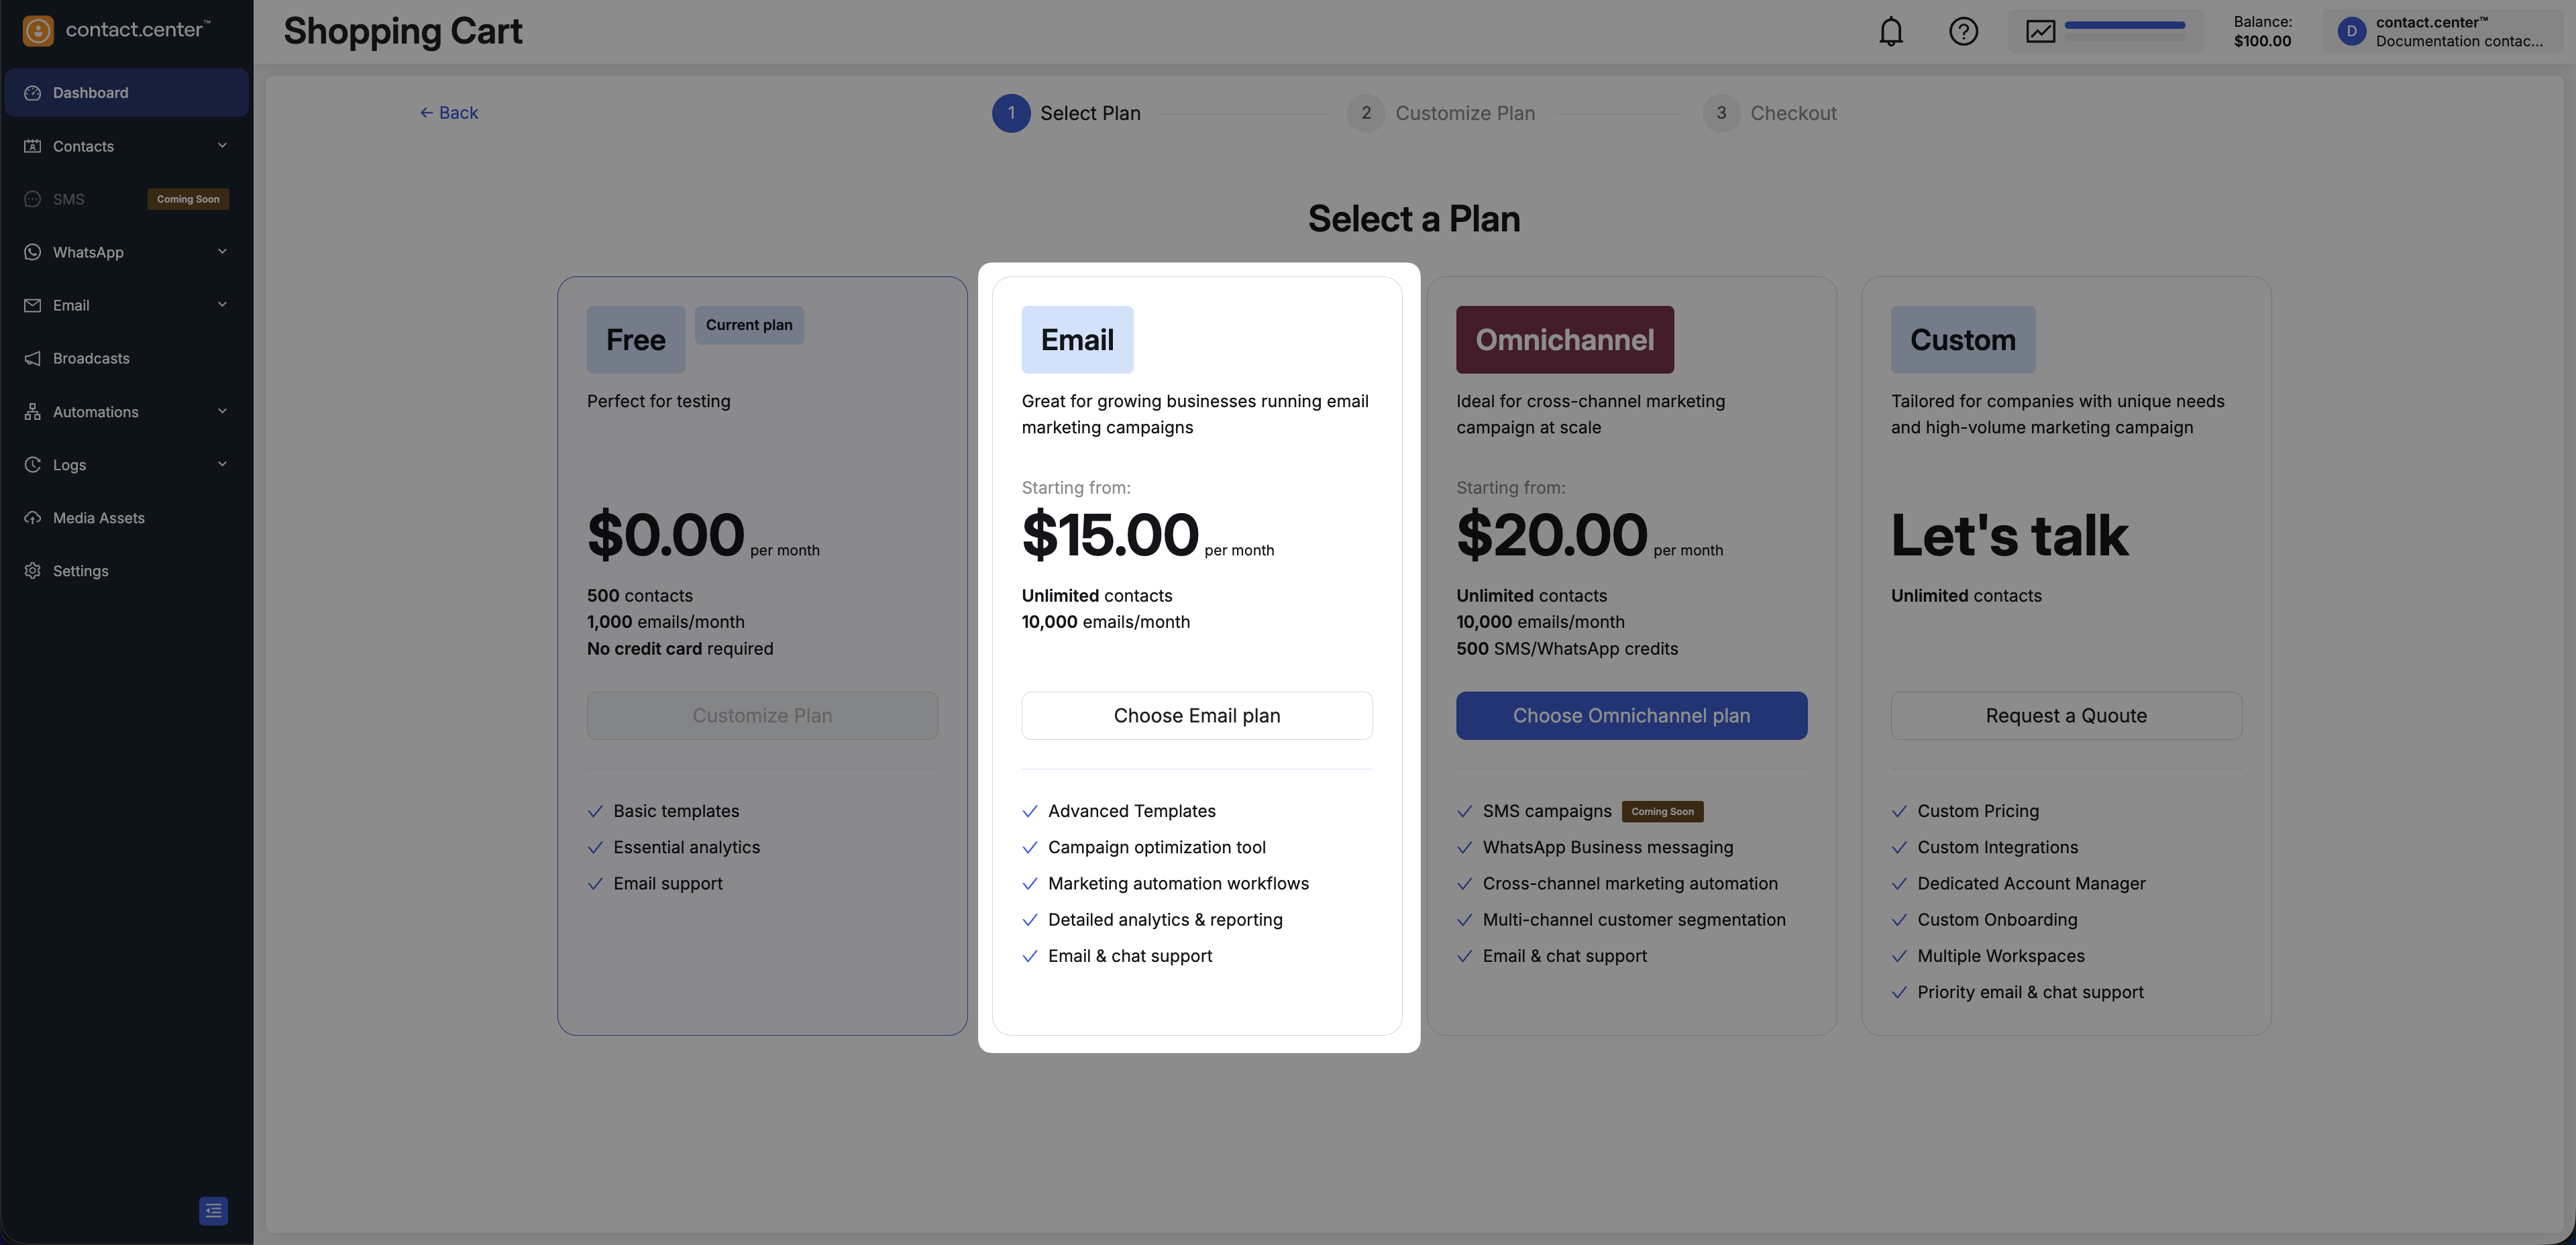
Fig. 6. Email plan option.
Select Omnichannel if you want to use email and messaging channels in one workspace.
Note
Messaging features and included credits depend on the selected configuration.
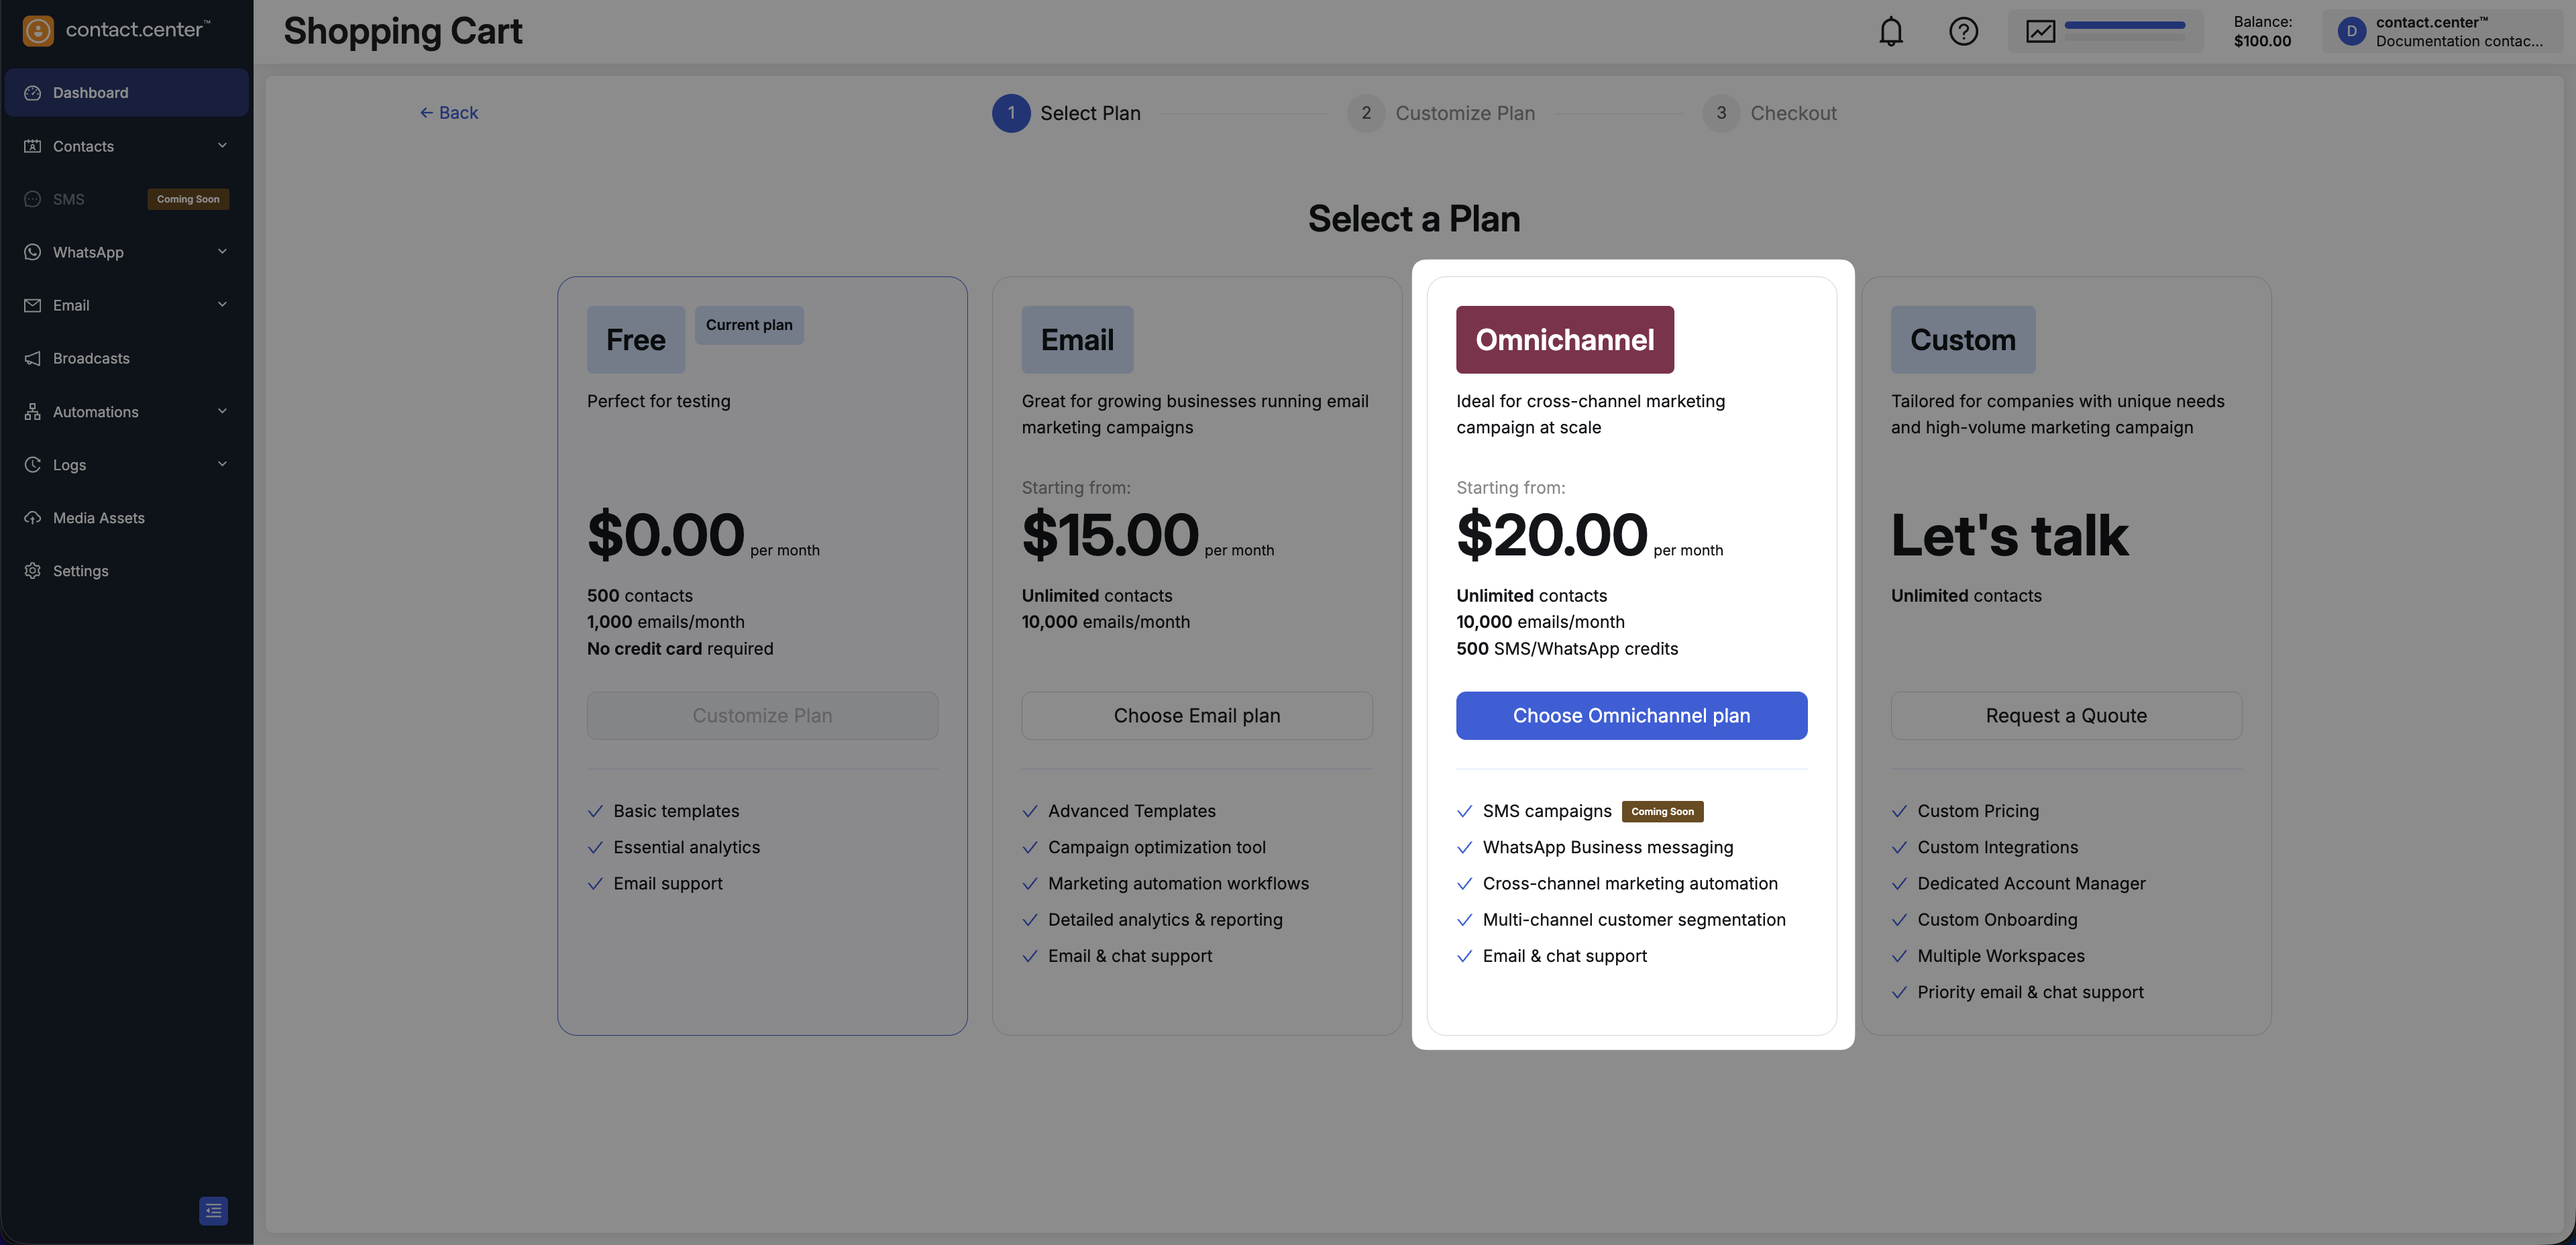
Fig. 7. Omnichannel plan option.
Select Custom if you need a plan for advanced or enterprise requirements.
Note
To continue, select Request a quote. You can also contact the sales team at sales@contact.center .
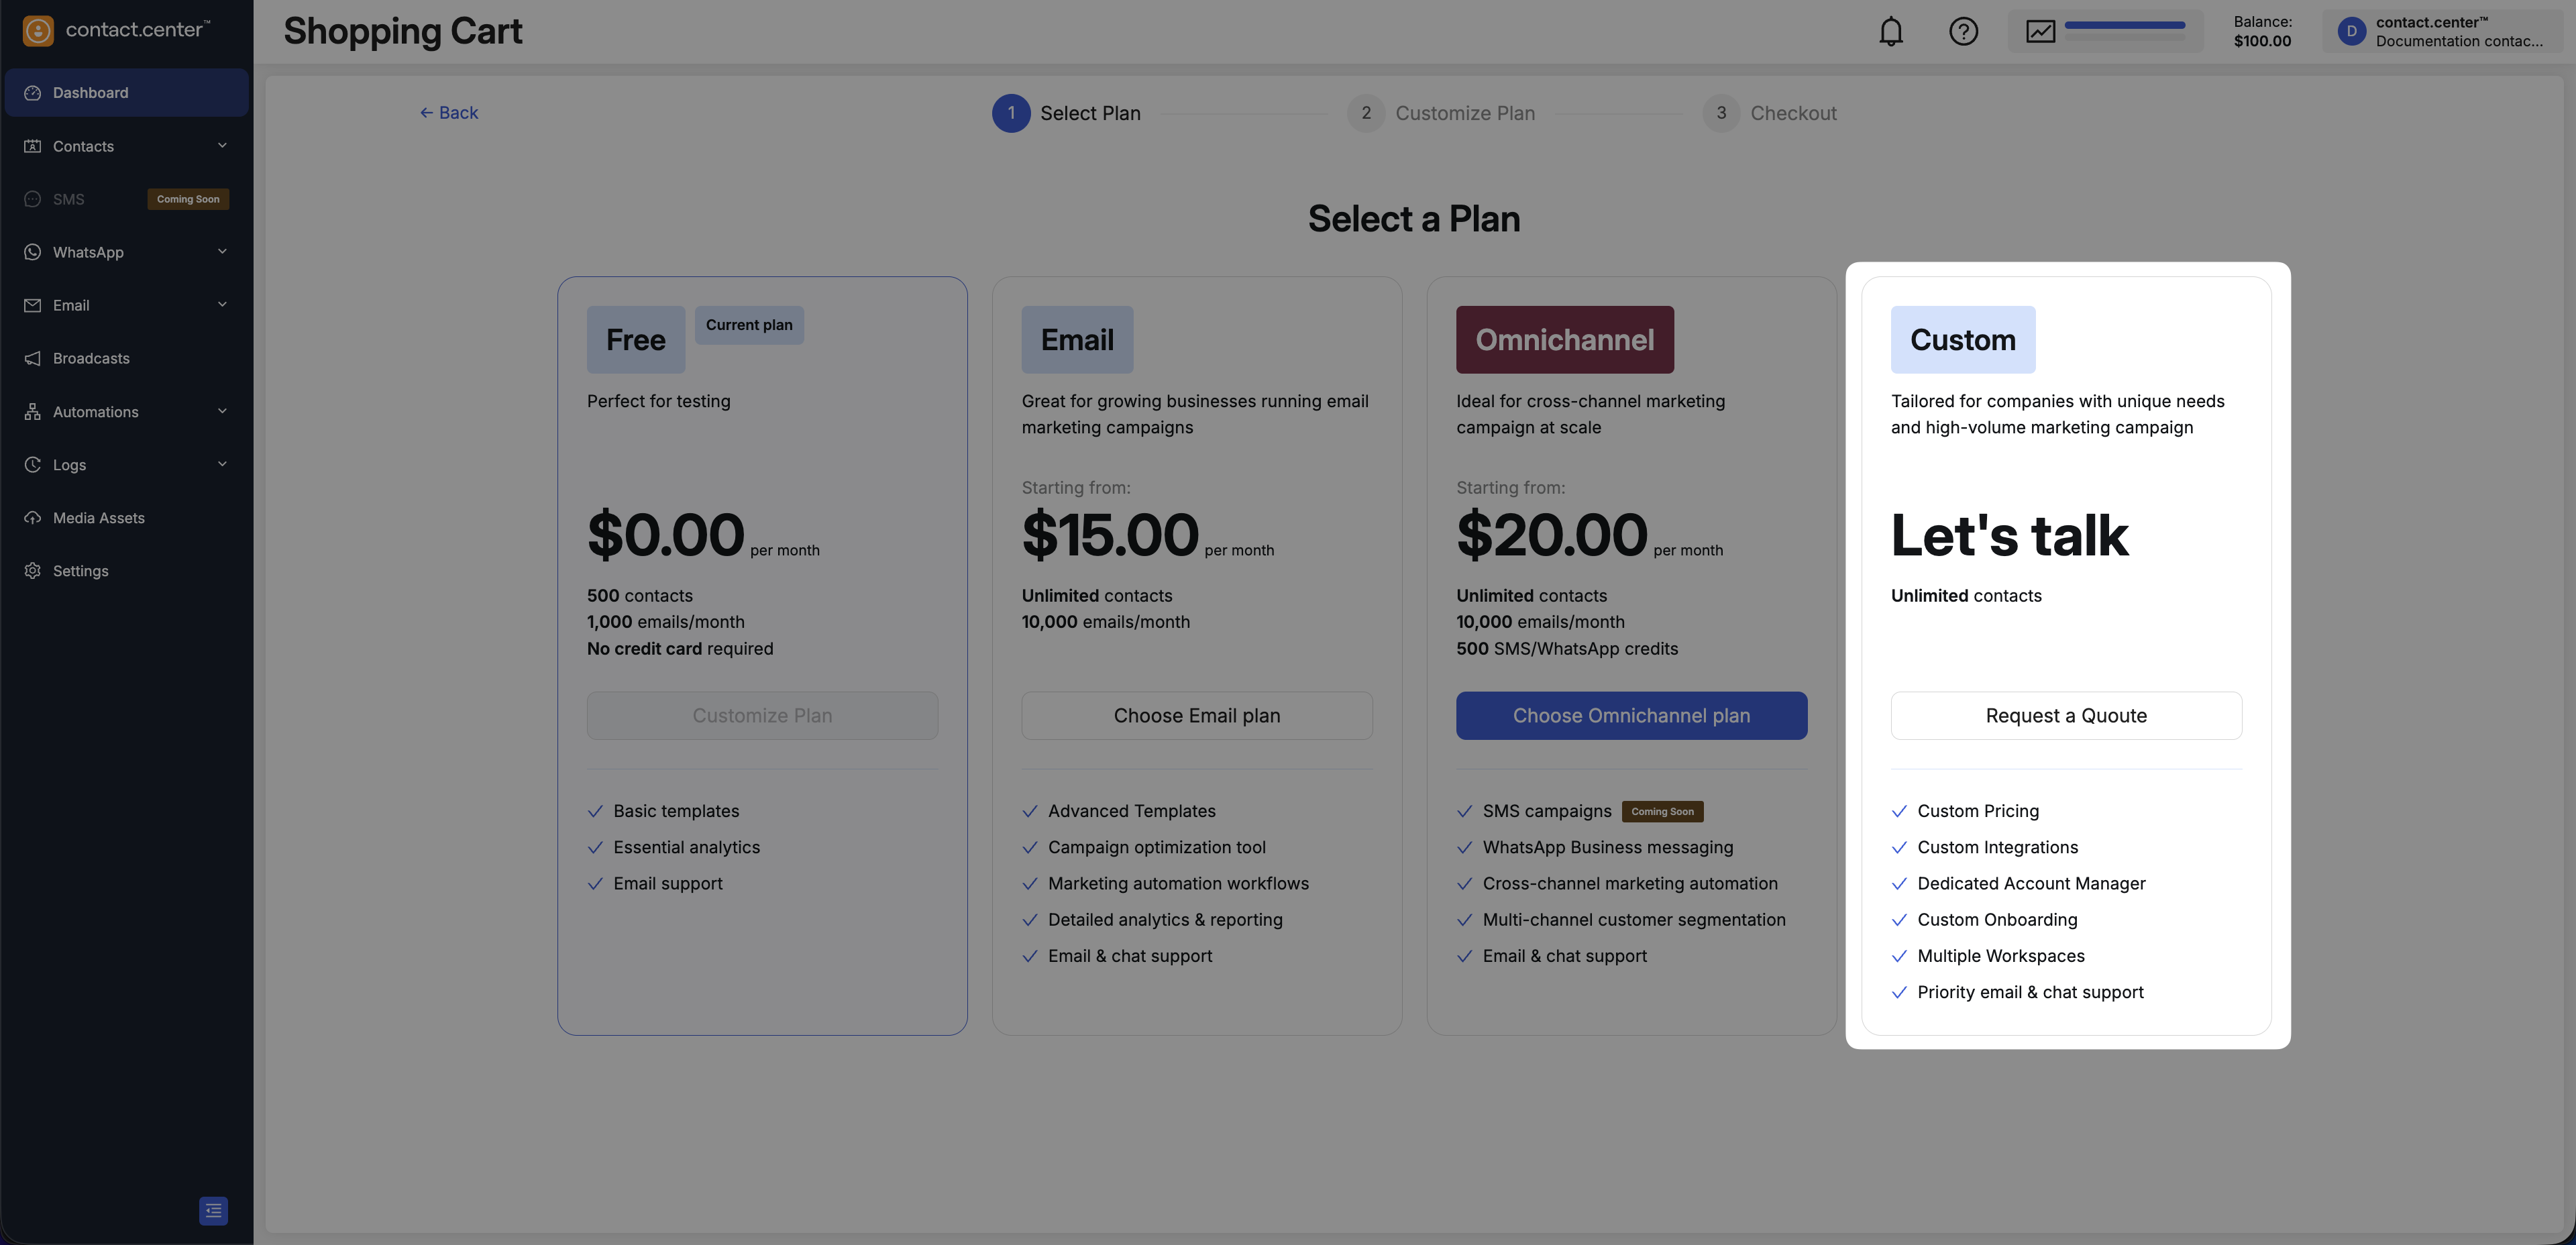
Fig. 8. Custom plan option.
Step 4: Customize Volume and Review Order
In the Customize Plan step, you can adjust included limits before checkout.
Note
The Free plan does not include adjustable limits.
Email and messaging credits do not roll over to the next billing period. Unused credits reset at the start of each new billing cycle.
If you reduce included limits, the updated limits apply at the start of the next billing period. Your current limits remain active until renewal.
Select Volume
In the Select volume section, use the sliders to set your monthly limits.
You can adjust:
Email Credits
SMS/WhatsApp Credits
As you move the sliders, the pricing updates automatically in the Order Preview panel.
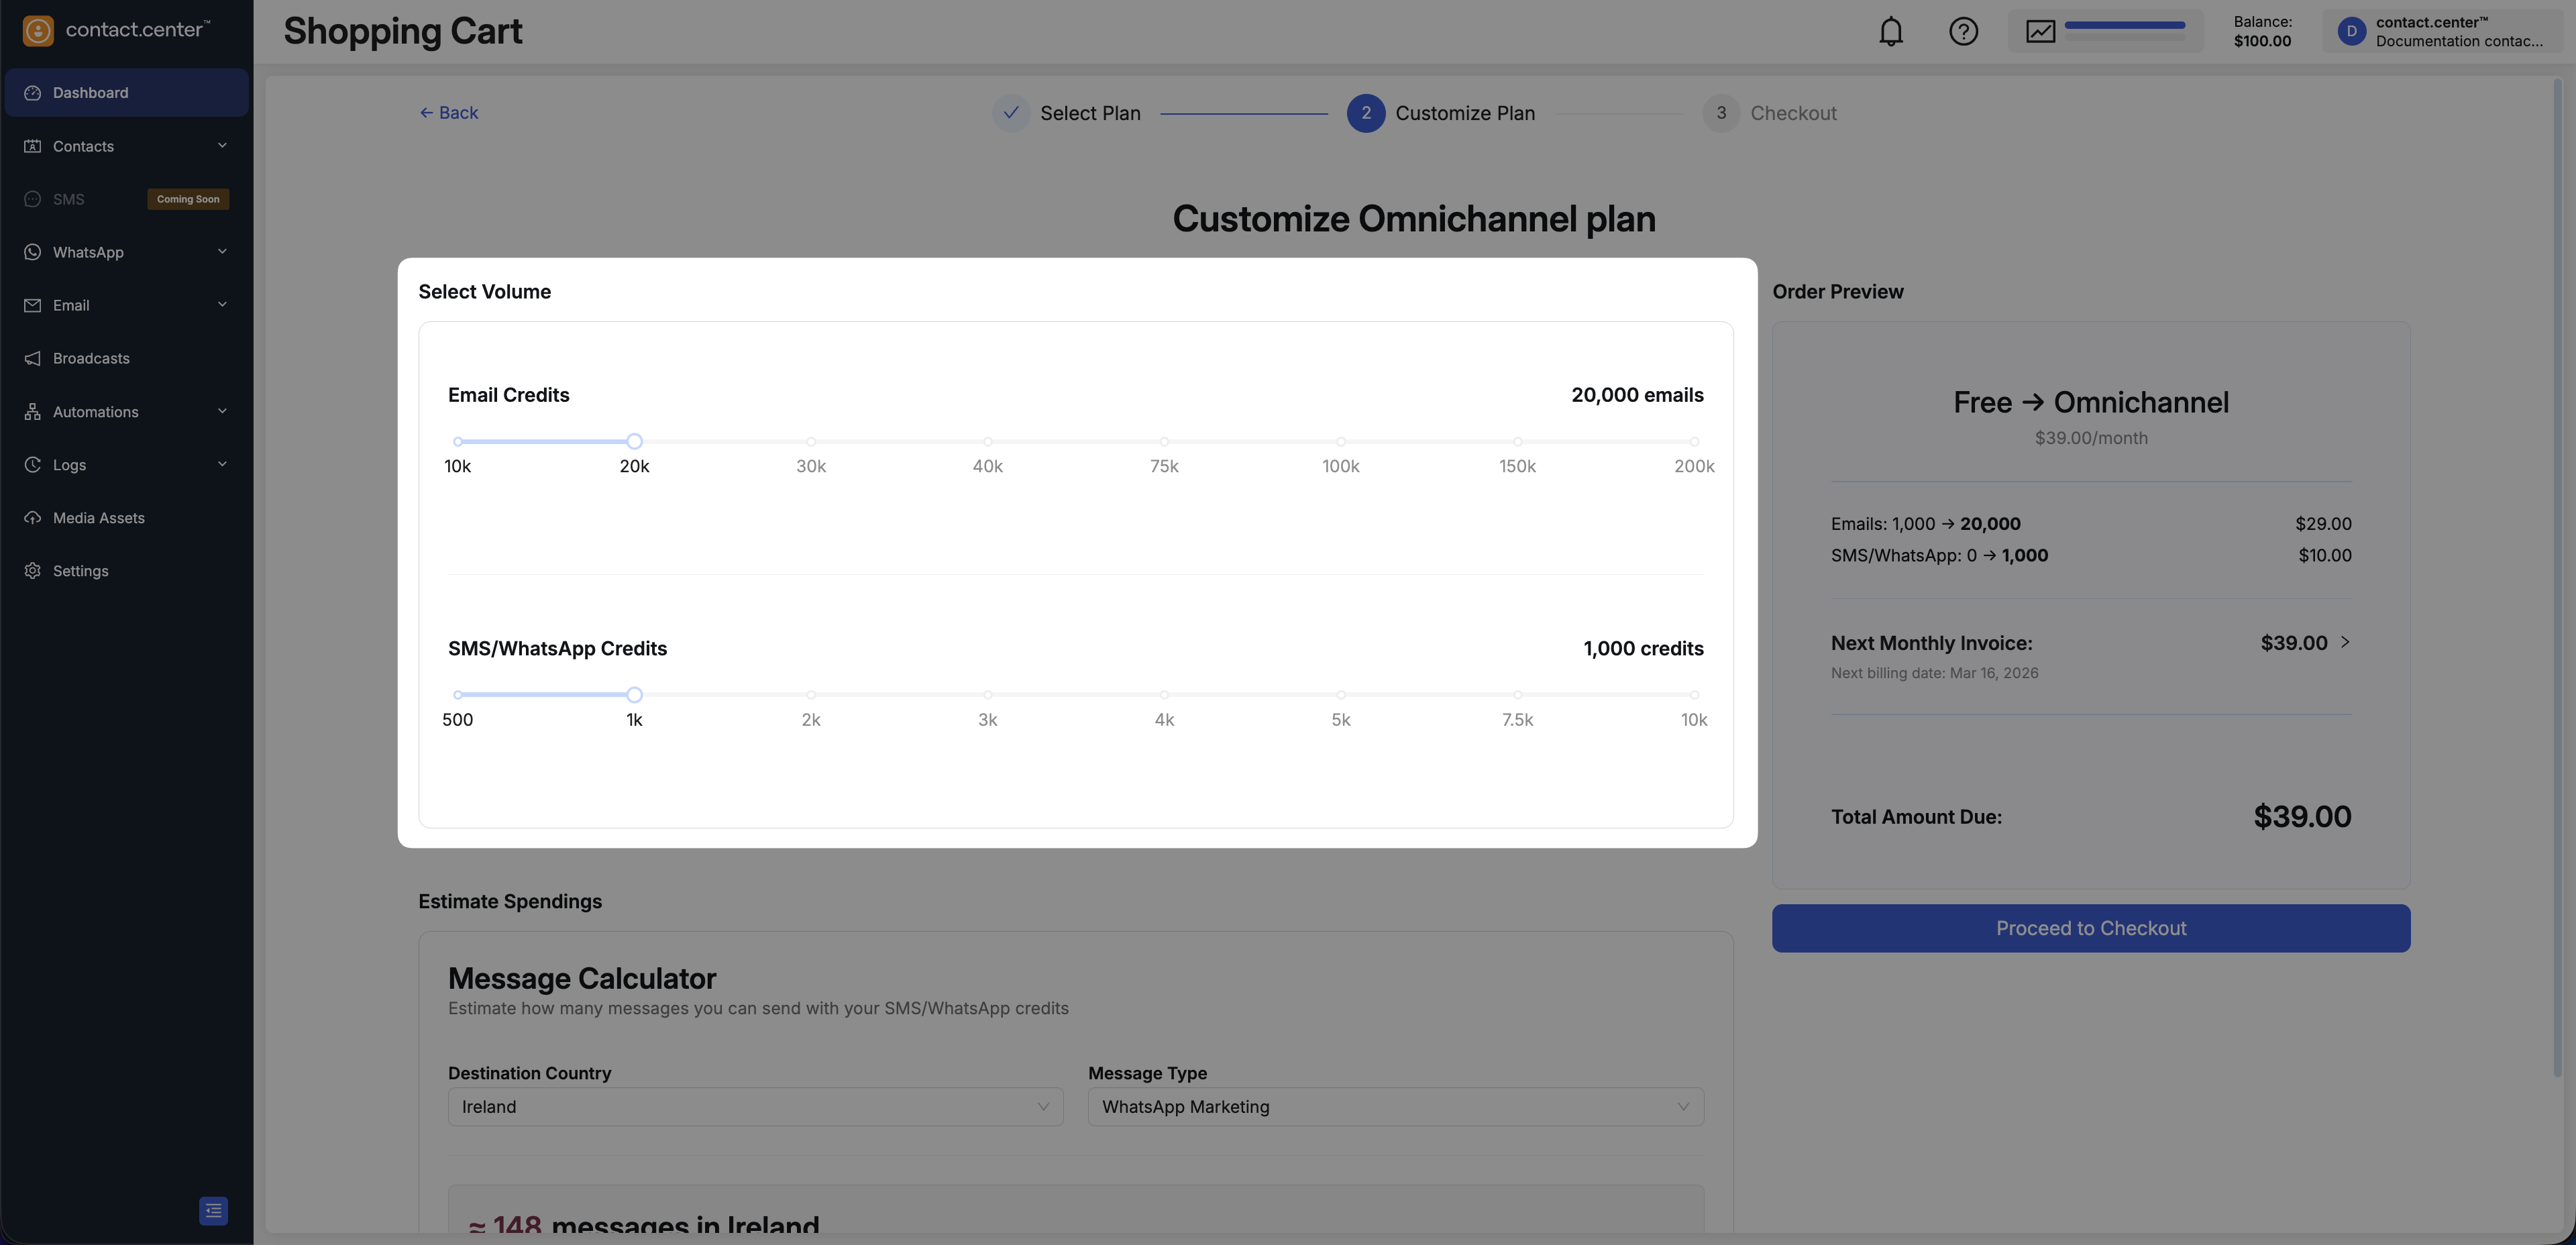
Fig. 9. Adjust email and messaging credits using sliders.
Estimate Spendings
Use the Message calculator to estimate how many messages you can send based on the selected messaging credits.
Select the Destination country.
Select the Message type (for example, WhatsApp Marketing or SMS).
Review the estimated number of messages.
Note
Each email uses 1 credit.
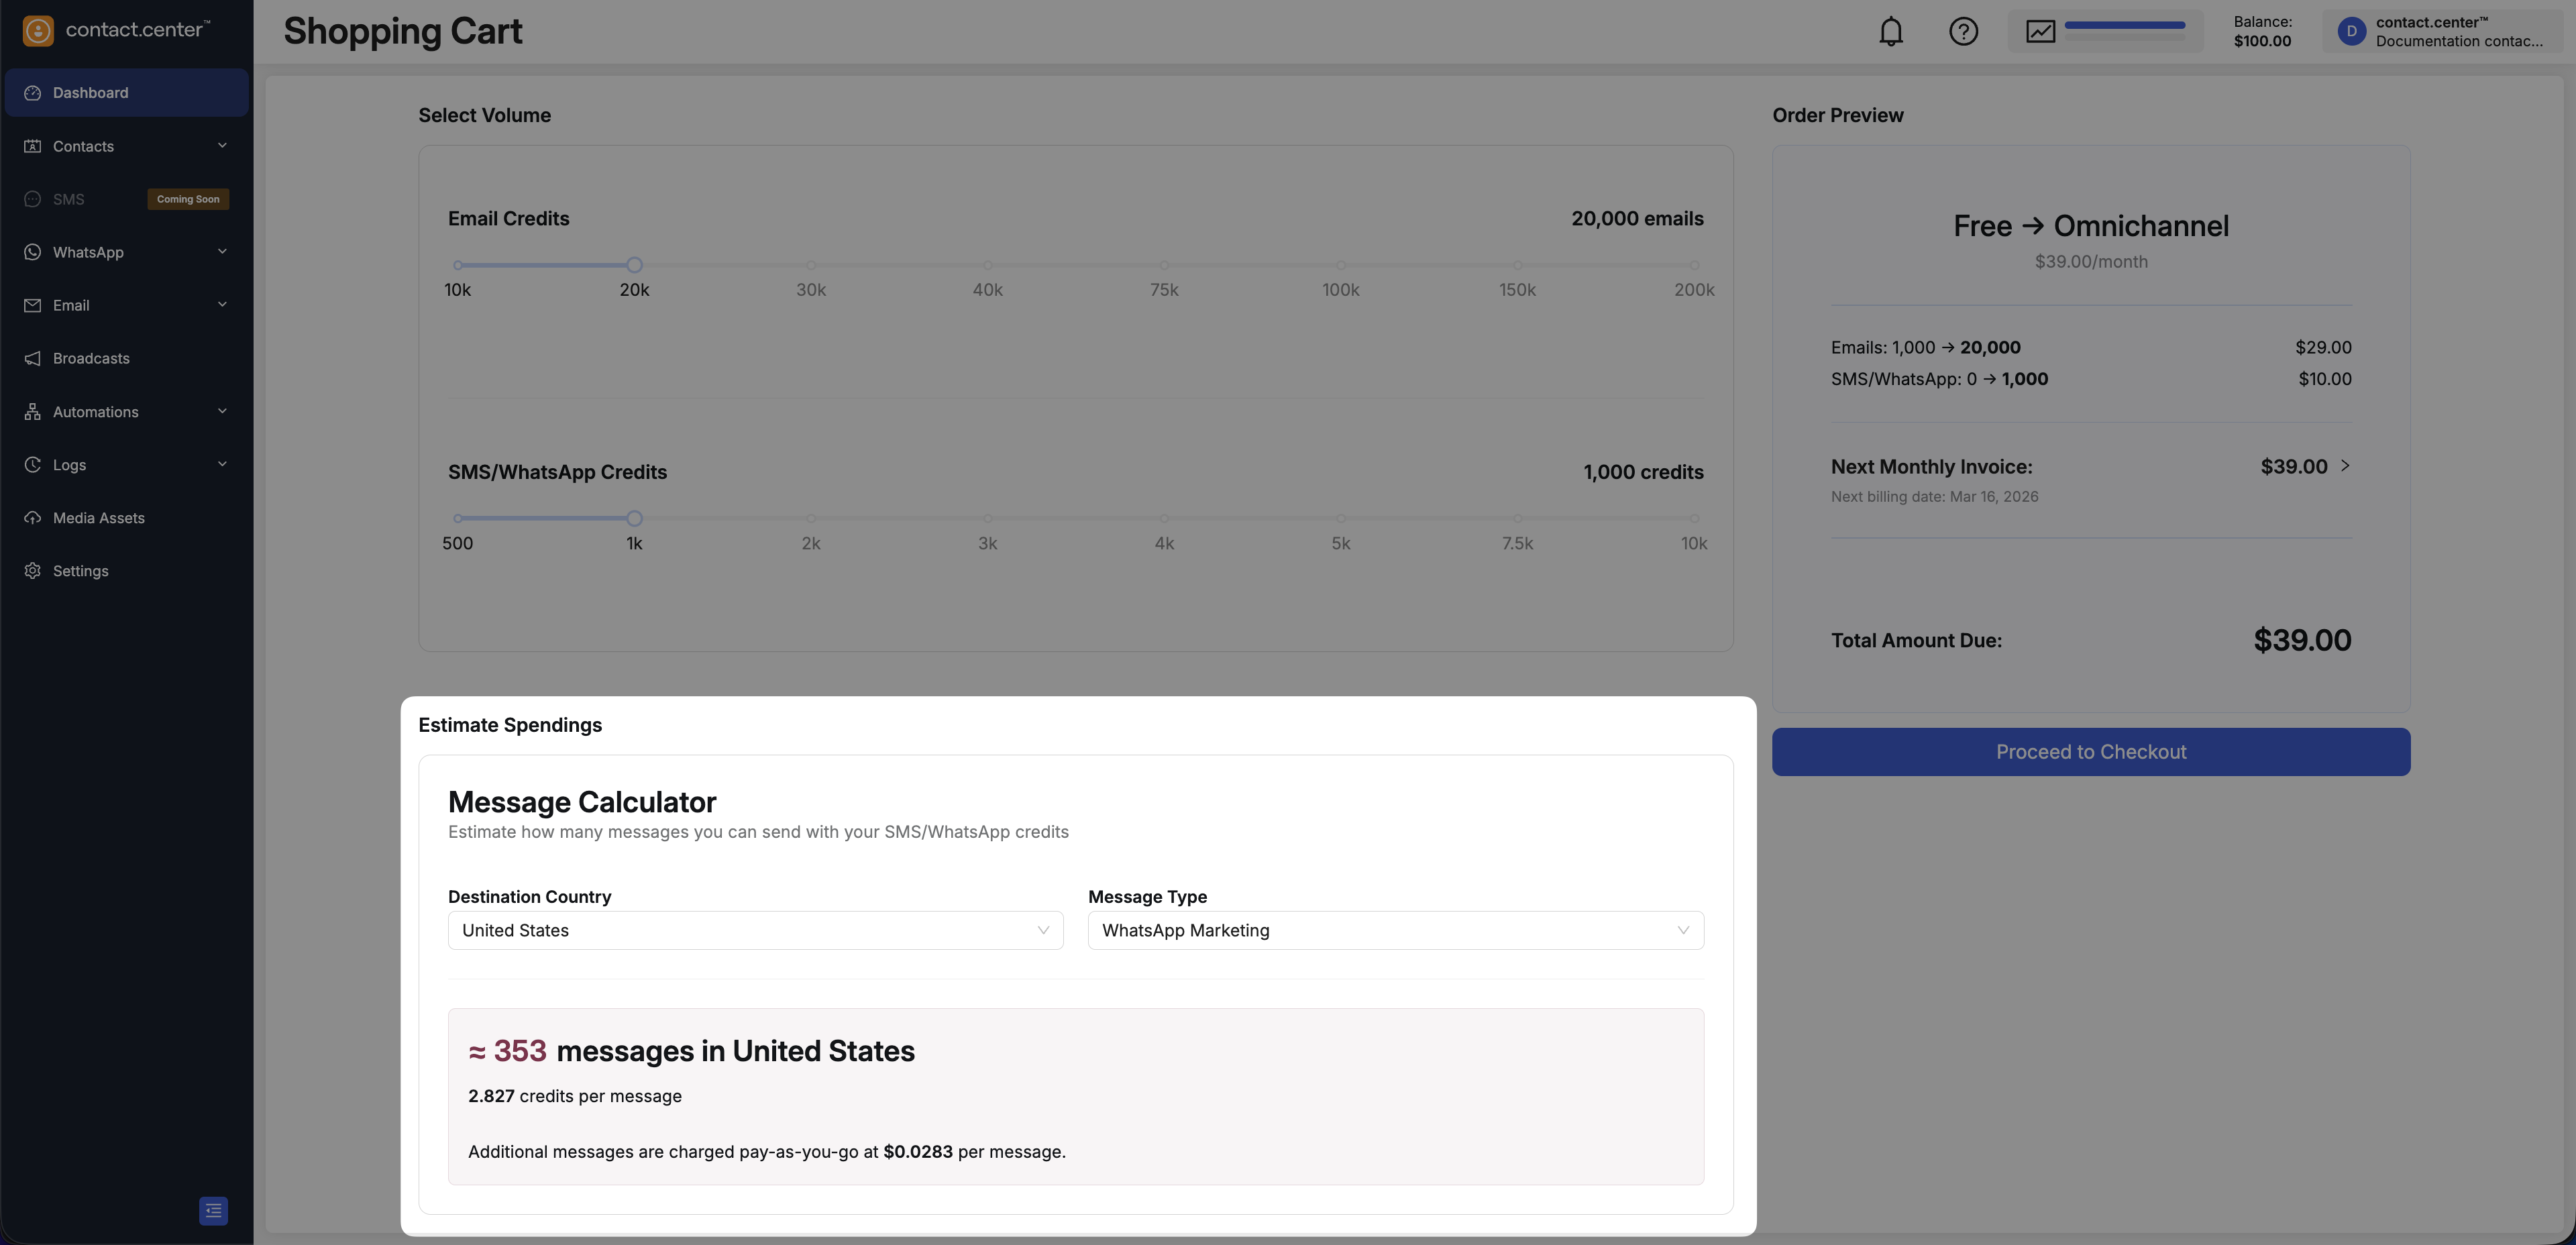
Fig. 10. Estimate messaging capacity using the calculator.
Review Order Preview and Proceed
Review the Order preview panel and confirm that the subscription details are correct.
The pricing updates automatically as you adjust the sliders.
When you are ready to continue, select Proceed to checkout.

Fig. 11. Review order details before checkout.
Step 5: Complete Checkout
On the Checkout page, review your billing details, select a payment method, and confirm the plan change.
Review billing details
Review the Billing information section before you continue.
If any details are incorrect, select Edit billing details.
Note
VAT and applicable taxes are calculated based on your billing information.
Select Payment Method
In the Payment Method section, select the payment method you want to use.
Available options:
My balance
A saved credit card
Add new Credit Card
If you use My balance, the page shows your current balance and the remaining balance after purchase.
Important
If your balance is insufficient and you do not select another valid payment method, you cannot complete checkout.
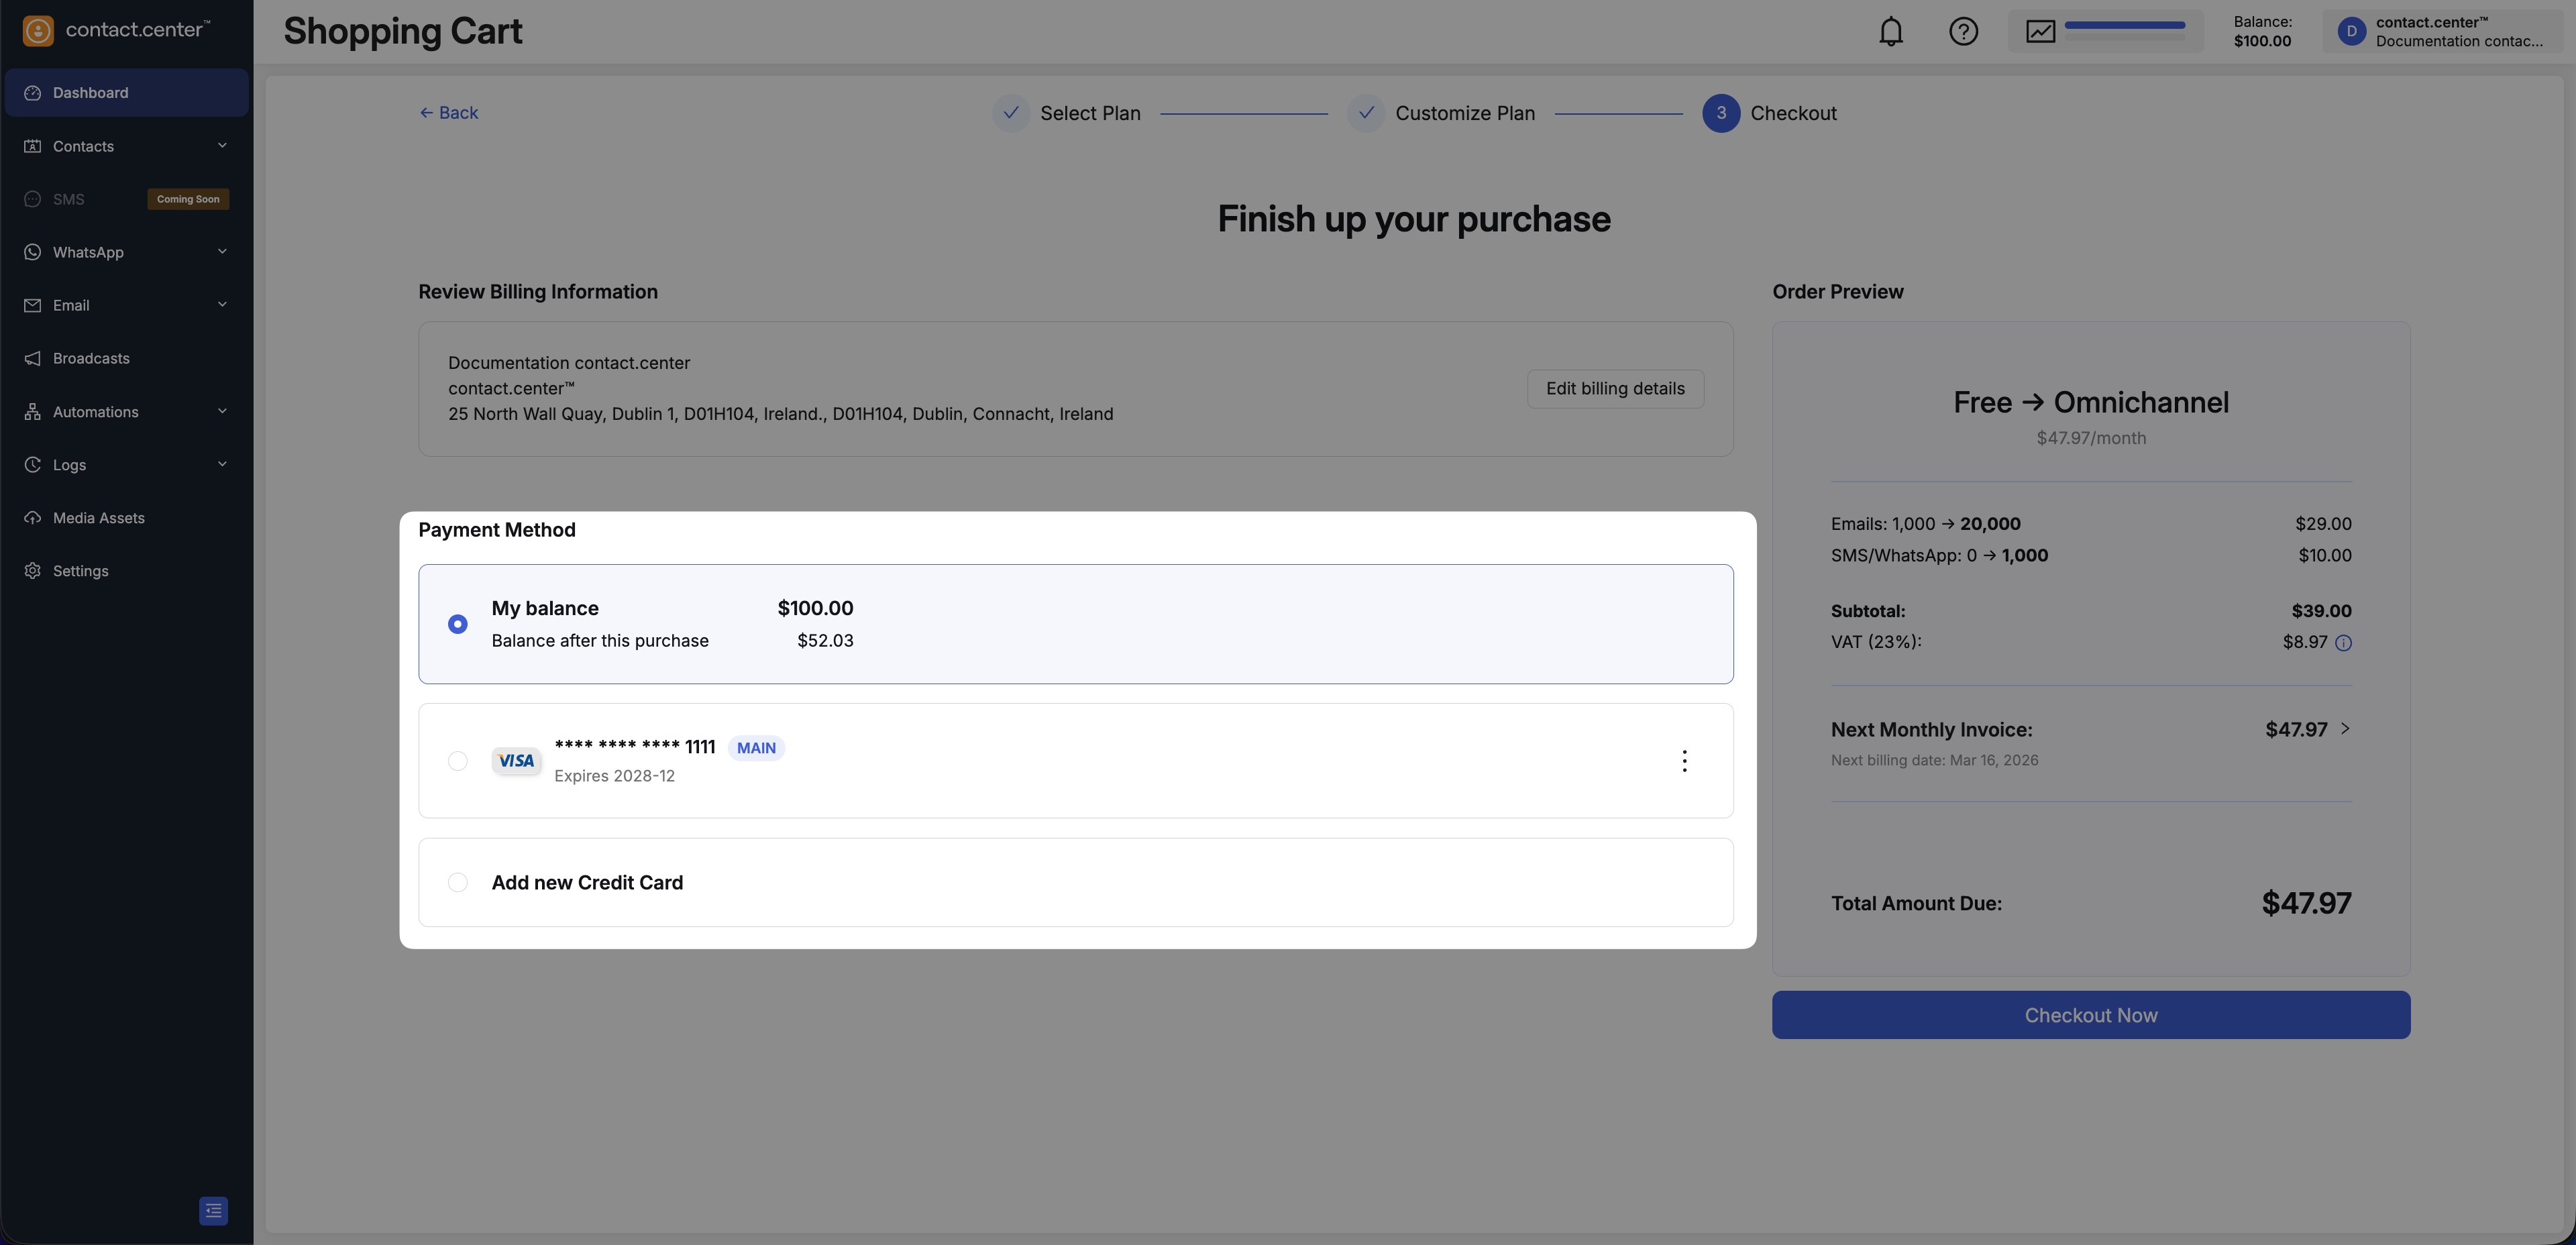
Fig. 12. Select payment method.
Review Order Preview and Complete Checkout
Review the Order preview panel and confirm that the details are correct.
When you are ready to continue, select Checkout Now.
After successful payment, the plan change is applied to your workspace.
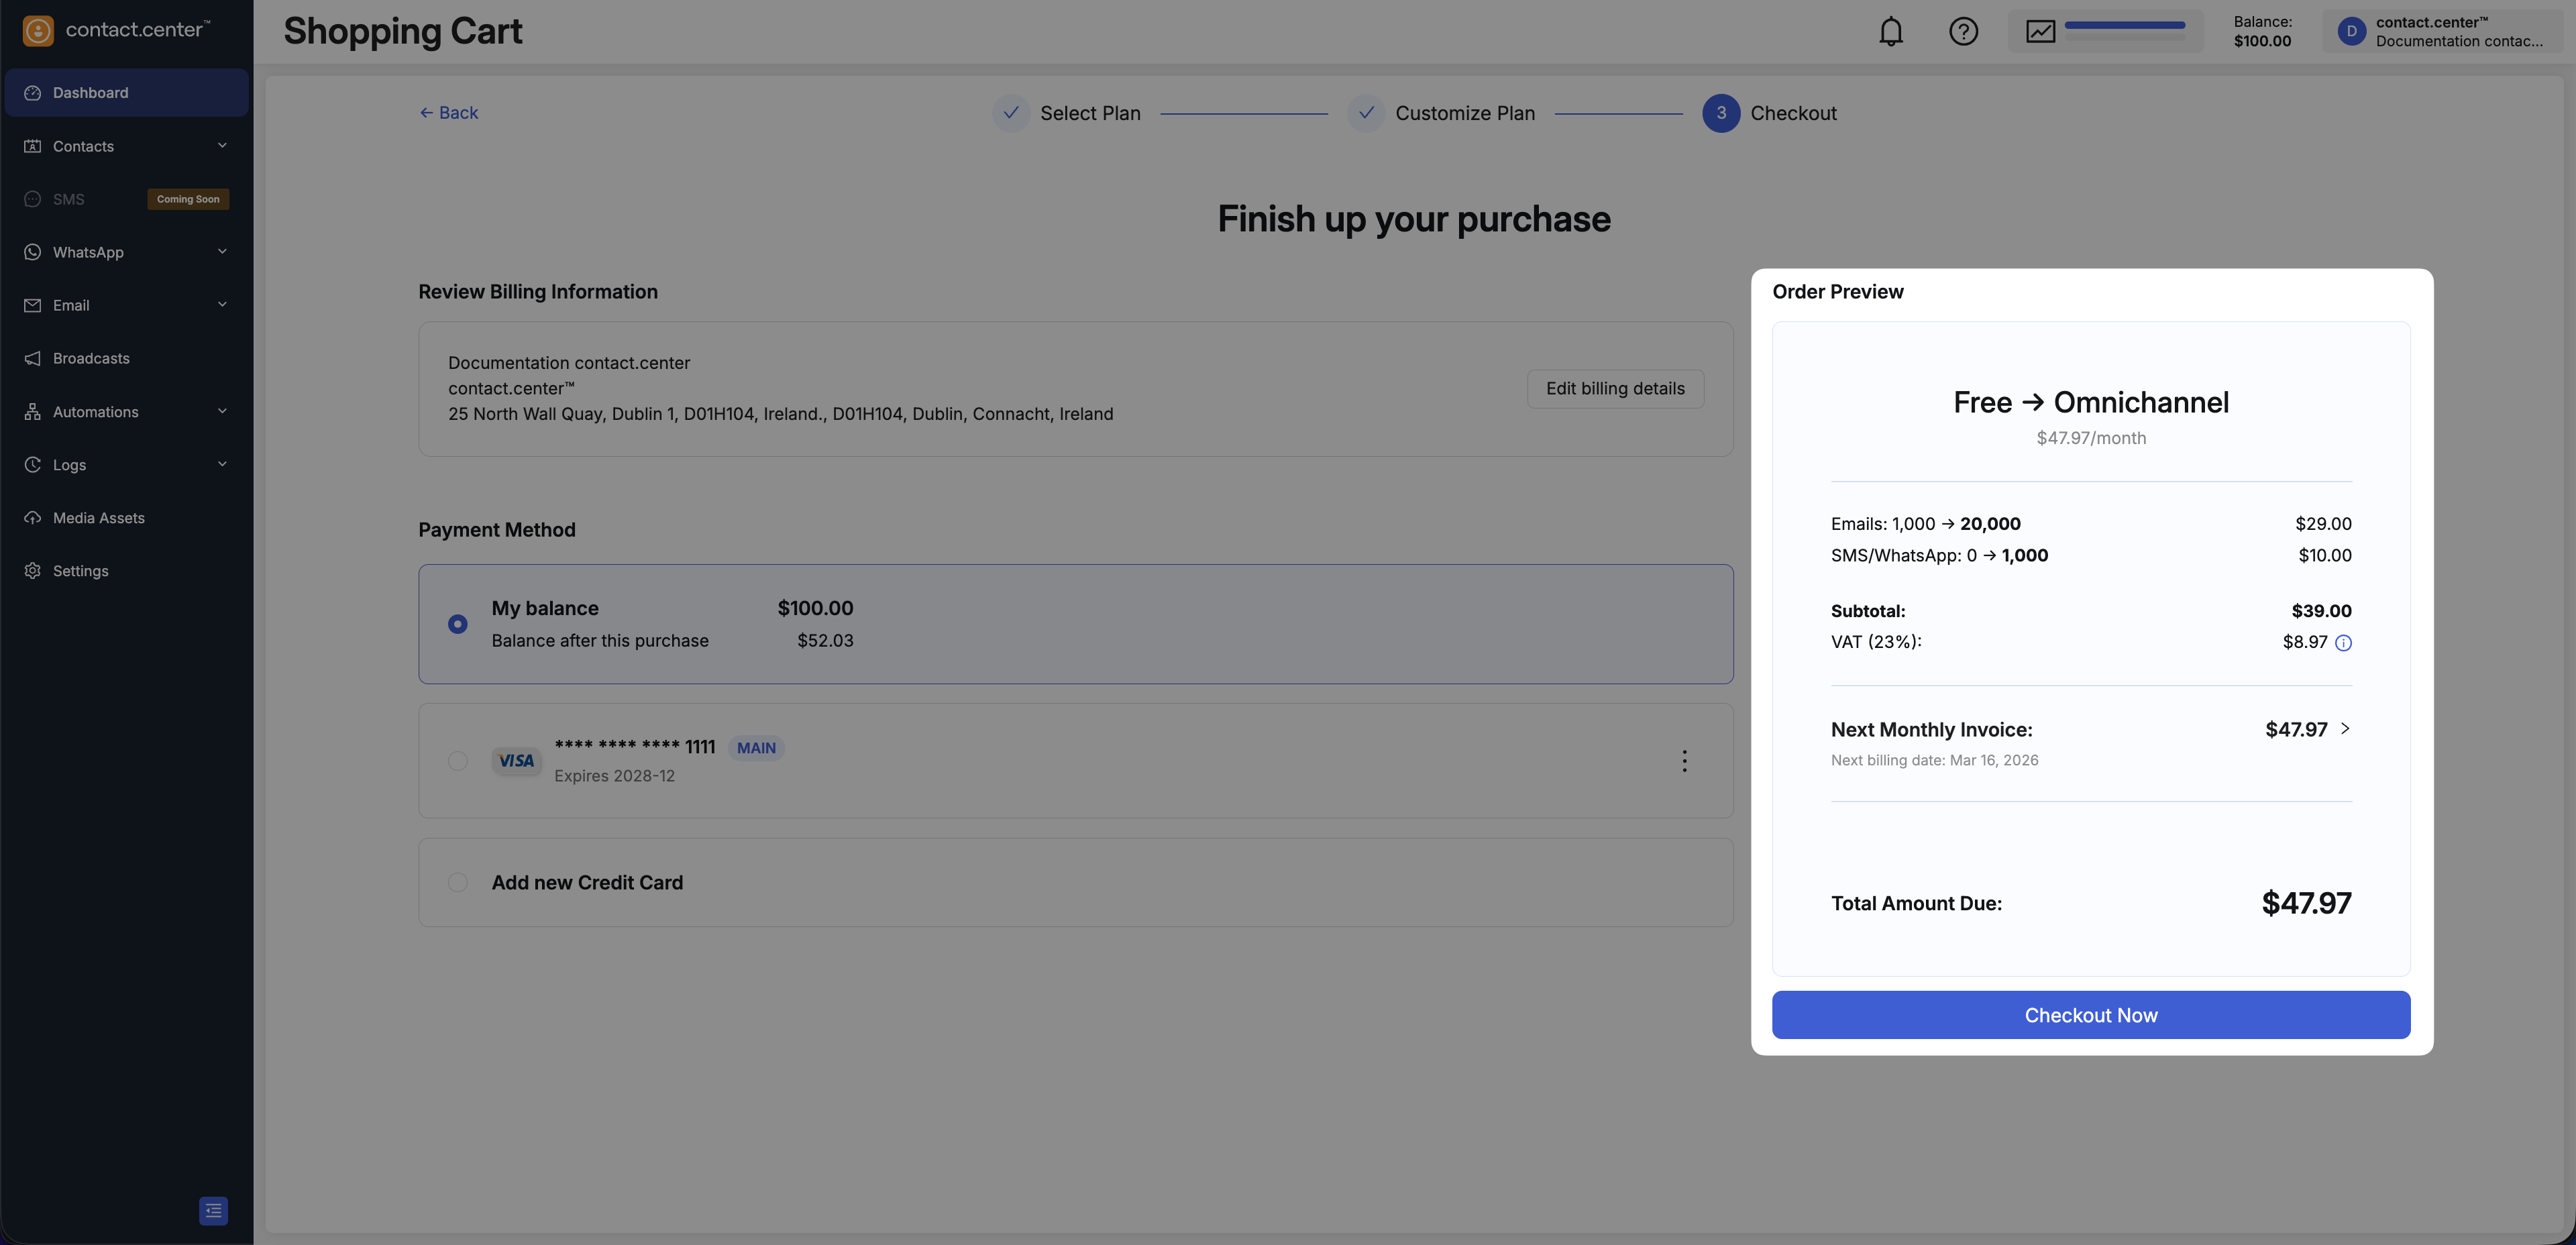
Fig. 13. Review order preview and complete checkout.