SMS Templates
The SMS Templates in the contact.center™ allows you to create, edit, and manage standardized SMS messages for efficient and personalized communication.
In this section you can:
Create Templates: Design message templates using dynamic attributes to tailor content to individual recipients.
Edit and Manage: Modify existing templates, update content, and remove outdated ones.
Preview and Test: Send test messages to ensure formatting, placeholders, and unsubscribe options are working as expected.
Before You Begin
Before creating SMS templates, make sure you have:
An Active A2P Campaign – Required to send test SMS messages and preview templates. To learn more, see the A2P Campaign documentation .
A Positive Balance – Your account balance must be positive to send SMS messages successfully.
Creating a New SMS Template
To create a new SMS template, follow these steps.
Step 1: Open Create SMS Template Page
In the navigation menu, go to SMS > Templates, and then click + Create SMS Template.
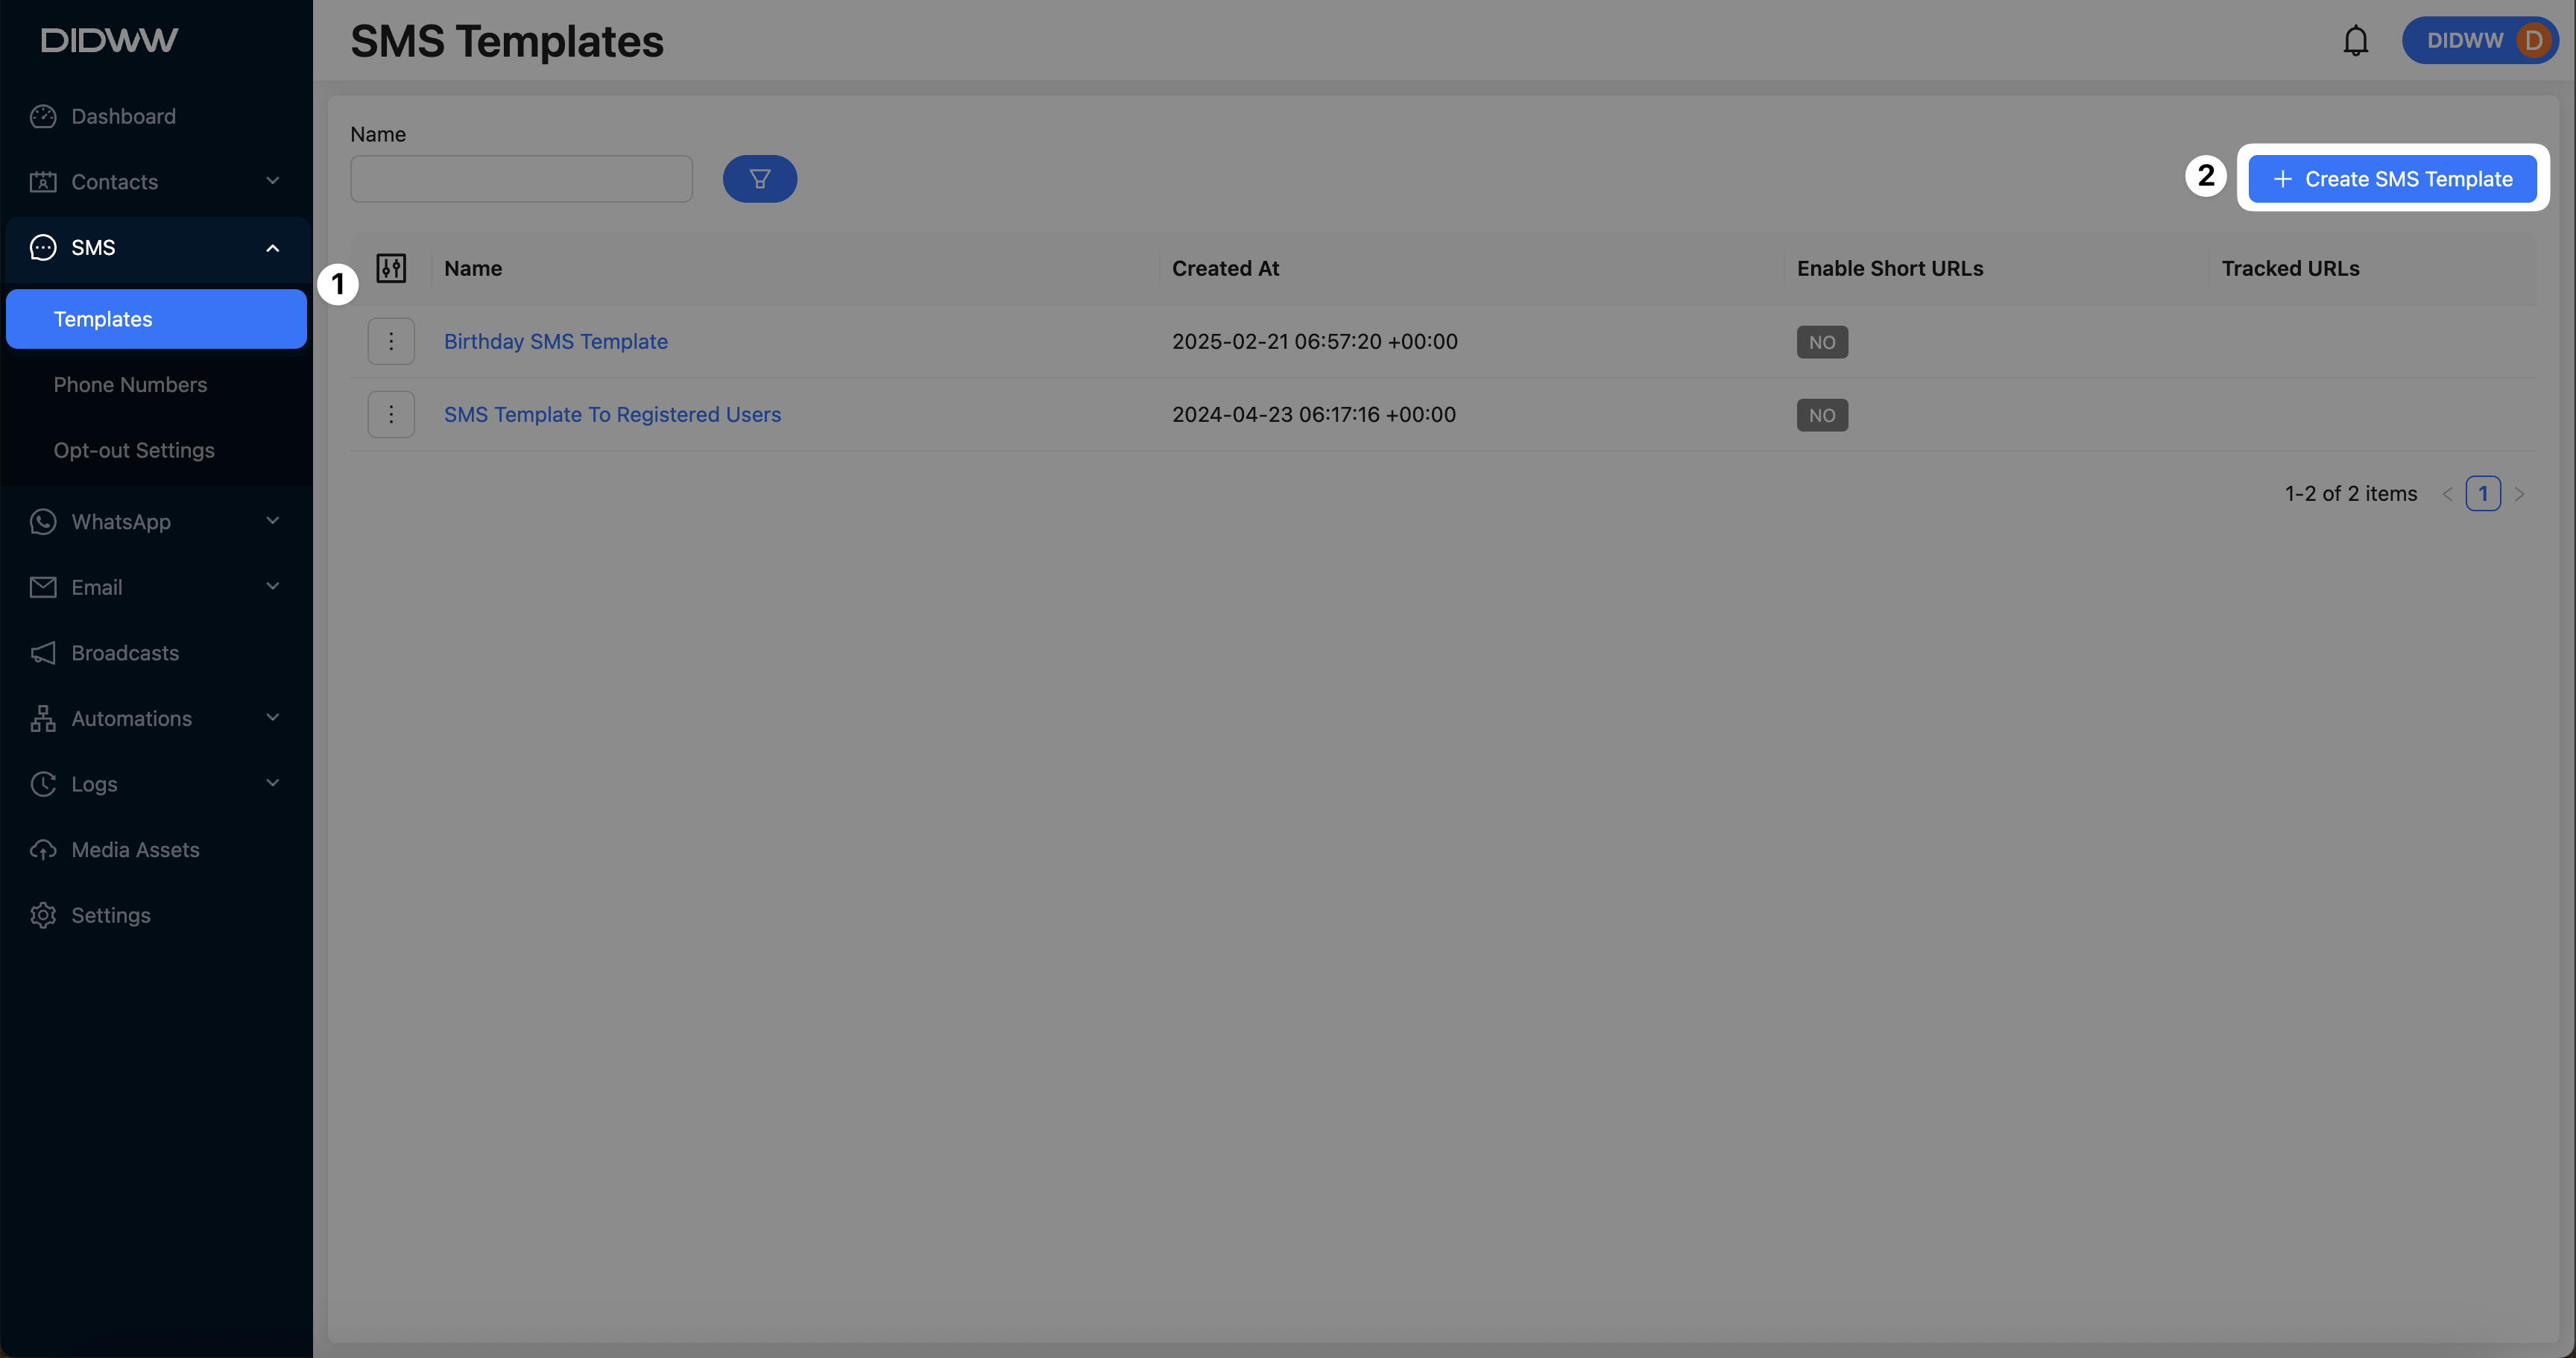
Fig. 2. Create SMS Template.
Step 2: Configure Template Details
Fill in the following fields on the template creation page:
Name: Enter a descriptive name for internal identification.
Template: Input the message content using plain text. Use dynamic attributes to personalize the message for each contact.
Workspace Placeholders: While entering the message content, click on the attribute icon to view and insert placeholders such as
{{contact.first_name}}.
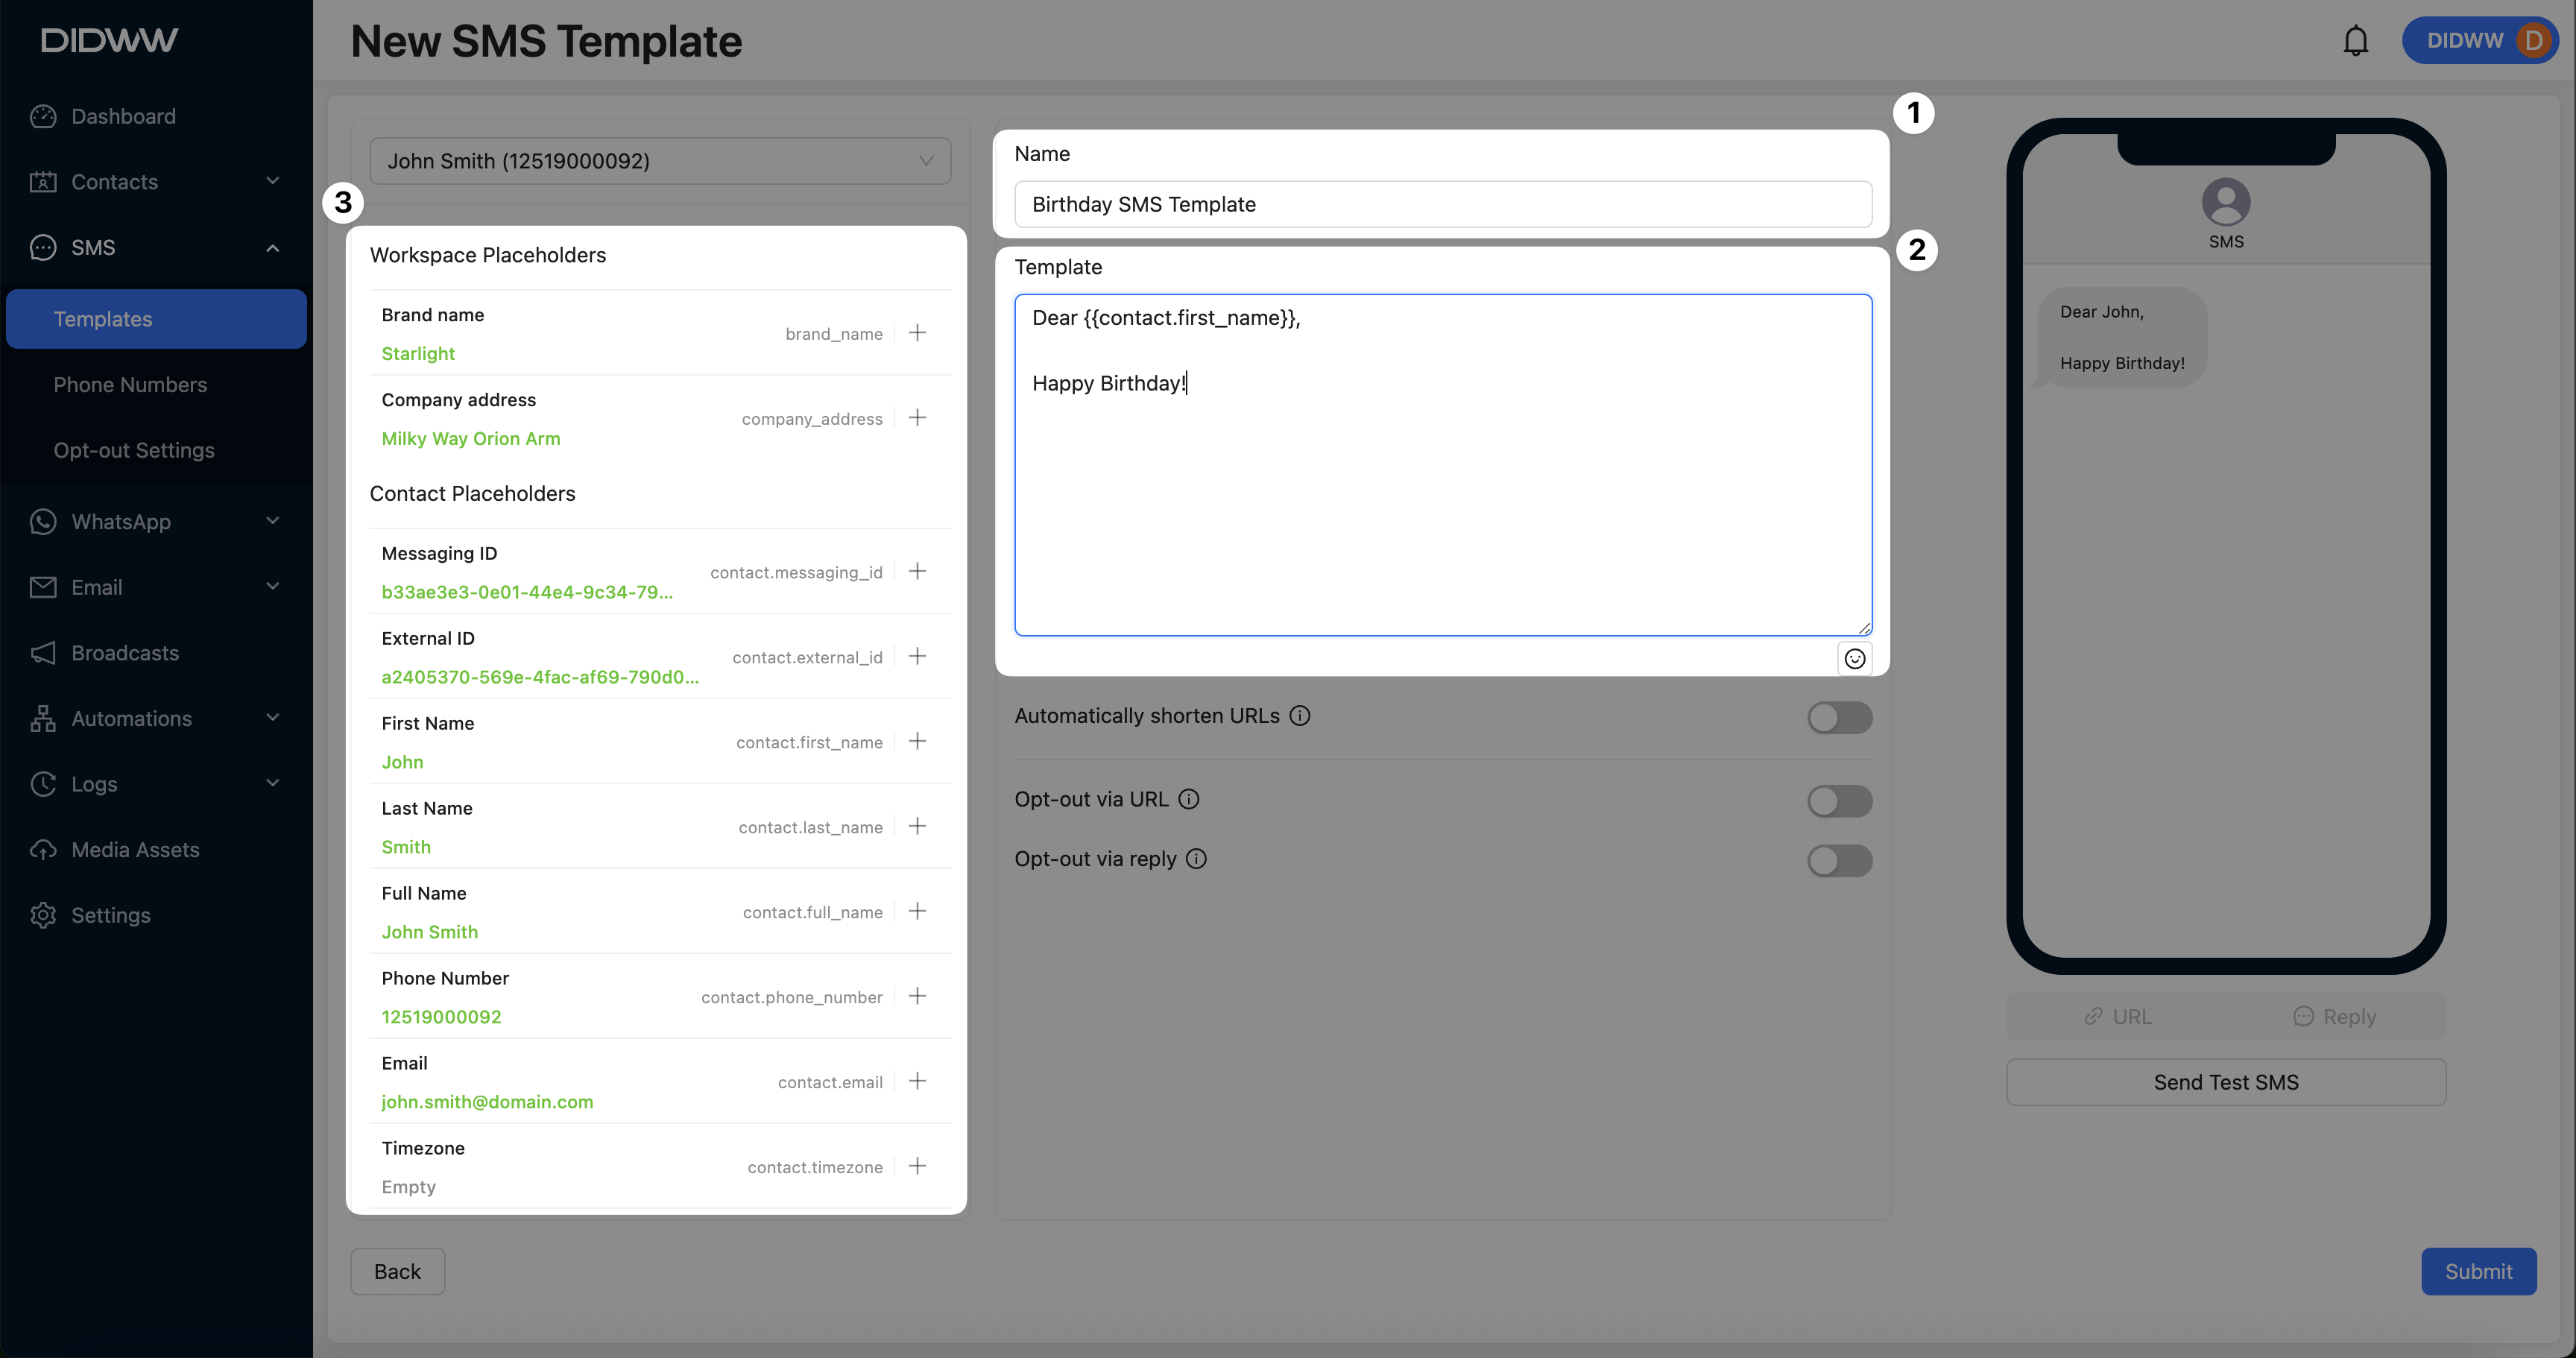
Fig. 2. fill in main.
Optional configuration fields:
Automatically Shorten URLs: Toggle on to auto-shorten URLs included in the message.
Opt-out via URL: Enable to insert an unsubscribe URL using the
{{unsubscribe_url}}placeholder.Opt-out via Reply: Enable to add an opt-out keyword with the
{{unsubscribe_keyword}}placeholder.
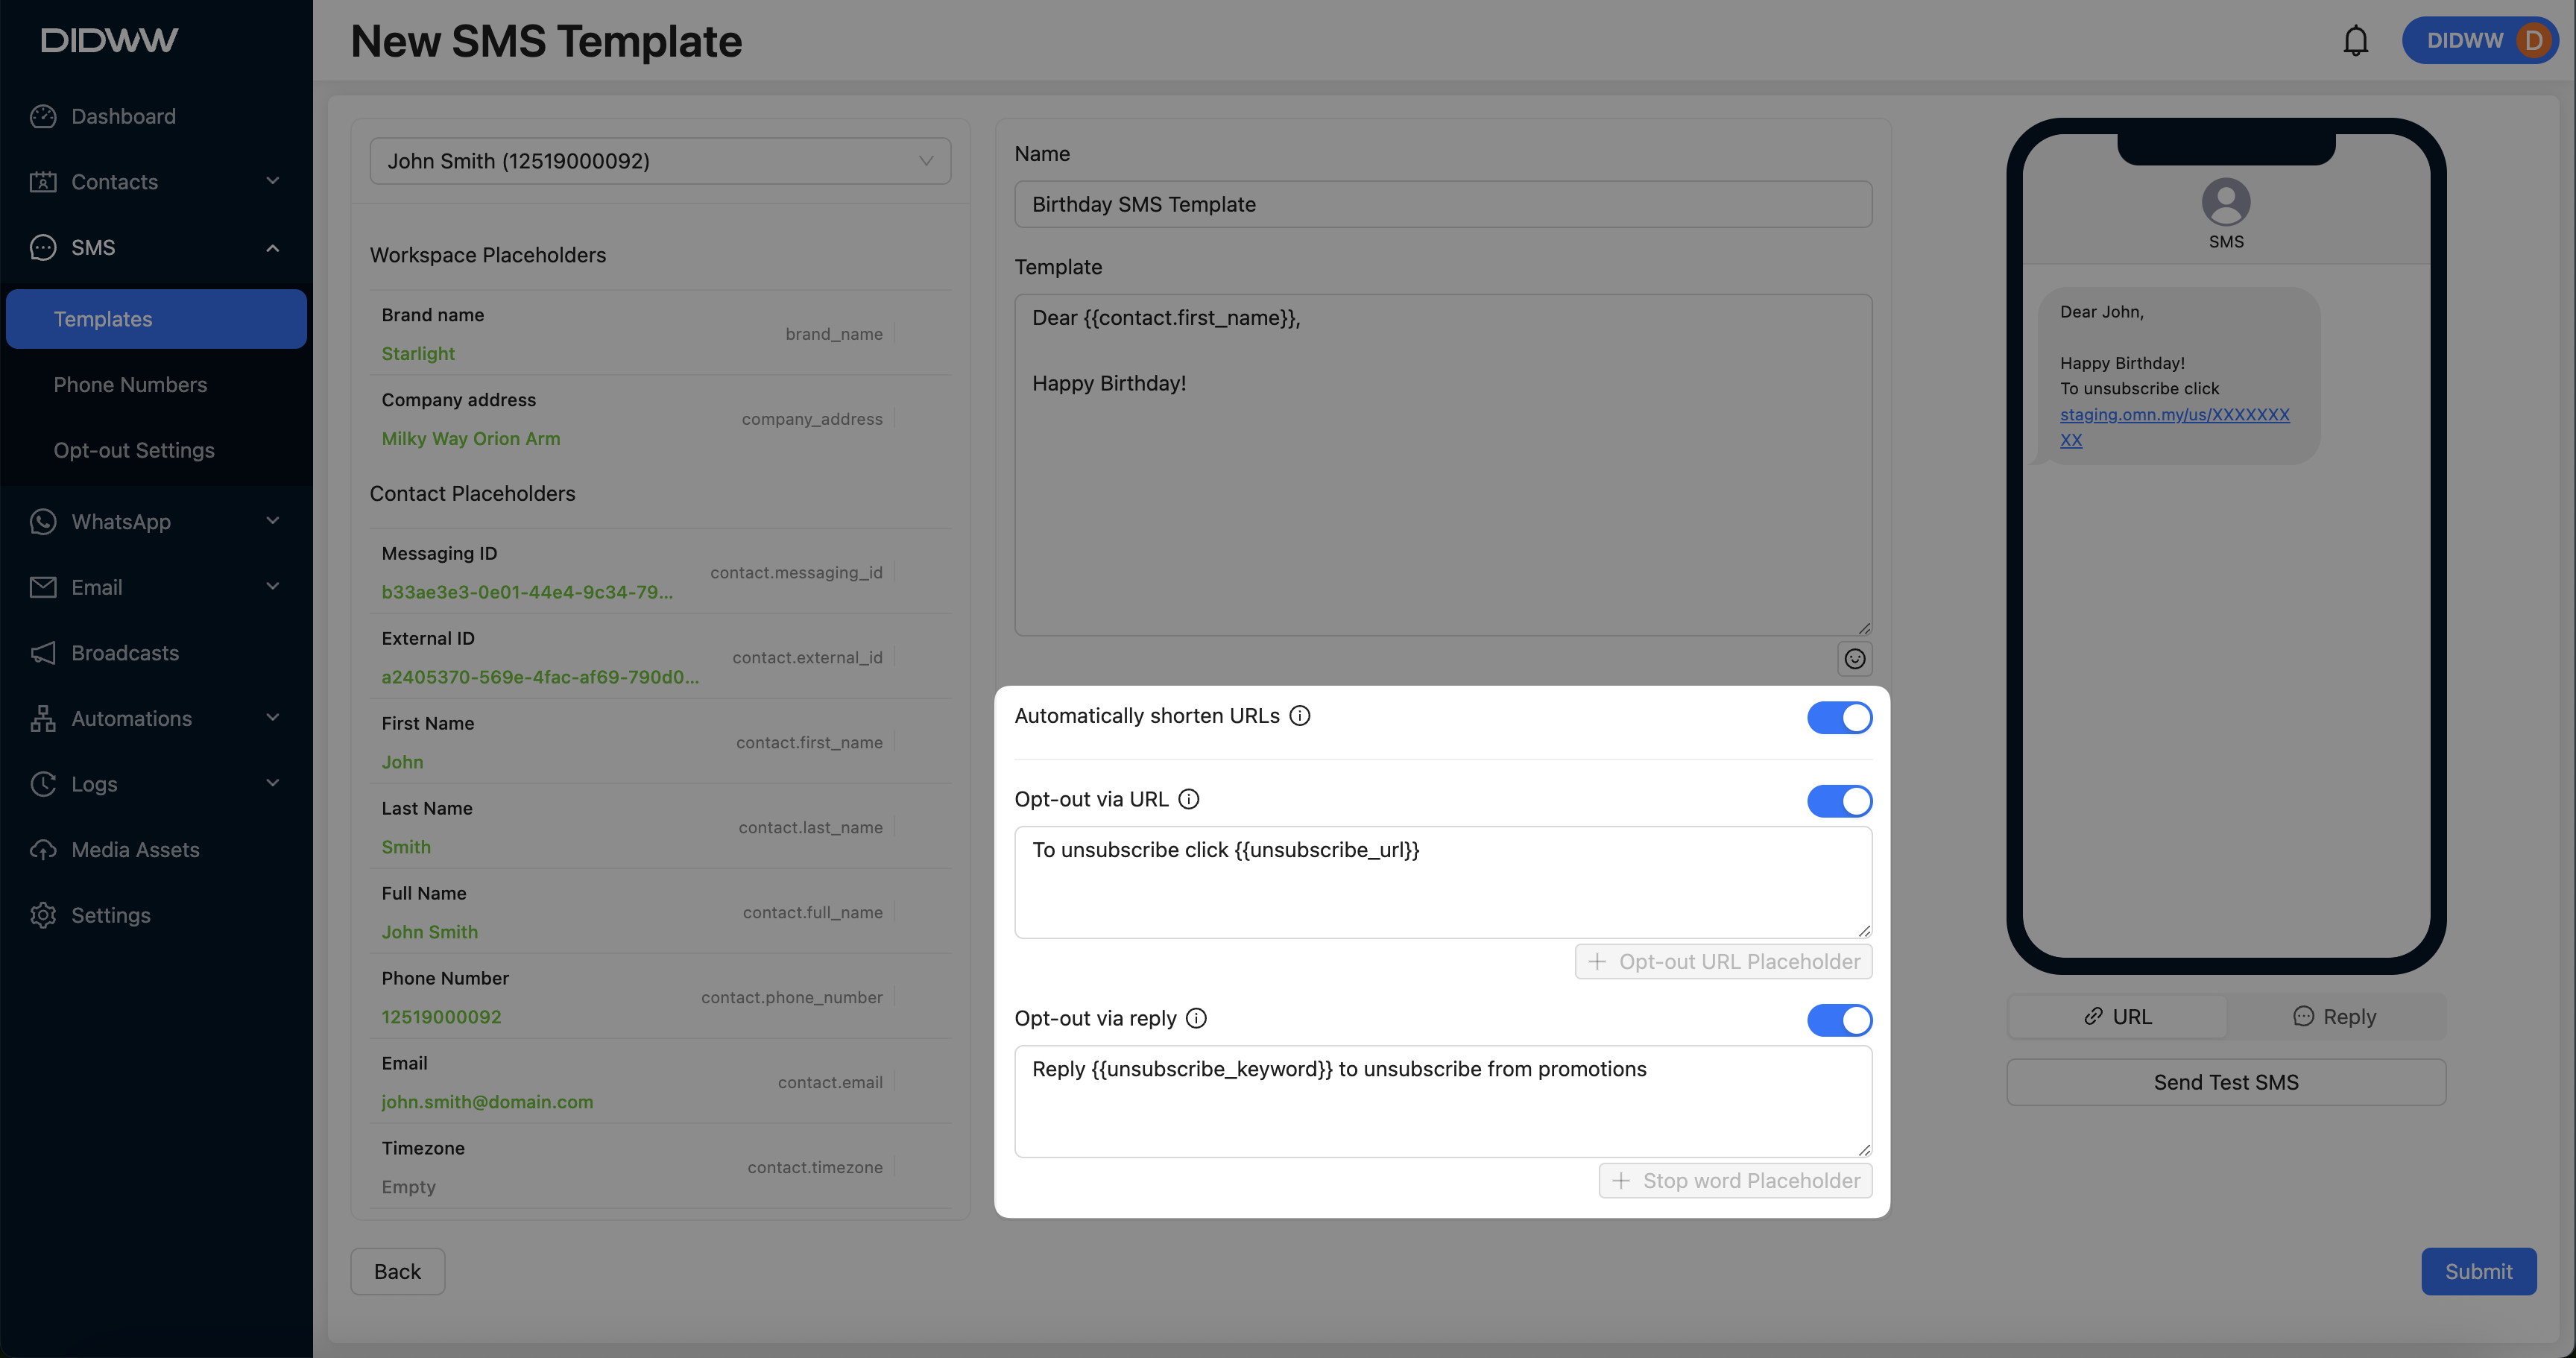
Fig. 3. Optional configuration fields enabled.
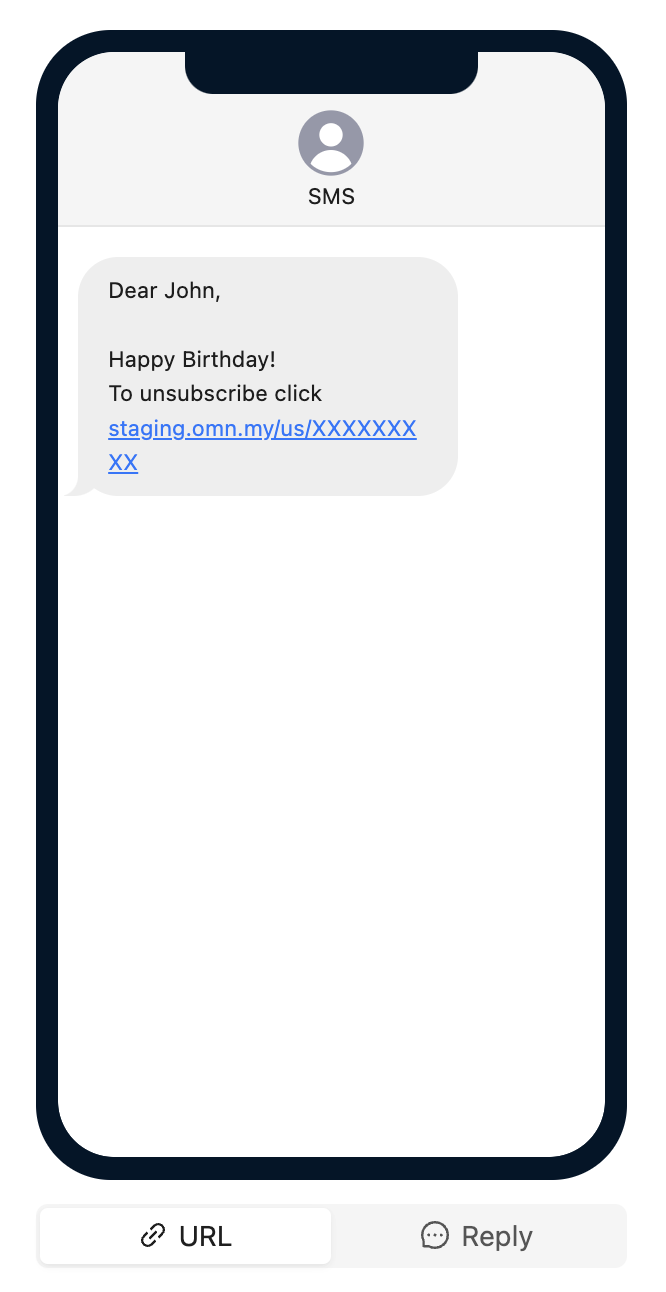
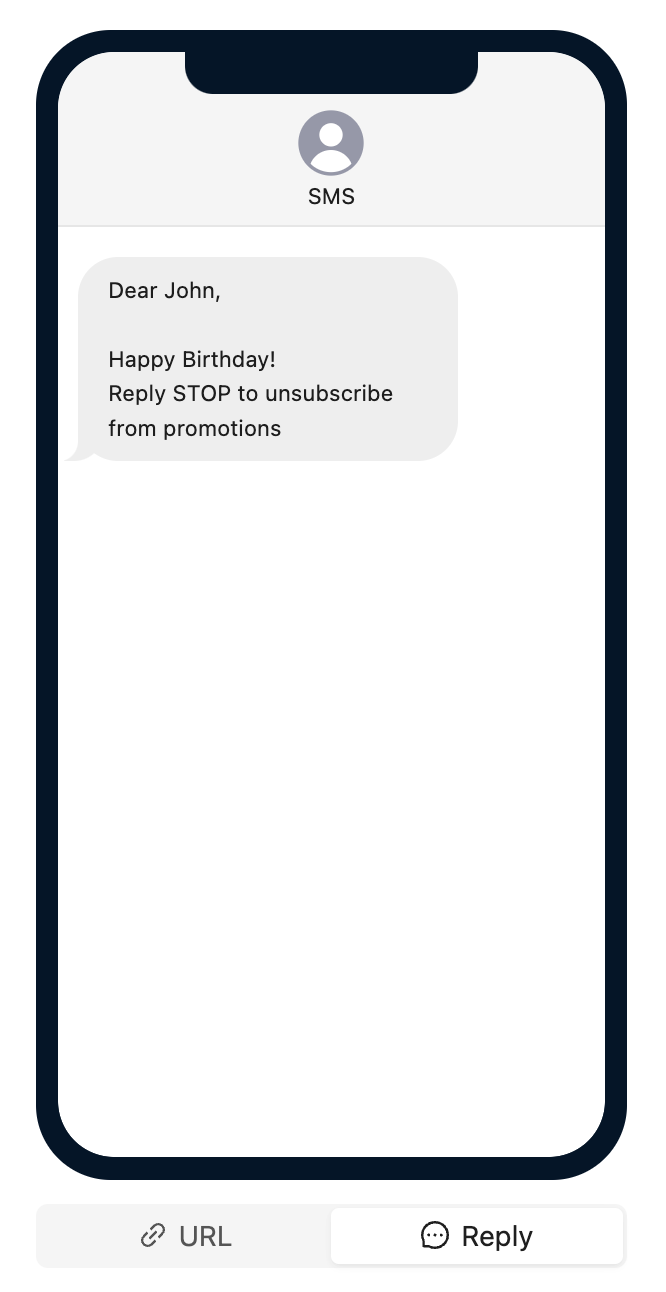
Step 3: Preview Opt-out Options
If opt-out options are enabled, verify the footer content by previewing the template.
Step 4: Send Test SMS
To test the message and ensure placeholder accuracy, click Send Test SMS.
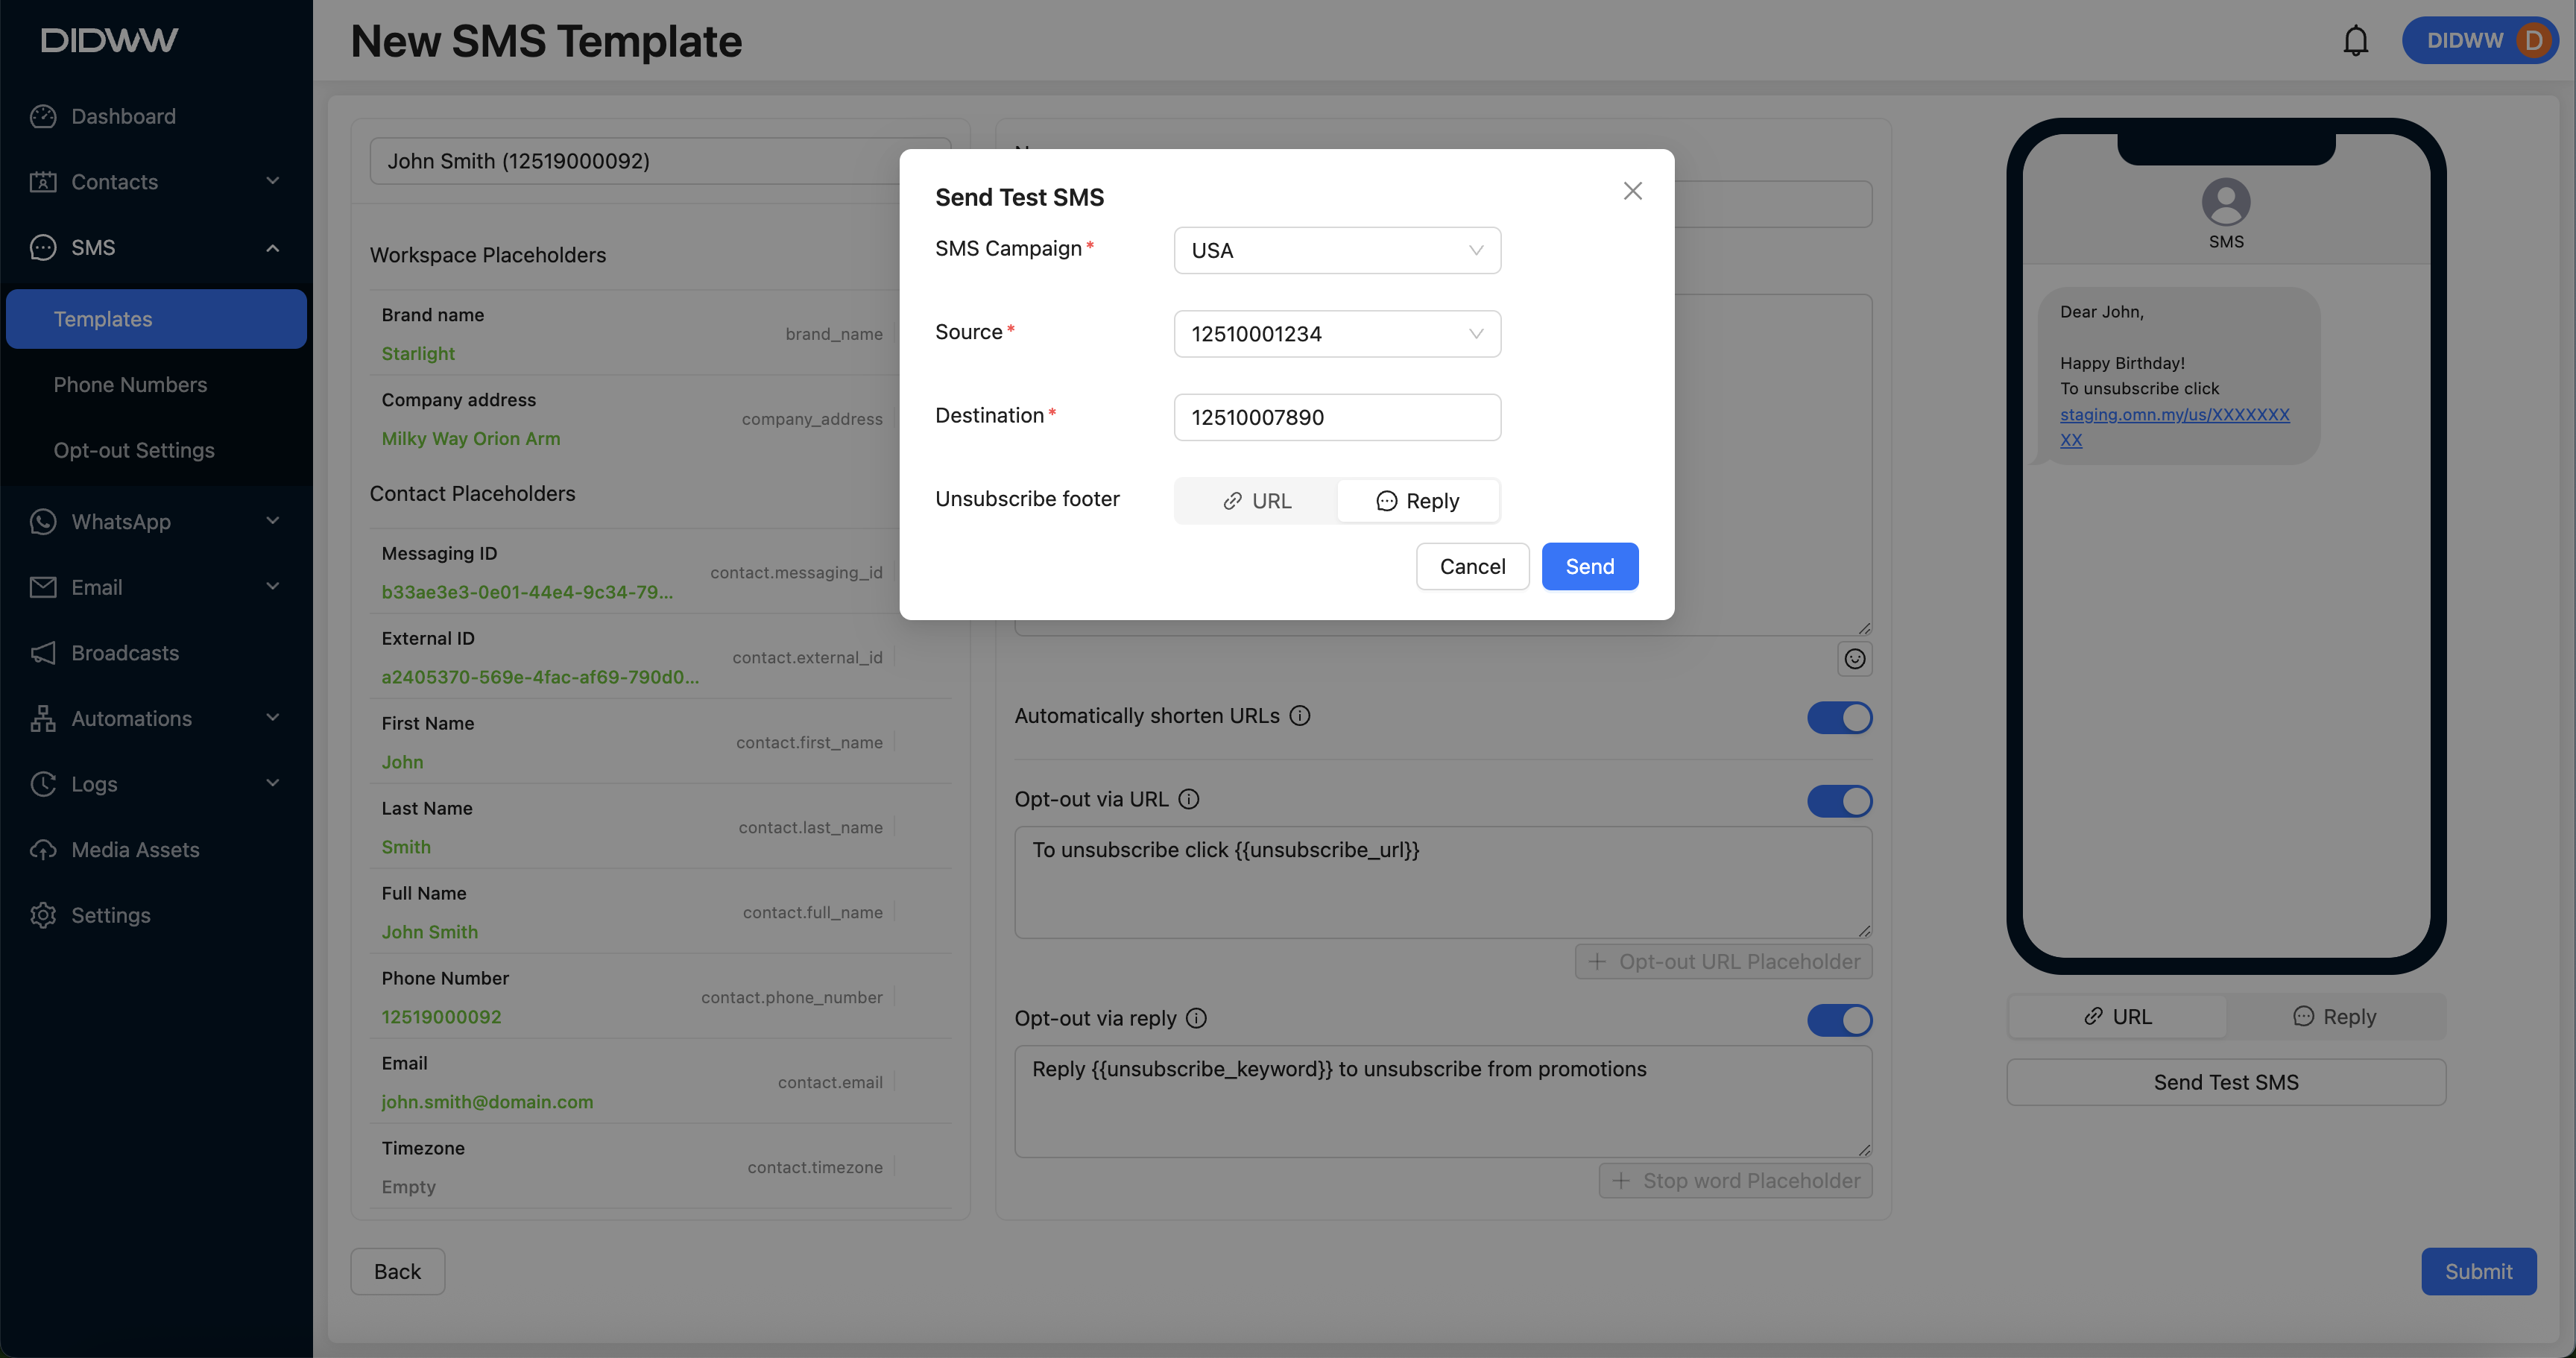
Fig. 6. Send Test SMS Button.
A Send Test SMS window will appear. Fill in the following required fields:
SMS Campaign: Select the target A2P campaign from the dropdown list.
Source: Specify the sender number.
Destination: Enter the test recipient’s phone number.
Unsubscribe Footer: Choose either a URL-based or reply keyword-based footer, depending on your configuration.
After entering all required information, click Send to deliver the test SMS.
Step 5: Save the Template
After configuring and testing, click Submit to save the SMS template.
Learn More
Learn how to assign the contact.center™ trunk to your DIDs and start receiving inbound SMS messages.
Learn how to create and customize opt-out messages, configure reply keywords, and manage success responses for SMS campaigns.