Text Content Block
Within the Email Editor, the Text content block allows you to add and format written content in your email designs. Whether you want to introduce a new section, share important information, or personalize your message with your contact’s details, this block gives you full control over how your text looks and reads.
Before You Start
Understand the difference between a section and a content block.
Add any fonts you want to use before you start styling text in the editor.
Insert a Text Content Block
To insert a text content block in your email design, drag the Text block into the email canvas.
Once the block is inserted, its settings open in the left panel. From there, you can adjust the layout, spacing, background, and text styling for that content area.
Fig. 1. Insert text content block onto the canvas.
Customize Text
You can customize text from two places in the Email Editor: the block settings in the left panel and the in-canvas toolbar that appears while you are editing text directly in the canvas.
Use the Text Toolbar
When you edit text directly inside the canvas, an on-screen toolbar appears above the selected text block.
The text toolbar provides quick access to essential formatting options for styling and personalizing your text block. You can use it to adjust text appearance, add links, insert personalization variables, and structure your content clearly and consistently.

Fig. 2. In-canvas text toolbar.
N° |
Description |
|---|---|
1 |
Select a predefined text style, such as paragraph or heading, to organize content and maintain consistent formatting across the message. |
2 |
Select the font family for the selected text, allowing you to match branding or adjust readability. |
3 |
Select the font size for the selected text to control visual hierarchy and emphasis within the content. |
4 |
Change the text color to highlight specific parts of the message or improve contrast and visibility. |
5 |
Apply inline text formatting such as bold, italic, underline, or strikethrough to emphasize or adjust specific parts of the text. |
6 |
Change the text alignment (for example, left, center, or right) to improve layout and readability. |
7 |
Clear formatting from the selected text and revert it to the default style. |
8 |
Add or edit a hyperlink, allowing you to reference external or internal resources directly within the text. |
9 |
Insert a personalization variable to dynamically populate content based on contact data. For more information, see Contact Attributes. |
10 |
Insert an emoji to add visual context or tone to the message. |
11 |
Open additional actions, such as inserting bulleted or numbered lists, to further structure the content. |
Add a Link to Text
You can make any word or sentence in your text clickable by inserting a link. This is useful for directing readers to a webpage, email address, phone number, or another supported destination.
To insert a link under your text:
Select the text to which you want to add a link.
In the in-canvas toolbar, click the link icon.
In the link dialog, choose the tab that matches the type of link you want to add under your text:
Use this option to link the selected text to a webpage or other direct URL.
In Link Type, select Absolute (URL).
In Link target, enter the destination URL.
Optionally add Tooltip.
Enable link tracking if you want to measure clicks on the link.
Use this option when the selected text should start a phone call on supported devices.
In Link Type, select Click-to-call phone number (tel).
In Telephone number, enter the phone number you want to use.
Optionally add Tooltip.
Use this option when the selected text should open a new email message.
In Link Type, select Email link (mail-to).
In Email address, enter the destination email address.
Fill in Email subject and Email body.
Optionally add Tooltip.
Use this option when the selected text should act as an unsubscribe action in the email.
In Link Type, select Unsubscribe link.
Optionally add Tooltip.
Click Insert.
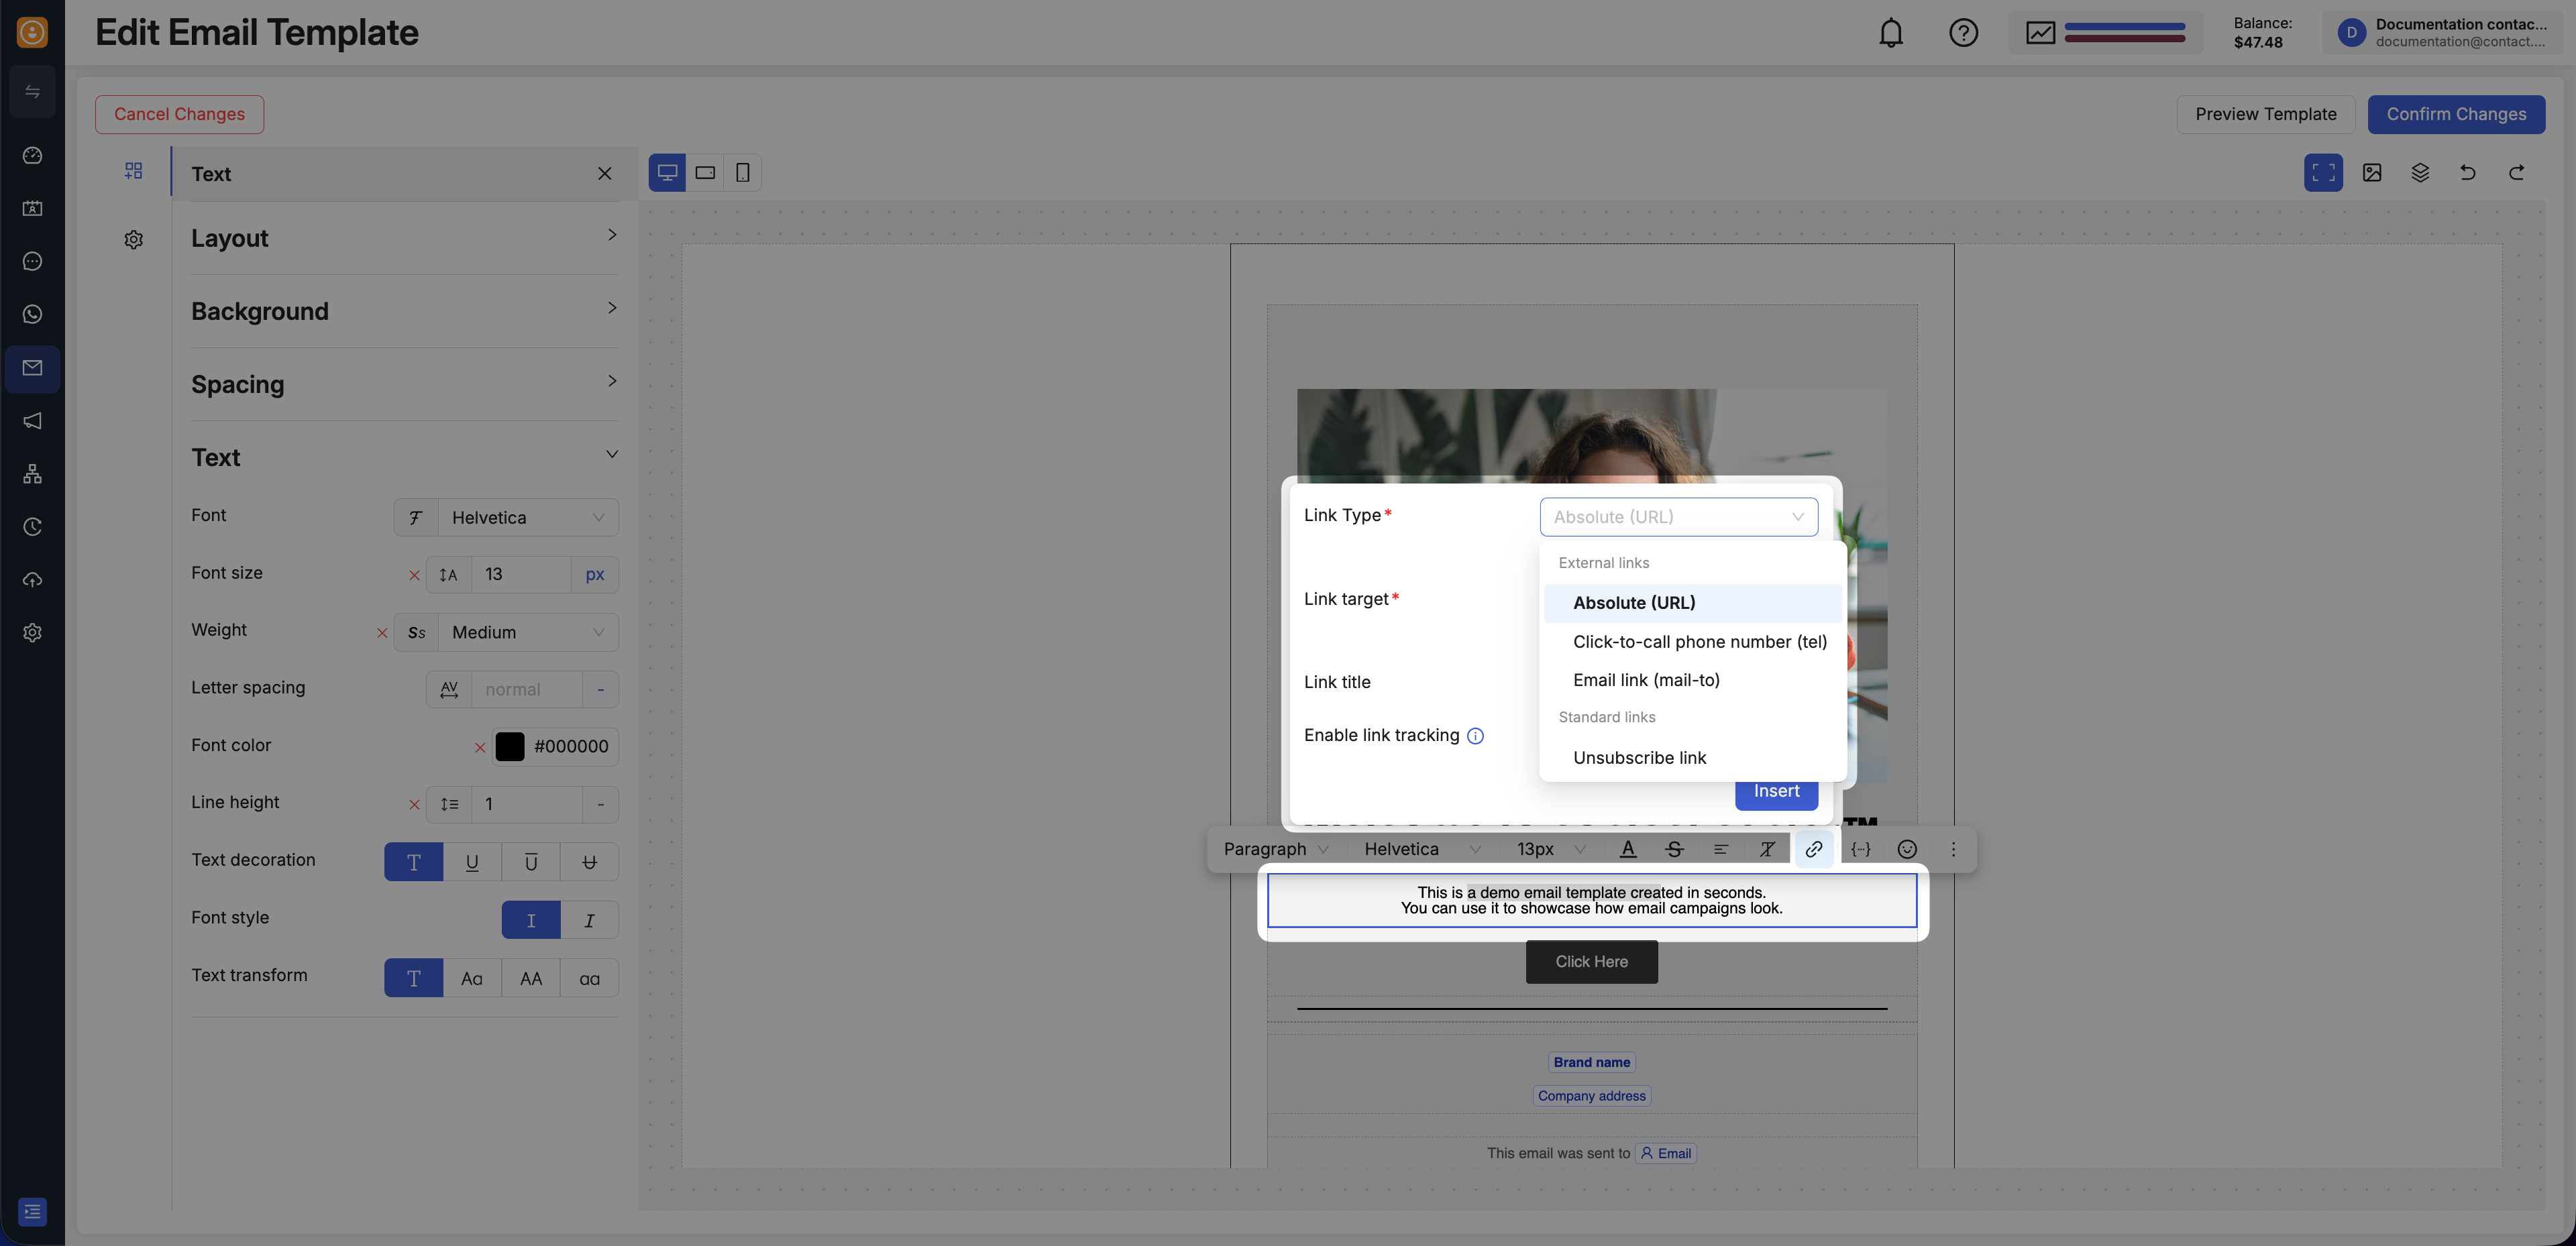
Fig. 3. Insert or edit a text link from the in-canvas toolbar.
Change Text Style
Adjust your text’s font, size, formatting, and color in the in-canvas toolbar to make your emails visually engaging and aligned with your brand.
Click the text block you want to edit.
In the in-canvas toolbar, choose the formatting option you need.
Apply the changes to achieve the desired look and style.
Fig. 4. Text styling controls for a text block.
Add Personalization Variables
Personalization allows you to tailor your email content to each recipient by inserting information such as a contact’s details or other dynamic values available in the editor.
To insert a variable:
Select the text block you want to edit.
In the in-canvas toolbar, click the variable icon.
Choose the attribute you want to insert into the selected text and configure which value should be used if the attribute is empty.
Use variables when you want the written content to adapt automatically for each recipient instead of staying the same for every email.
To learn more about contact-based personalization, see Contact Attributes.
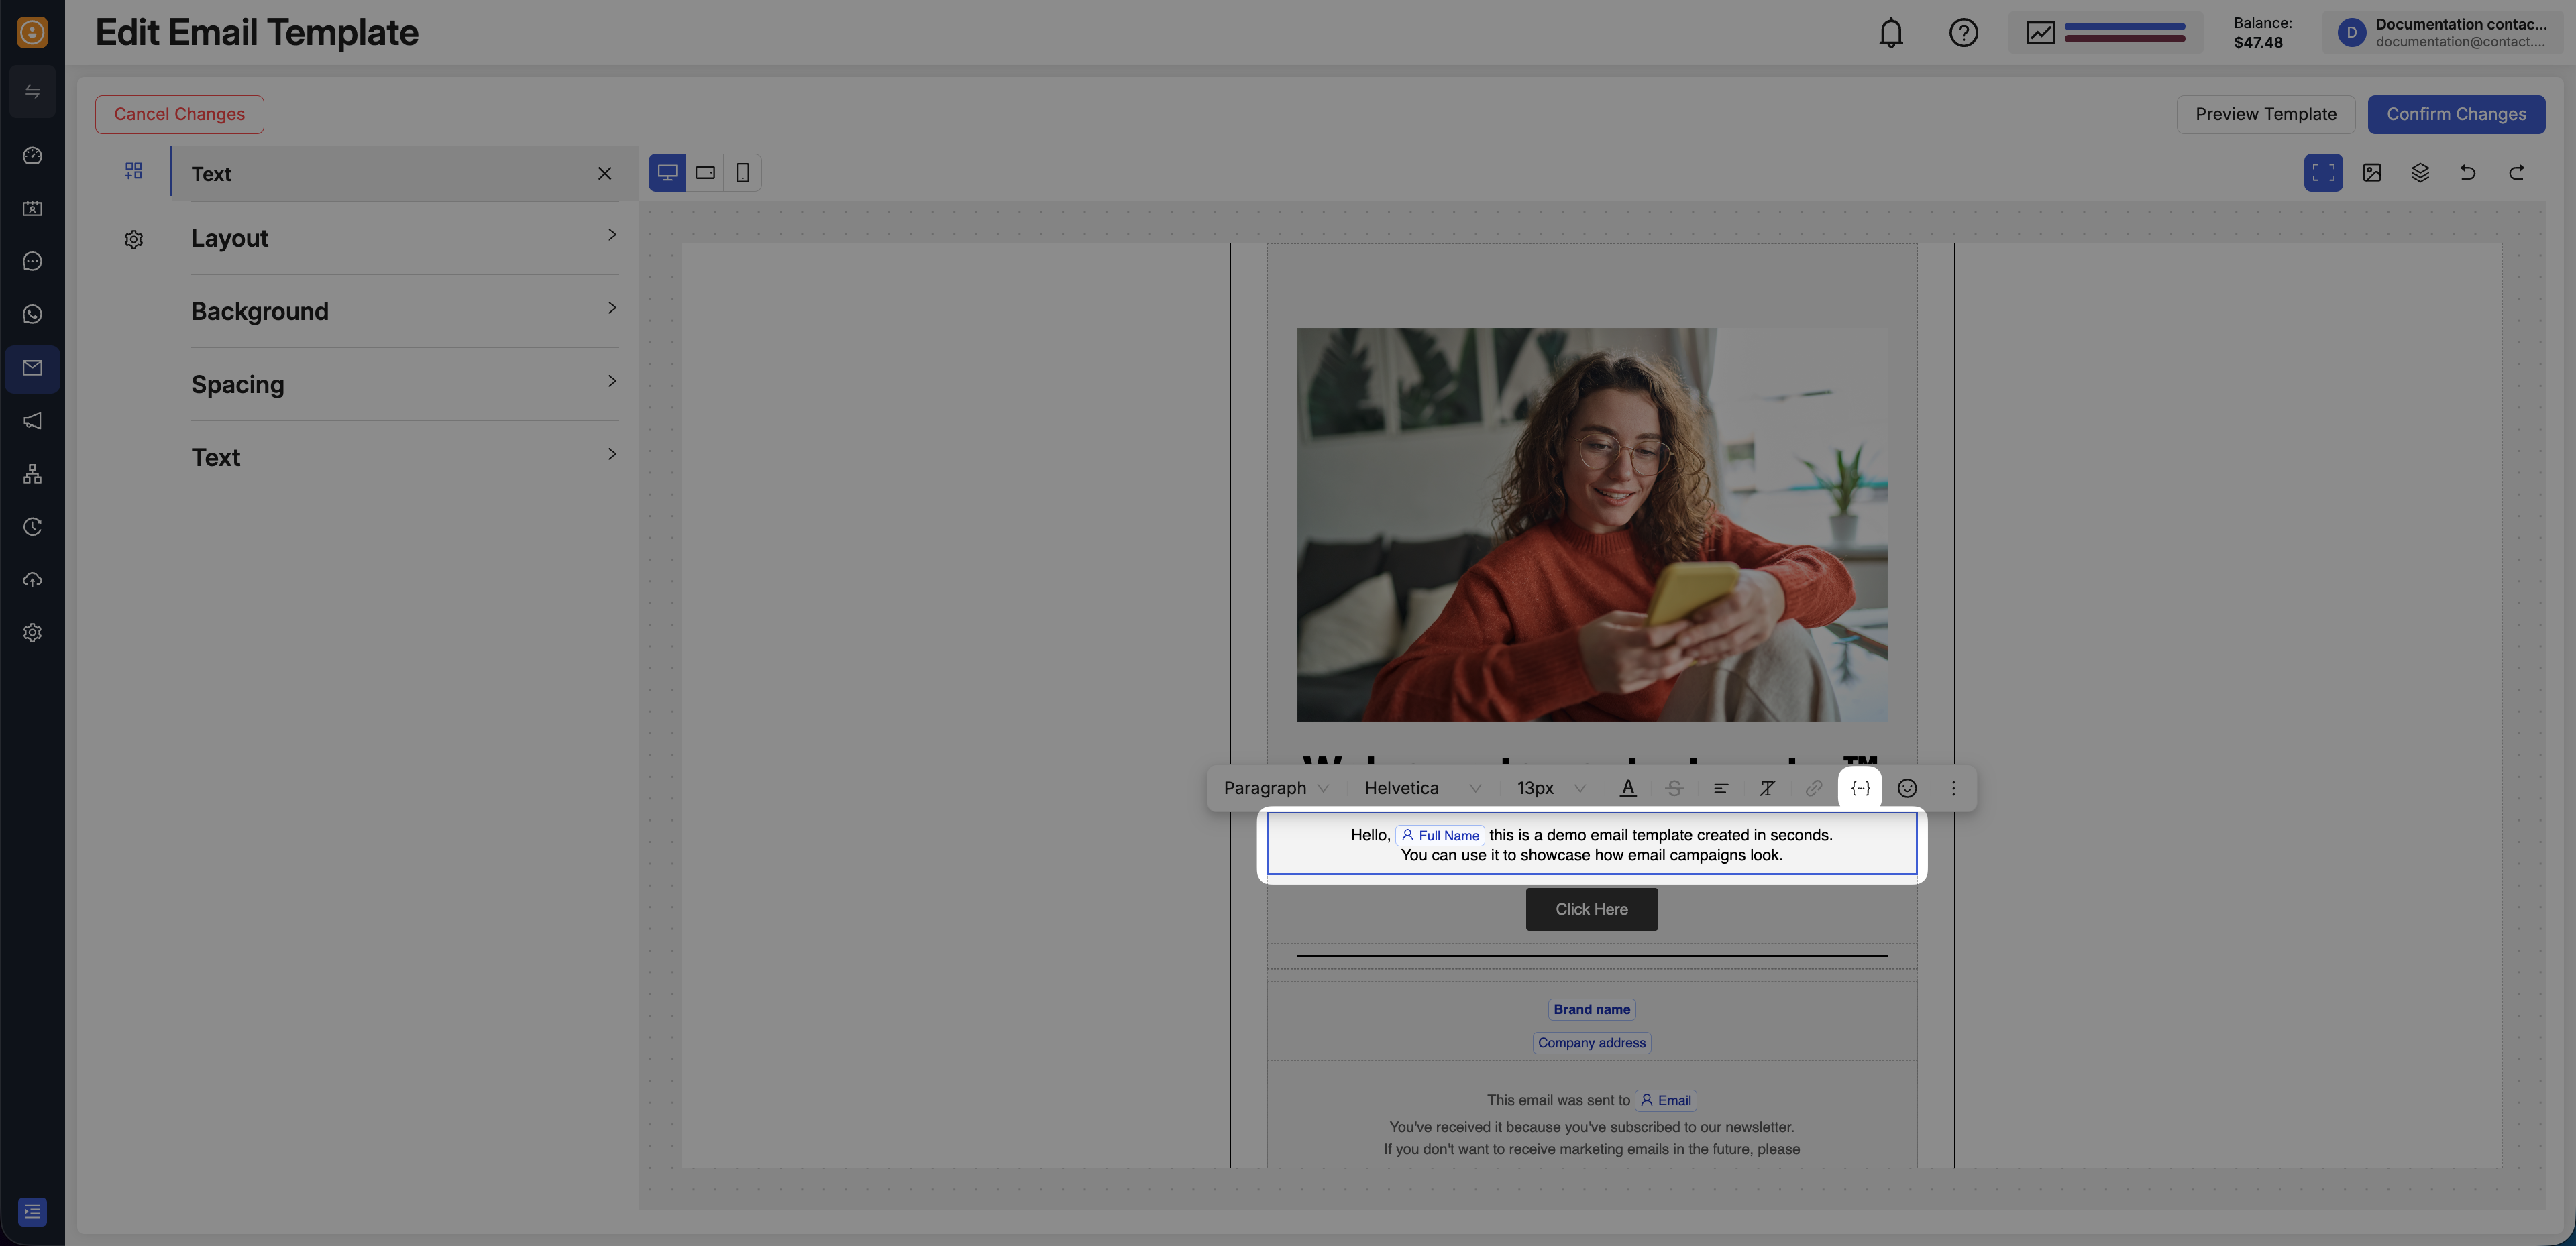
Fig. 5. Inserting a personalization variable from the in-canvas toolbar.
Create a List
Use the list controls in the in-canvas toolbar to create bulleted or numbered lists for clearer, easier-to-scan content.
To create a bulleted or numbered list:
In the in-canvas toolbar, click more actions.
Select either a bulleted or numbered list.
Enter your list items.
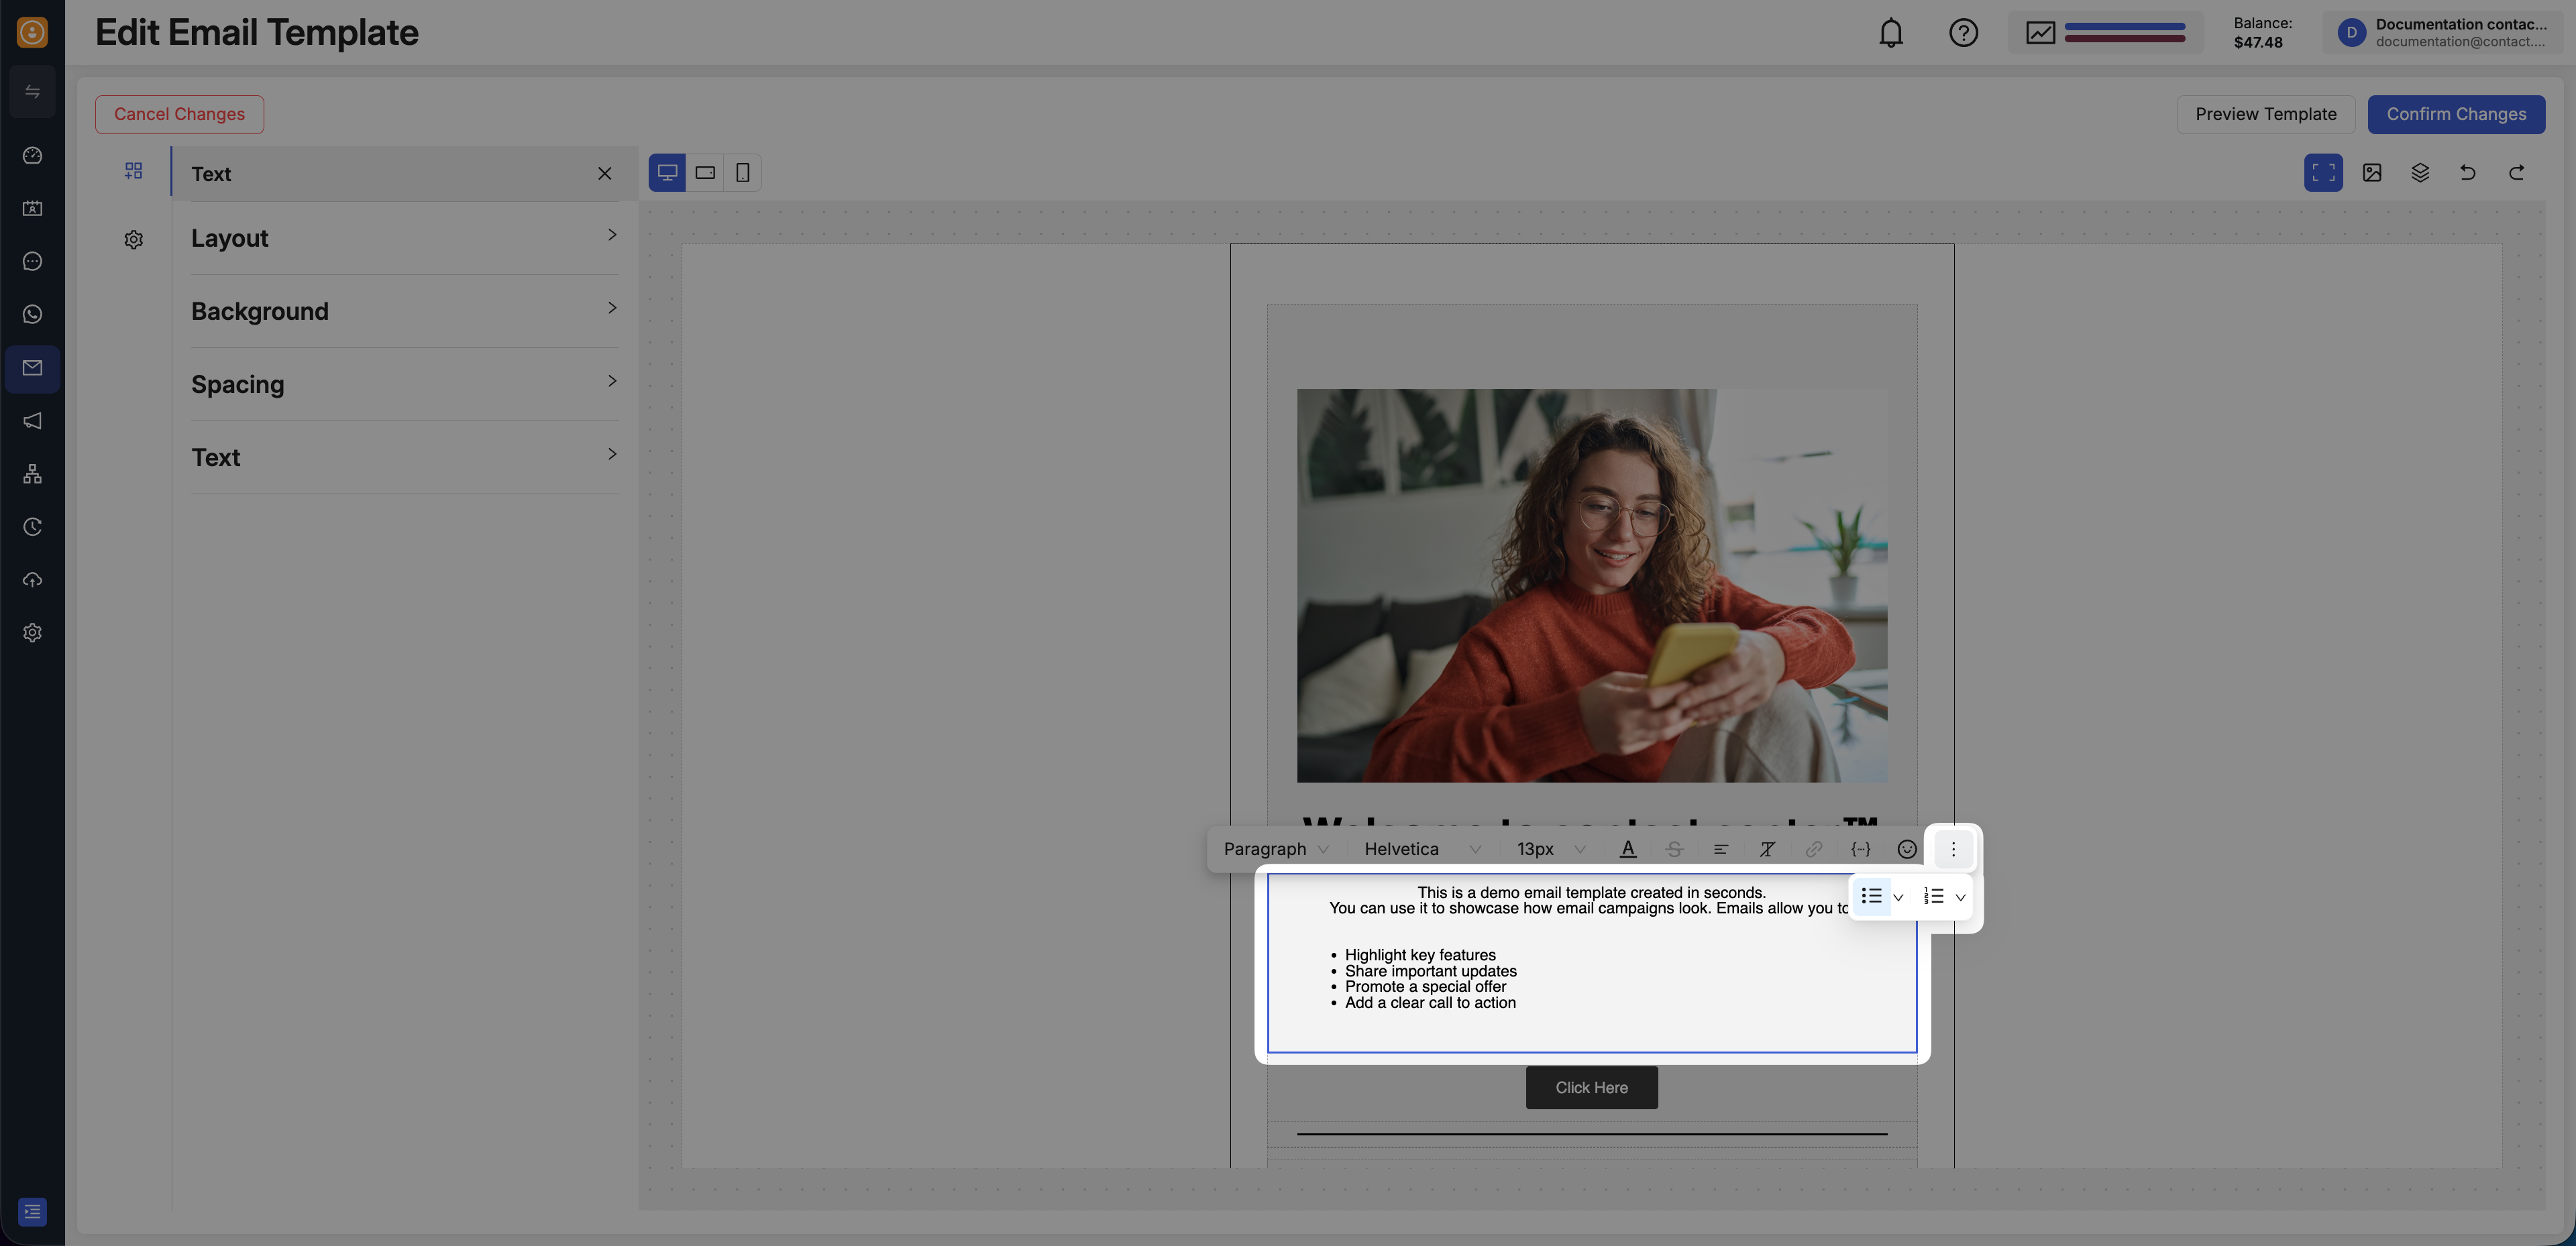
Fig. 6. Creating a list from the in-canvas toolbar.