Workspace Settings
Configure settings that apply to the currently selected workspace.
The Workspace tab contains settings that define how your workspace is identified, how it appears in communications, and how it connects to external services.
Use this page to update workspace details, customize communication styles, and integrate your workspace with third-party platforms.
Configure workspace identity, company details, and regional settings.
Add and manage custom fonts used in email templates.
Connect your workspace to external platforms and services.
Settings
The Settings section contains configuration options that define how the workspace is identified and how it behaves across the platform.
Use this section to update workspace identity, company details, and regional settings such as timezone.
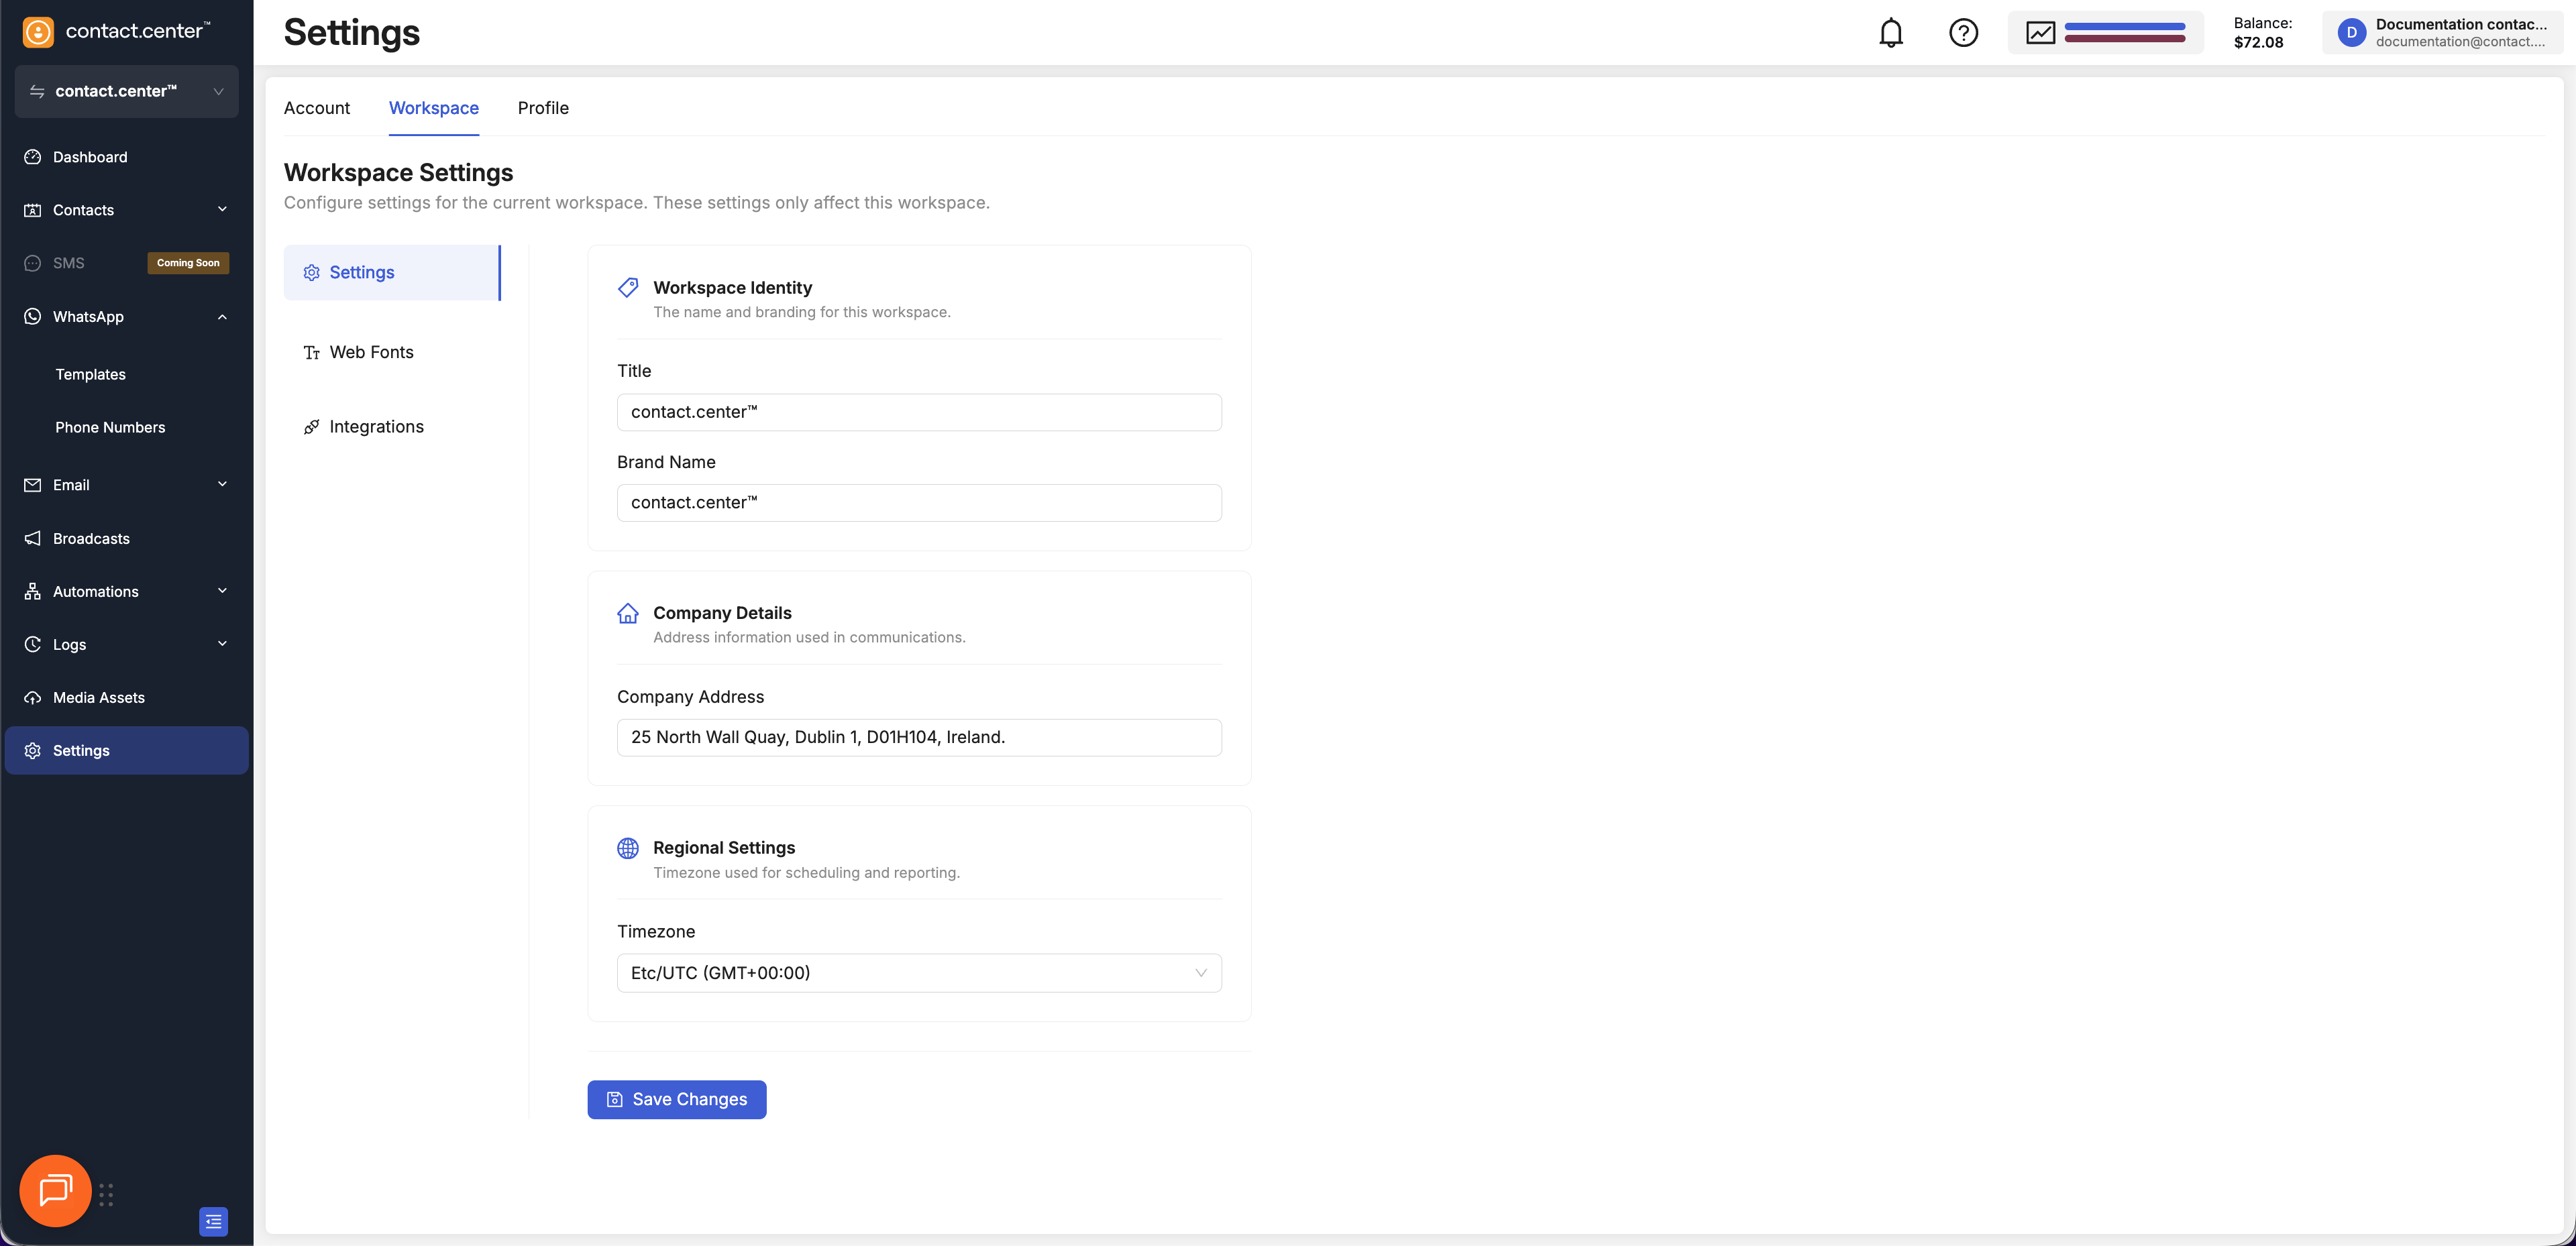
Fig. 1. Settings list.
Workspace Identity
The Workspace Identity section defines the internal and external identification of the workspace and templates.
Field |
Description |
|---|---|
Title |
The internal name used to identify the workspace in the platform. |
Brand Name |
The name used in customer-facing communications. |
Company Details
The Company Details section contains the address used in workspace communications and templates.
Field |
Description |
|---|---|
Company Address |
The official business address associated with the workspace. |
Regional Settings
Regional settings control the timezone used for platform activity.
The selected timezone is used for logs, broadcasts, and automation flows.
Field |
Description |
|---|---|
Timezone |
The default timezone applied to scheduling and reporting. |
Web Fonts
Use custom web fonts in your email templates to maintain consistent branding. You can add fonts from the Google Fonts library or import fonts from external sources, giving your templates a consistent and branded look.
Before You Begin
Font Compatibility: Custom fonts are not supported by all email clients. Always set a Fallback Font to ensure your design displays correctly for all recipients.
Usage Rights: By uploading one or more fonts, you confirm that you hold all necessary rights, licenses, and permissions to use each font, and that their use does not infringe on any third-party intellectual property rights.
Add Web Fonts
Manage all your web fonts from your account settings under the Web Fonts tab.
Step 1: Open Web Fonts Menu
In the main menu, navigate to Settings → Workspace → Web Fonts.
Click the + Add Web Font button to open the font dialog.
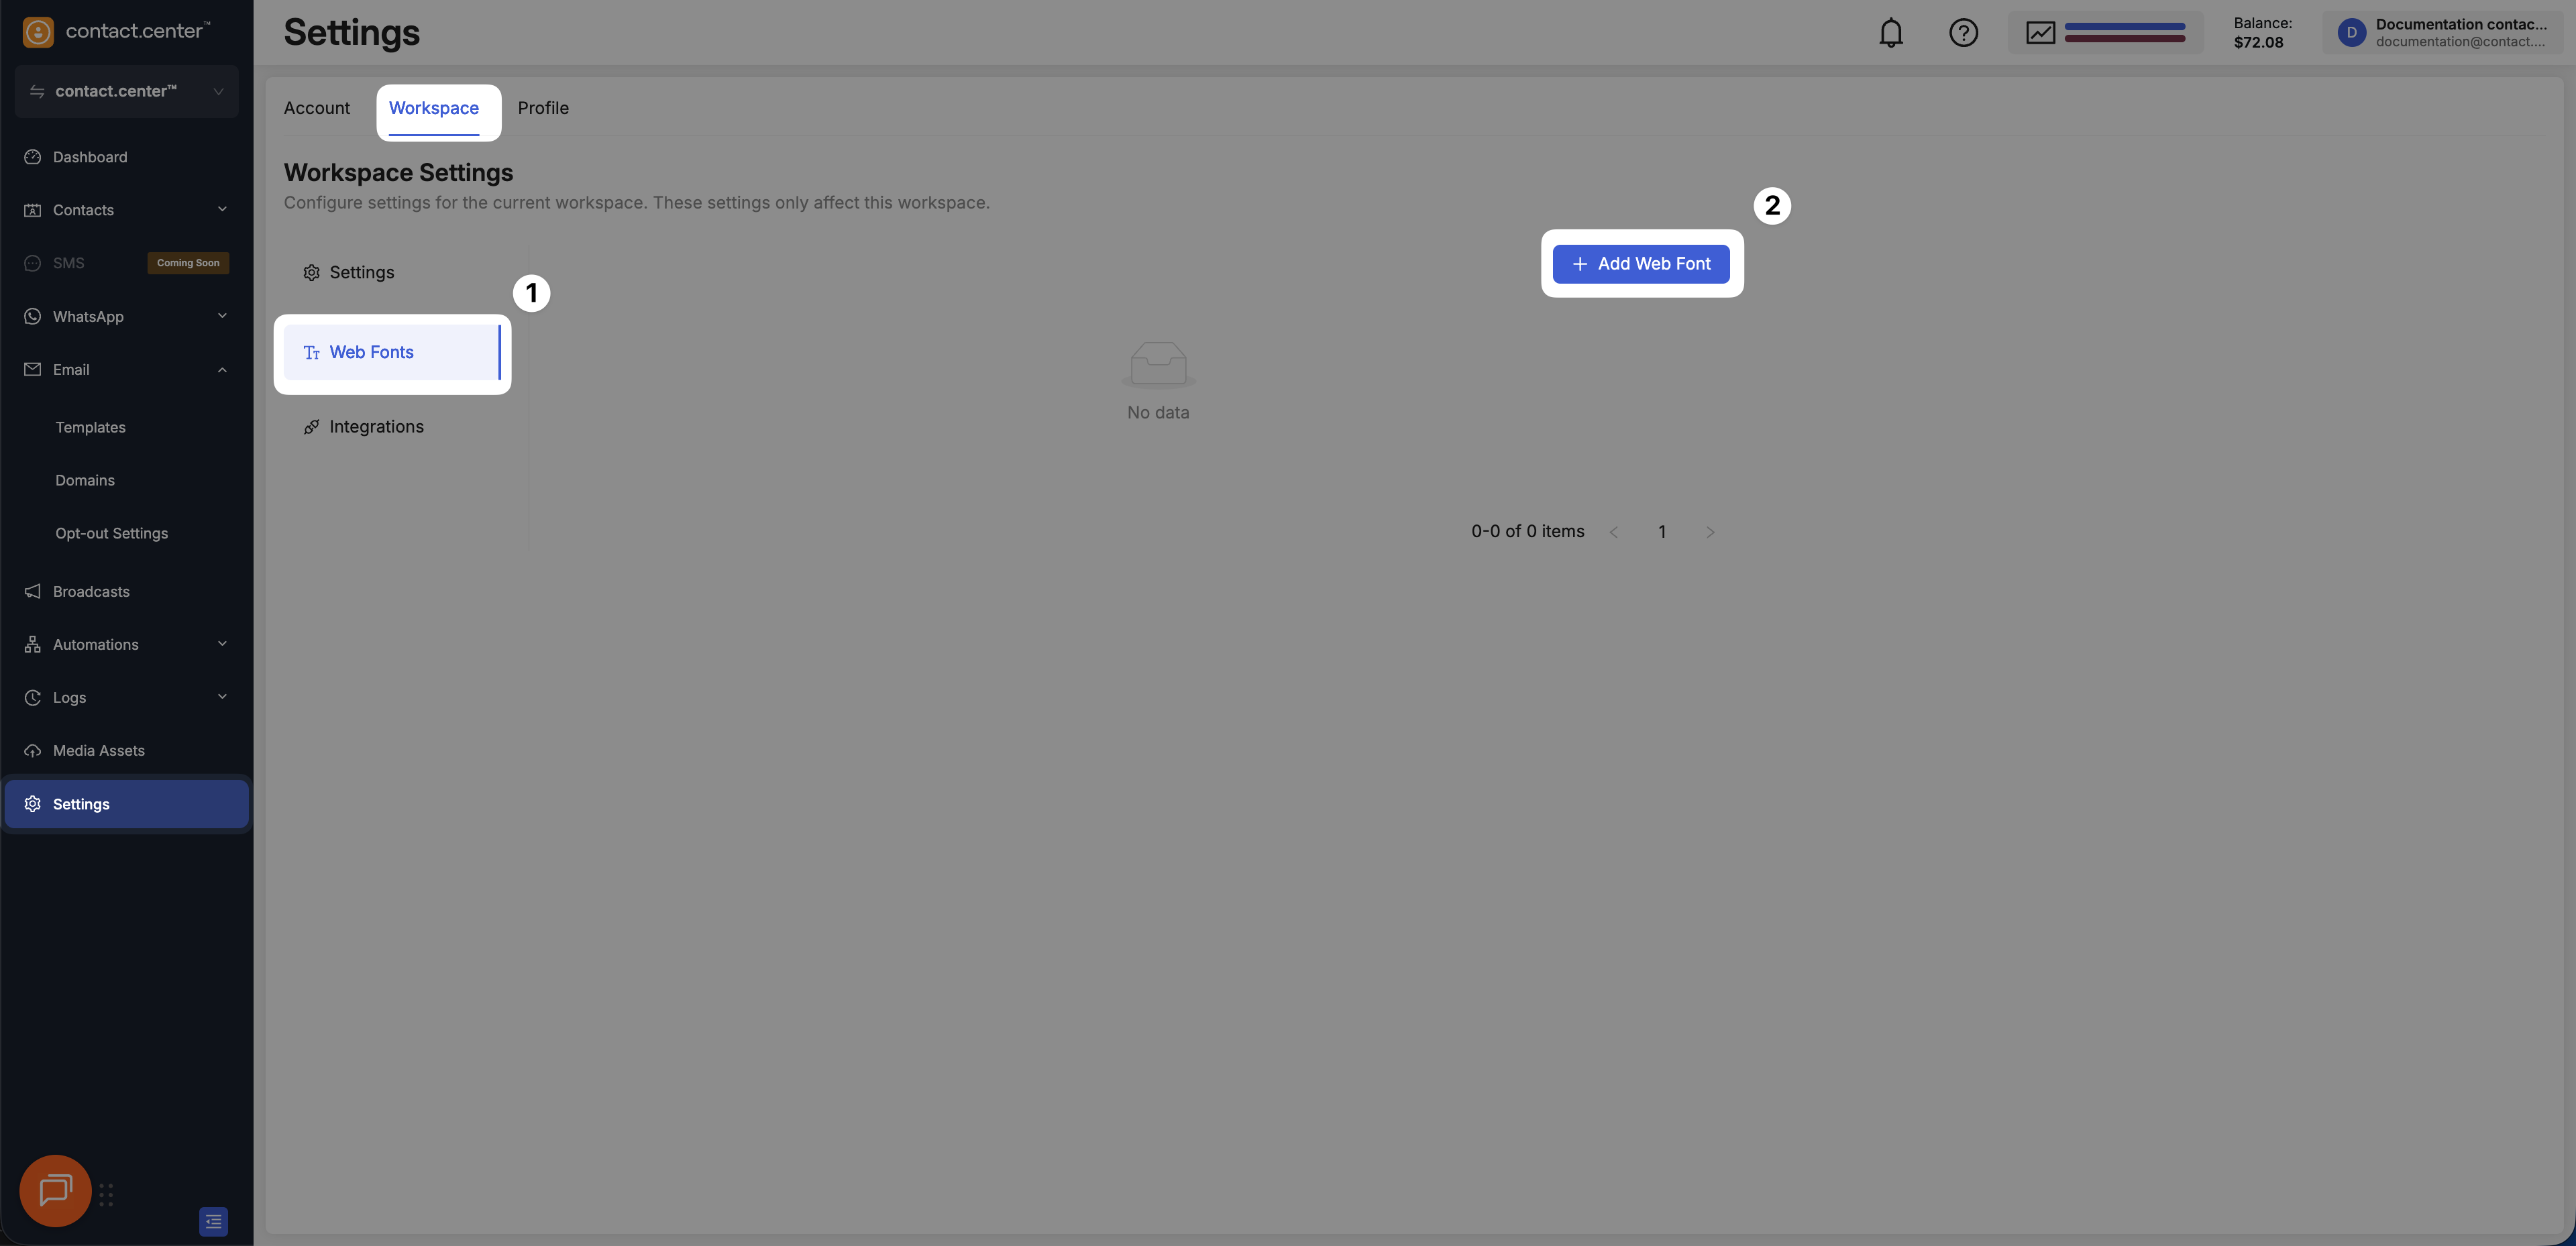
Fig. 1. The Web Fonts settings page.
Step 2. Add the Font
You can add a font from the Google Fonts library or import one from an external URL.
In the Add font pop-up screen, ensure the Google Fonts tab is selected.
From the Font name dropdown menu, search for and select your desired font.
From the Fallback Font dropdown, select a suitable web-safe font.
Click OK.
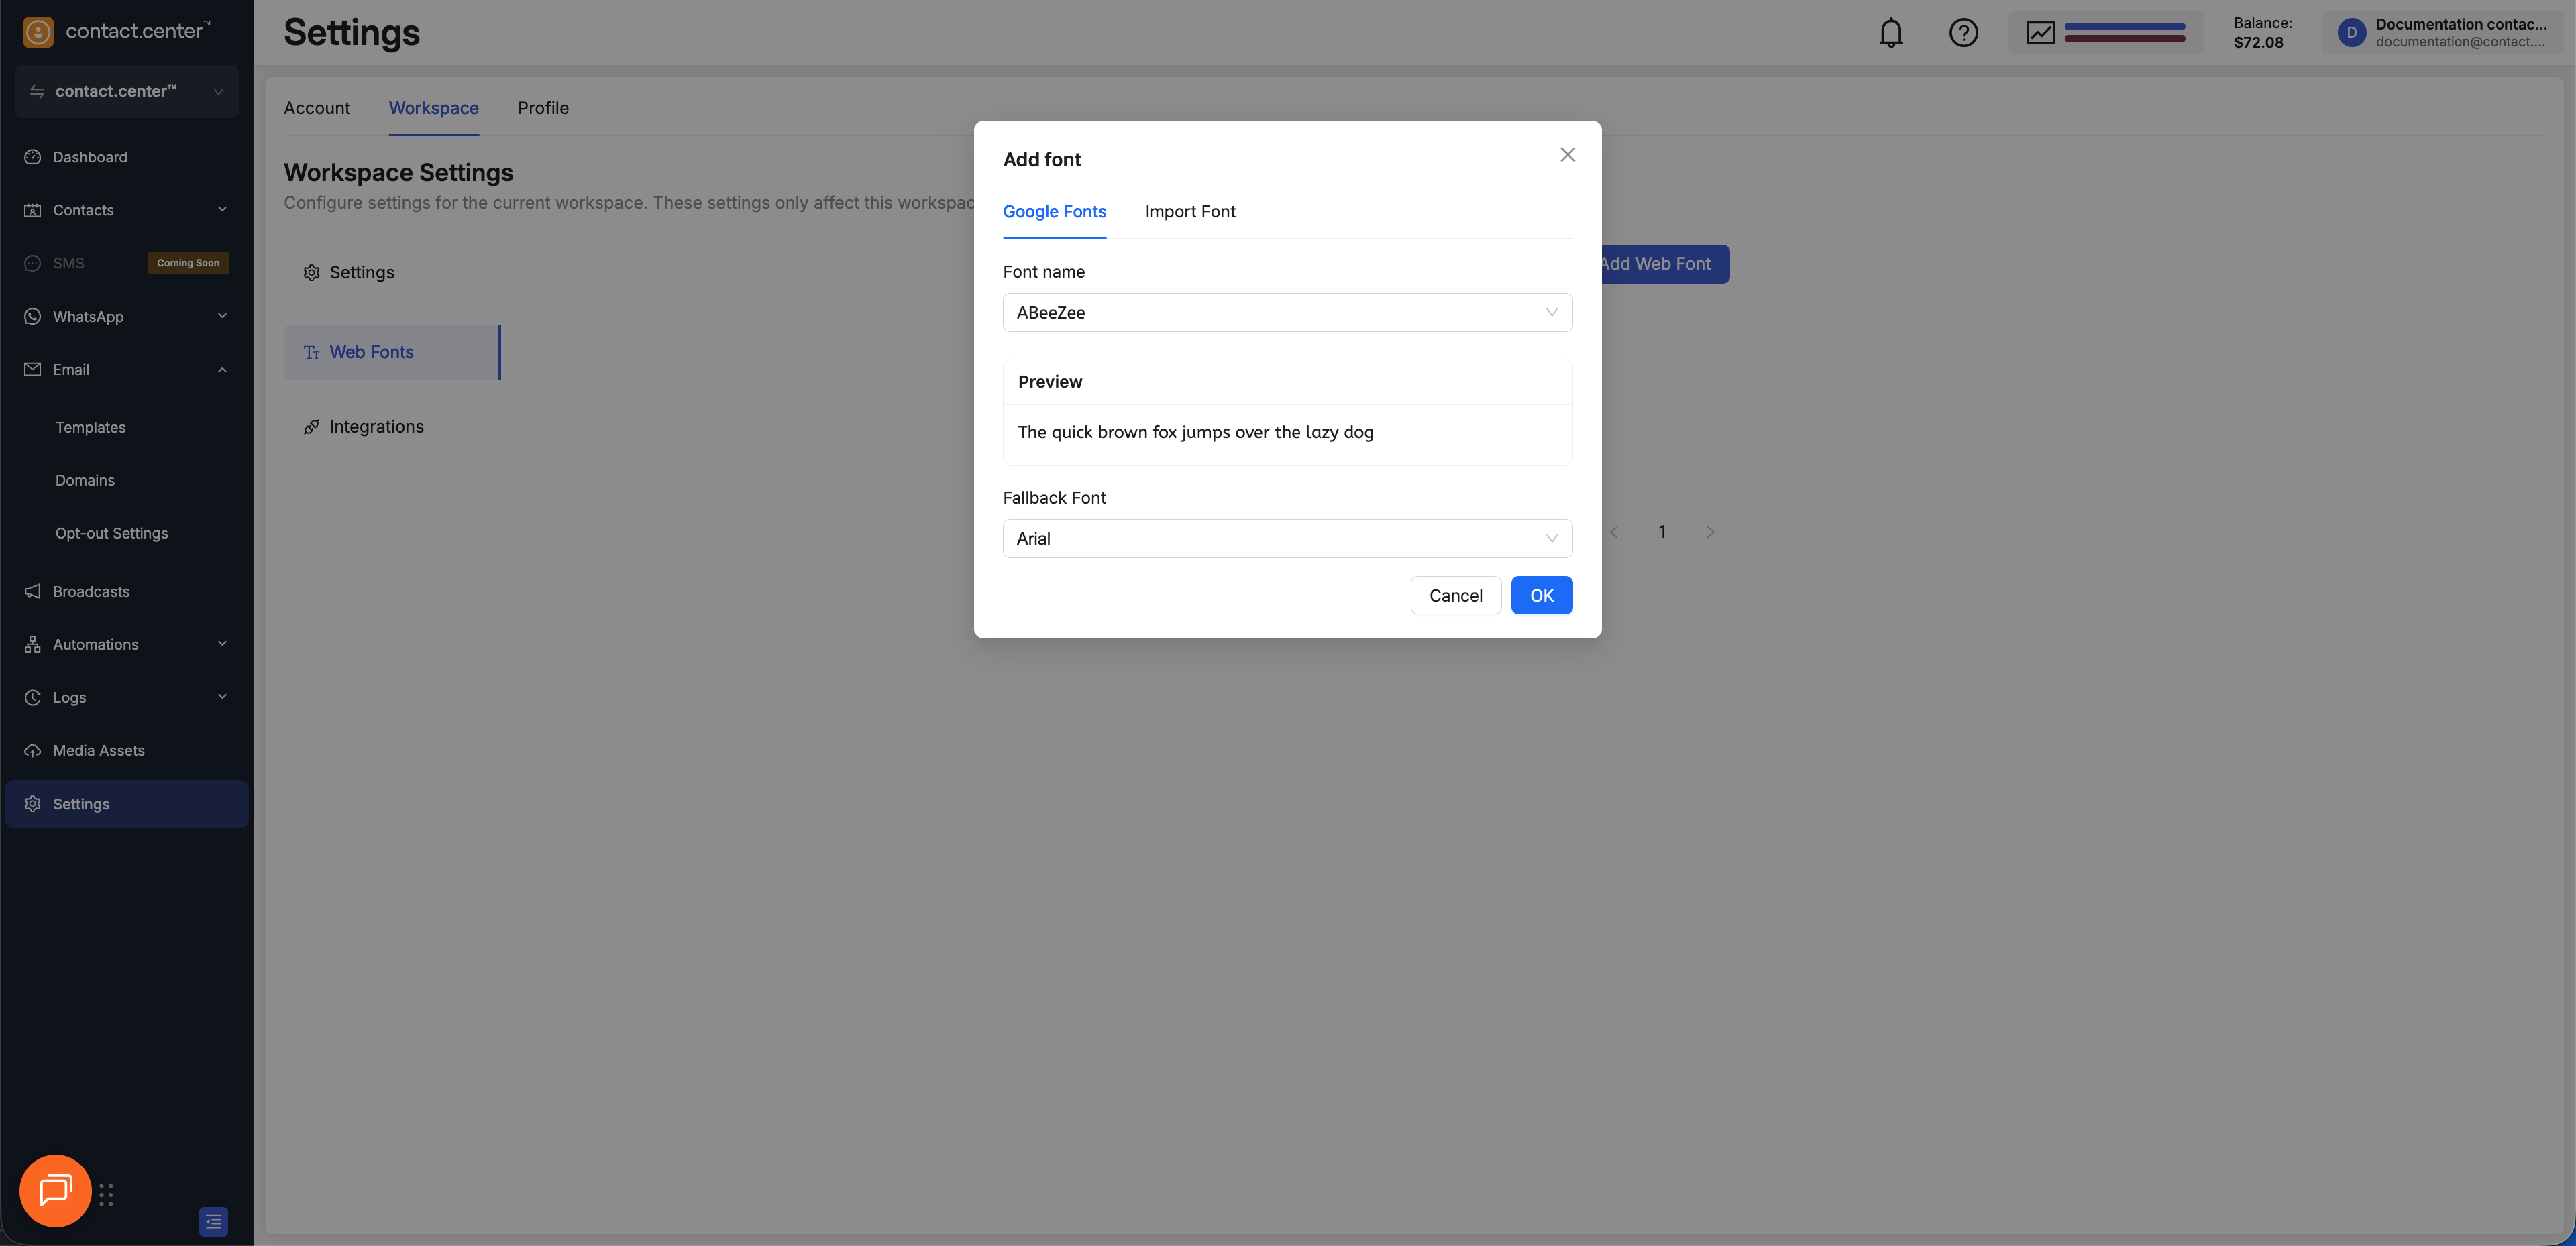
Fig. 2. Adding a font from the Google Fonts library.
In the Add font pop-up screen, select the Import Font tab.
In the Source Address field, paste the full URL to your font’s CSS stylesheet (e.g.,
https://fonts.googleapis.com/css2?family=Roboto).The Font name should be detected automatically. If not, enter the font family name exactly as it is defined in the CSS file.
Select a Fallback Font.
Click OK.
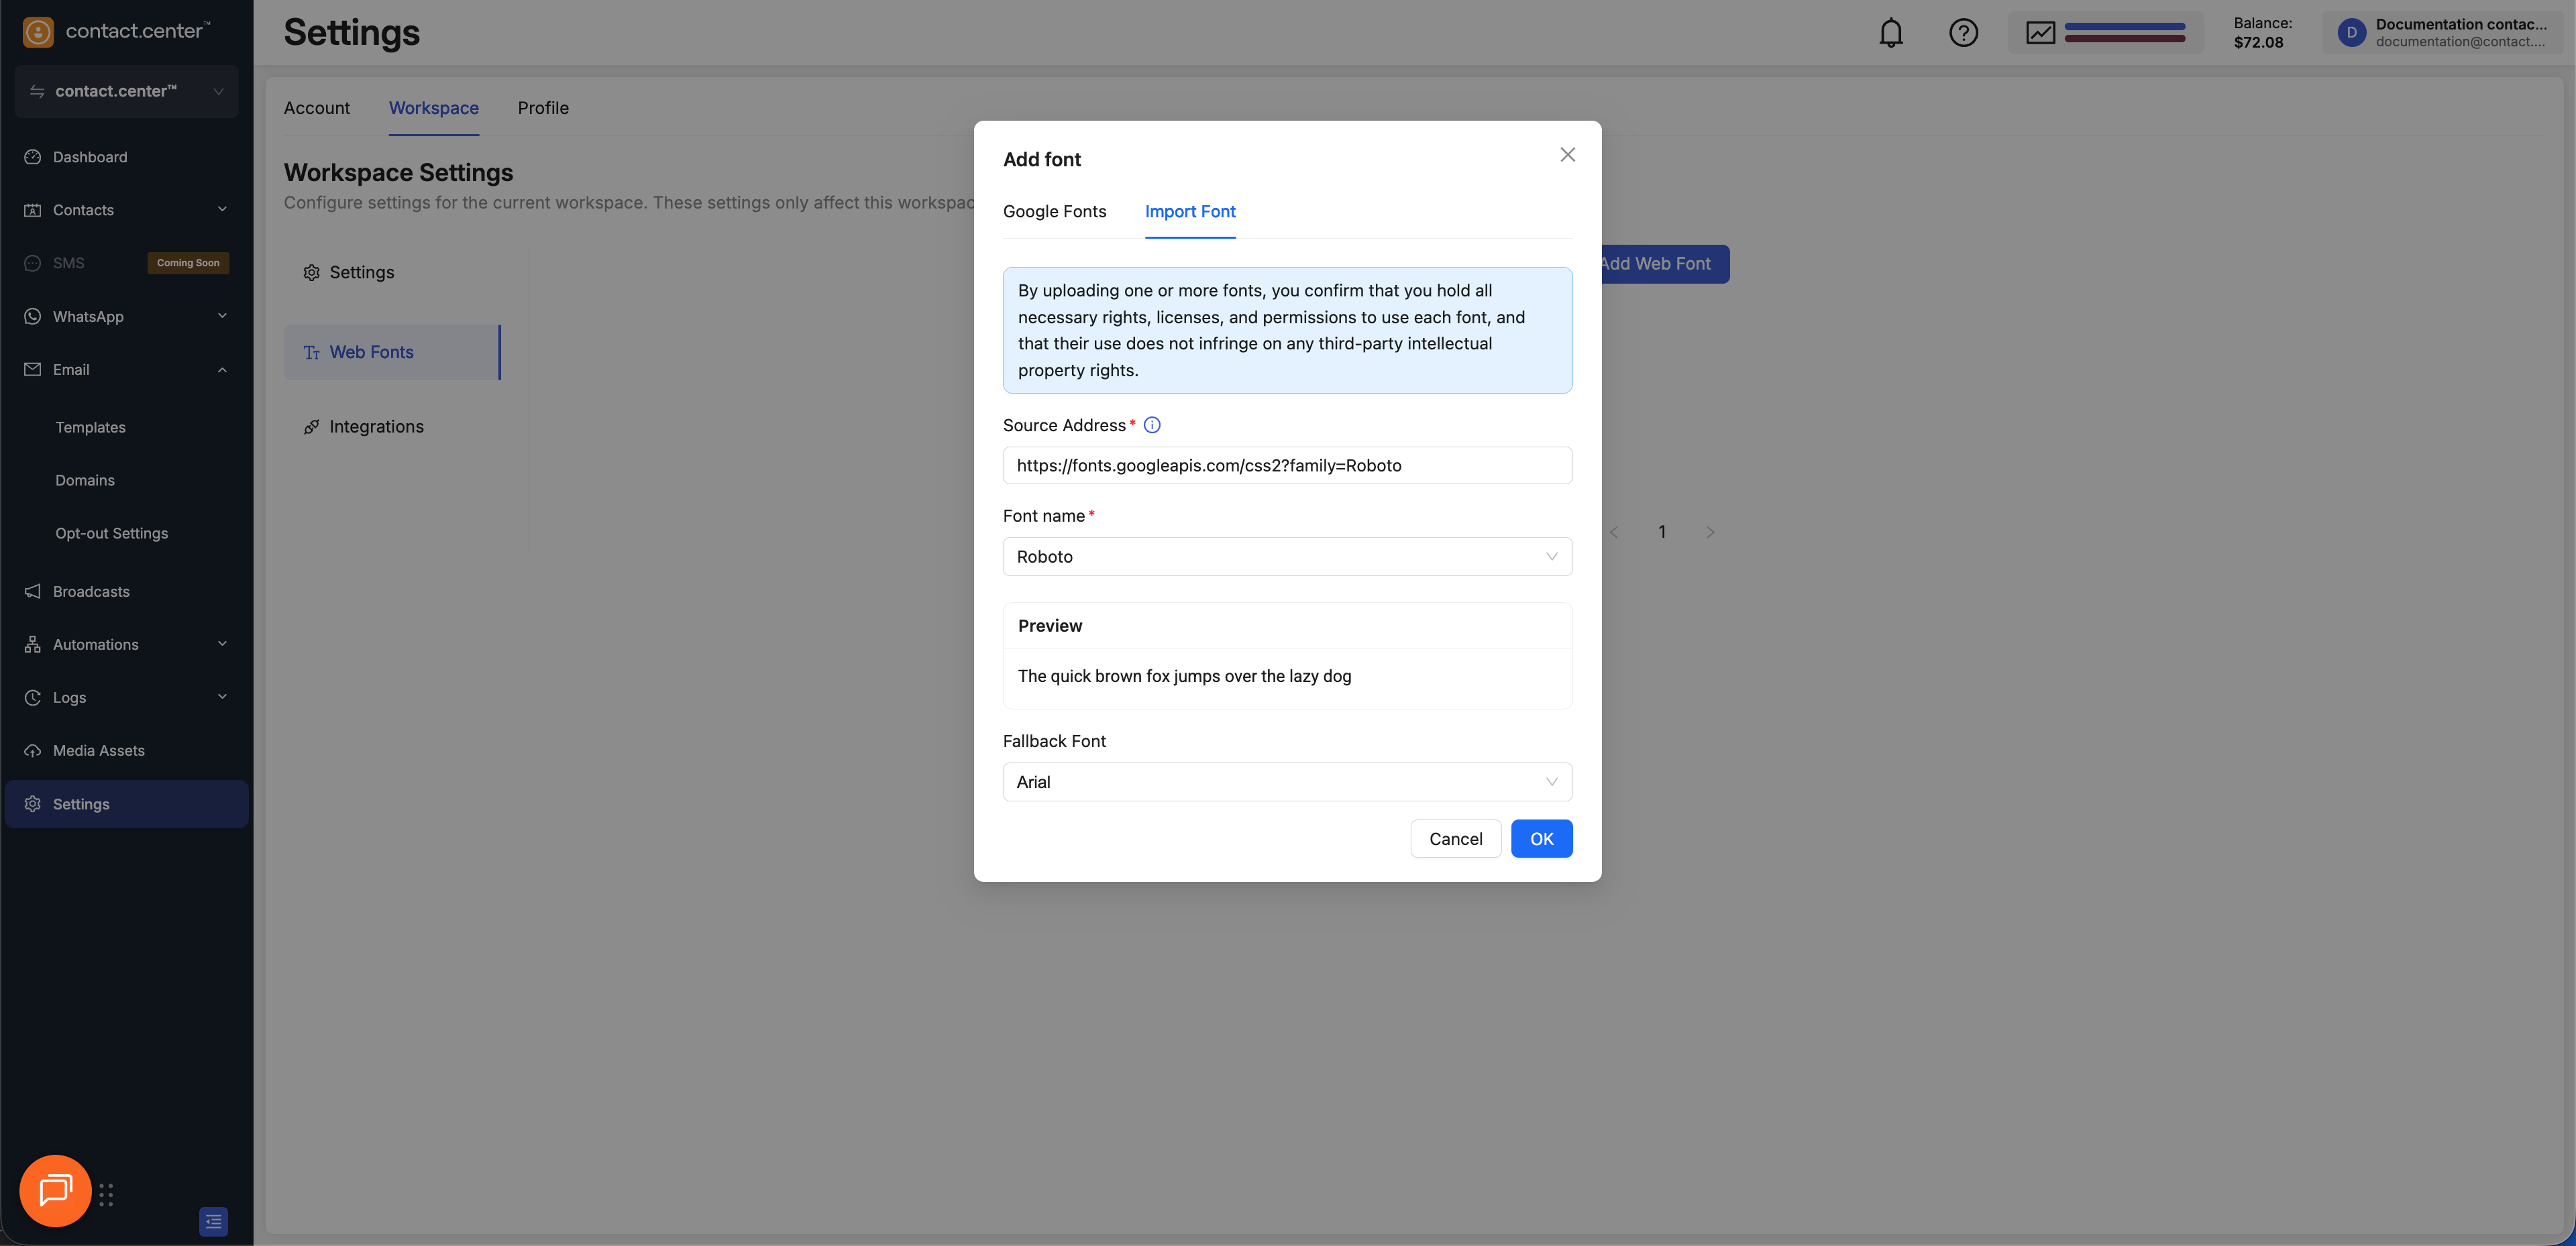
Fig. 3. Importing a font from a source URL.
Delete Web Fonts
To remove a web font you have previously added:
Go to Settings → Workspace → Web Fonts.
A list of your added fonts will be displayed. Find the font you want to remove and click the trash can icon next to it.
A confirmation dialog will appear. Click Delete to permanently remove the font.
Warning
If you delete a font that is used in existing templates, the text will revert to a default font, which may alter your design. Always update your templates before deleting a font.
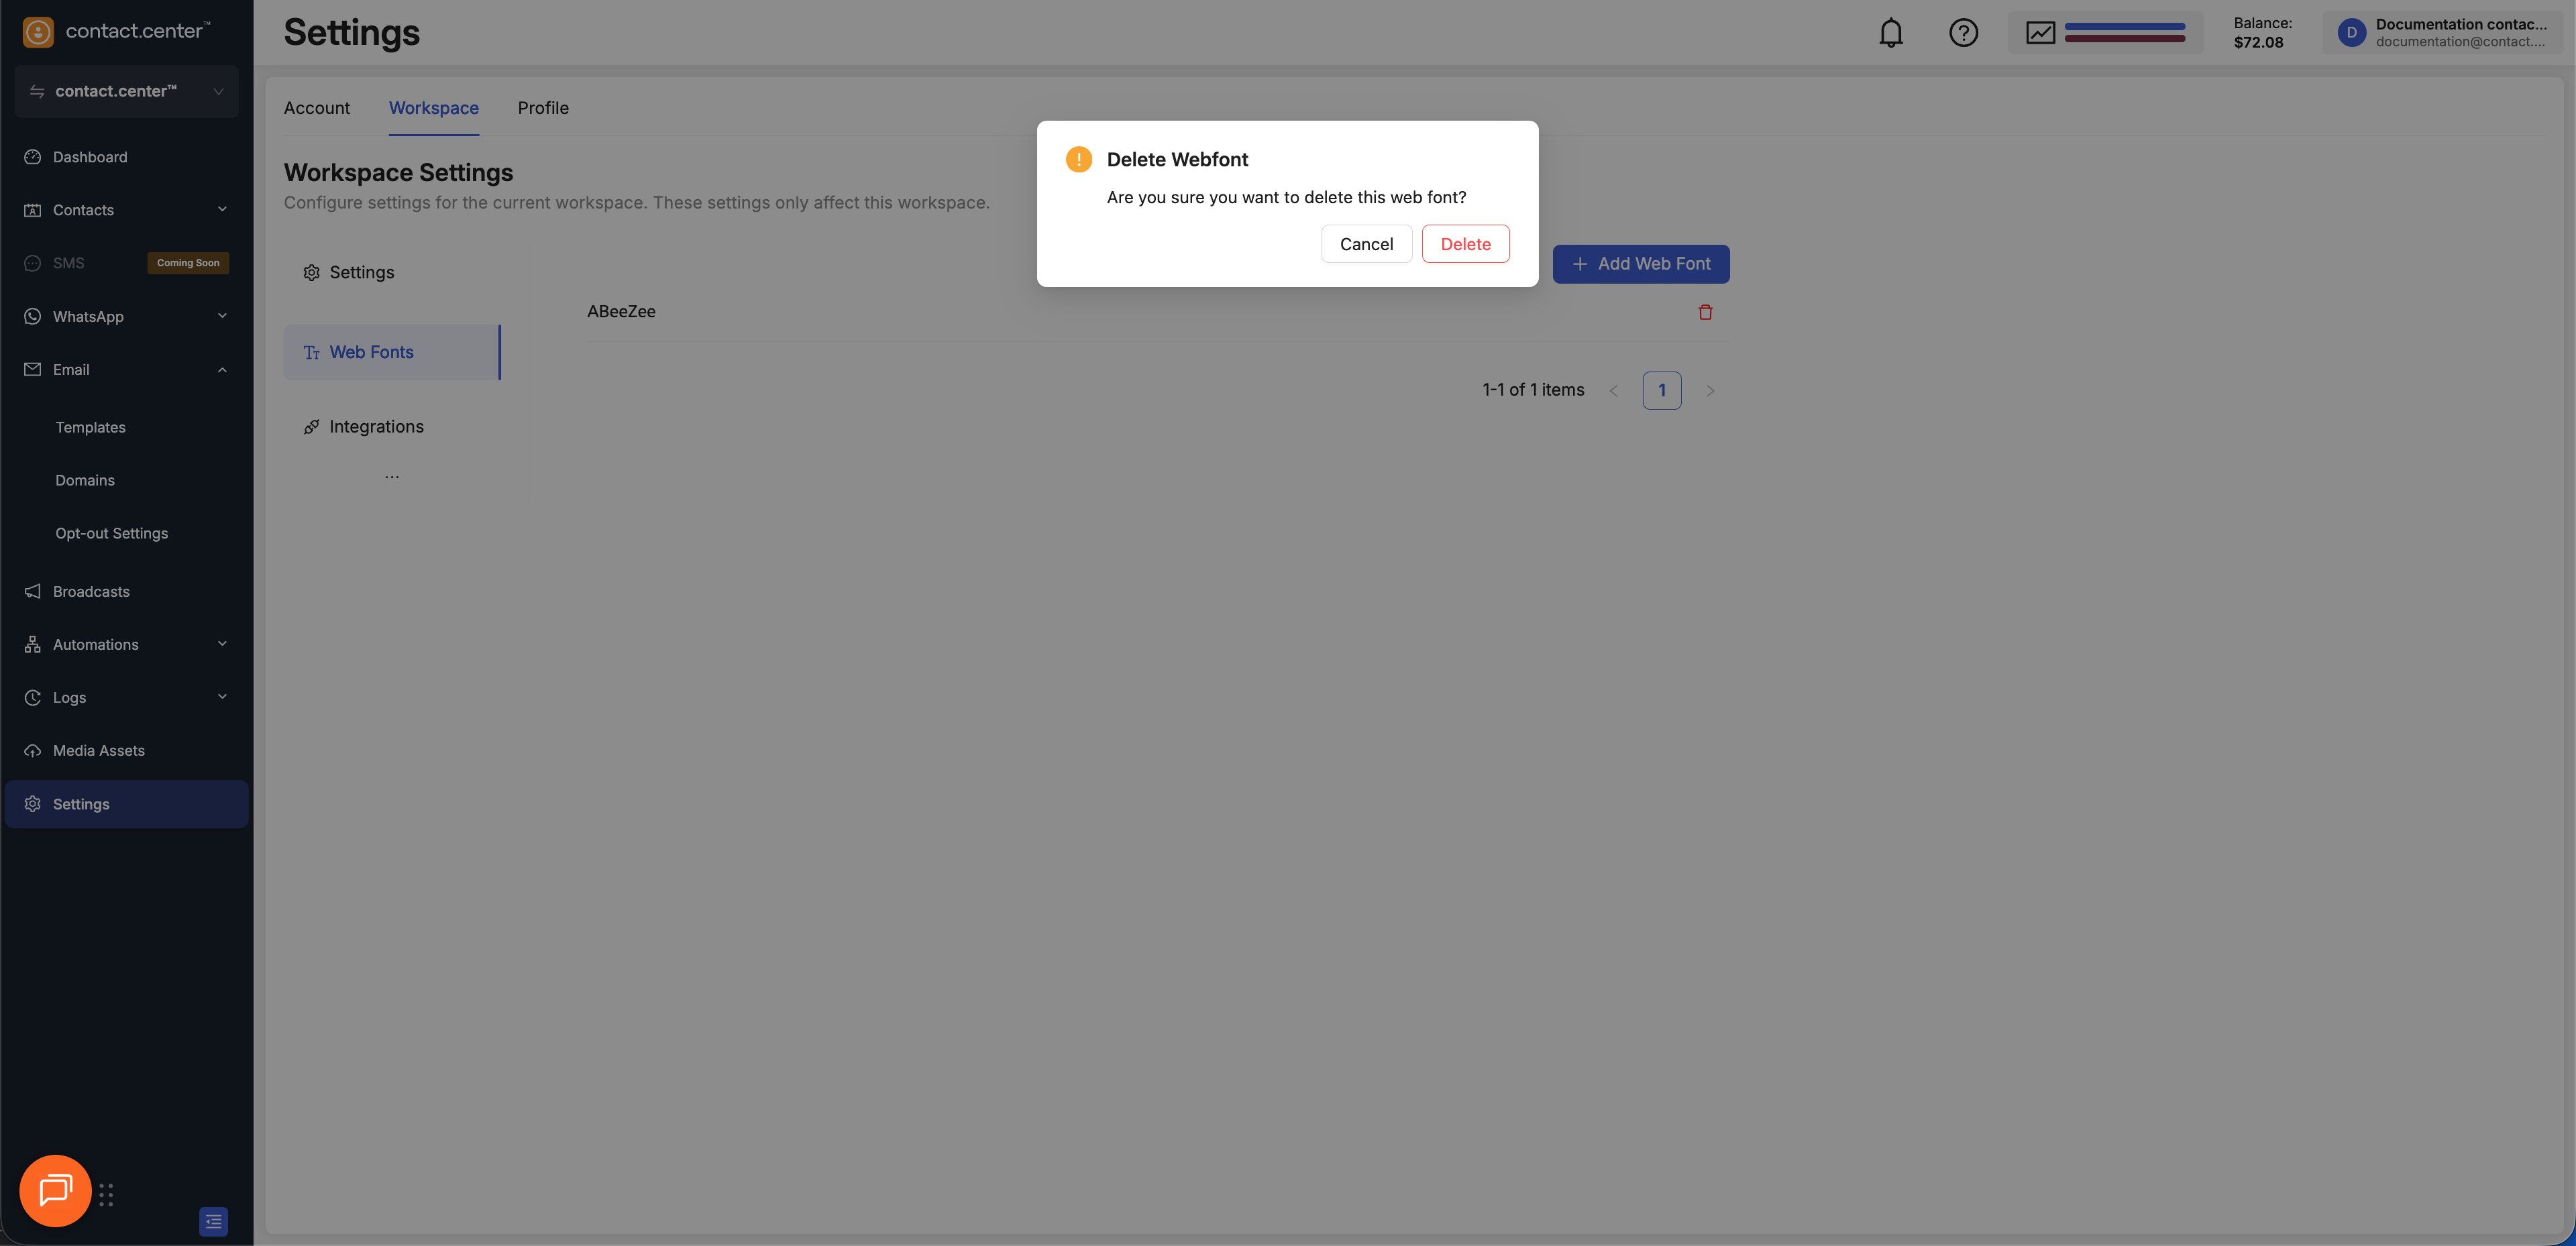
Fig. 4. Confirming the deletion of a web font.
Integrations
The Integrations menu lets you connect your messaging workspace with external platforms to extend automation, customer engagement, and e-commerce capabilities.
Set up two-way customer communication through the WhatsApp Business API.
Coming soon…