Contact Attributes
Contact attributes are the fields that store information about each contact. They consist of system fields (such as Email, Phone number, and Consent status) and custom fields that you create to capture additional details specific to your needs.
Use contact attributes when you want to:
Organize contact information
Filter and group contacts for targeted communication
Personalize messages using contact data
Automate workflows based on contact details
System Contact Attributes
The platform includes a predefined set of system attributes automatically assigned to each contact:
Name |
Value type |
Key |
Description |
|---|---|---|---|
Messaging ID |
uuid |
messaging_id |
Unique identifier assigned by the system for each messaging profile. |
External ID |
text |
external_id |
External identifier used to map the contact to an external system. |
First name |
text |
first_name |
The contact’s given name. |
Last name |
text |
last_name |
The contact’s family name or surname. |
Full name |
text |
full_name |
The contact’s full name. |
Phone number |
text |
phone_number |
The contact’s phone number. |
The contact’s primary email address. |
|||
Timezone |
text |
timezone |
The contact’s timezone. |
Country |
country |
country |
The contact’s country. |
SMS consent |
consent |
sms_consent |
Indicates whether the contact has granted consent to receive SMS messages. |
Email consent |
consent |
email_consent |
Indicates whether the contact has granted consent to receive email messages. |
WhatsApp consent |
consent |
wa_consent |
Indicates whether the contact has granted consent to receive WhatsApp messages. |
Custom Contact Attributes
Custom contact attributes allow you to store additional contact information beyond the default system fields, such as:
Customer type or tier
Preferred language
Subscription plan
Internal labels or custom identifiers
Note
Custom attributes can be used in filters, segments, broadcasts, and automations.
Value Types
When creating a custom contact attribute, you must select a value type. The value type determines how the attribute is stored and what operators are available when filtering or building segments.
Value type |
Description |
Common use cases |
|---|---|---|
text |
Stores free-form text values. |
Names, labels, notes, external references. |
Stores a valid email address. |
Secondary or alternative email addresses. |
|
boolean |
Stores a true or false value. |
Flags, opt-in indicators, internal markers. |
number |
Stores numeric values. |
Scores, counters, priority levels. |
date |
Stores a calendar date without time. |
Birthdays, anniversaries, subscription dates. |
date_time |
Stores a date and time value. |
Event timestamps, last interaction time. |
list |
Stores a predefined list of selectable values. |
Categories, customer types, status labels. |
Attribute Keys
Each contact attribute has a unique Key, which is the internal identifier used across the platform (for example, in filters, segments, automations, and integrations).
Keys are generated automatically when you create an attribute and cannot be changed.
Note
Custom attribute keys follow these rules:
Always start with
custom.Use lowercase letters
Replace spaces with underscores
For example, creating an attribute named Preferred Language generates the key
custom.preferred_language.
Create a Custom Contact Attribute
Important
Custom contact attributes cannot be deleted once they are created. Make sure the attribute is required before saving it, as it will remain in your workspace permanently.
Create a custom contact attribute when you need to store additional contact information beyond the default system fields.
Go to Contacts → Contact Attributes.
Click + Add New.
A new editable row appears at the bottom of the table. In this row:
Enter the attribute Name.
Select the Value type.
The Key is generated automatically.
Click the checkmark icon on the left to save the attribute.
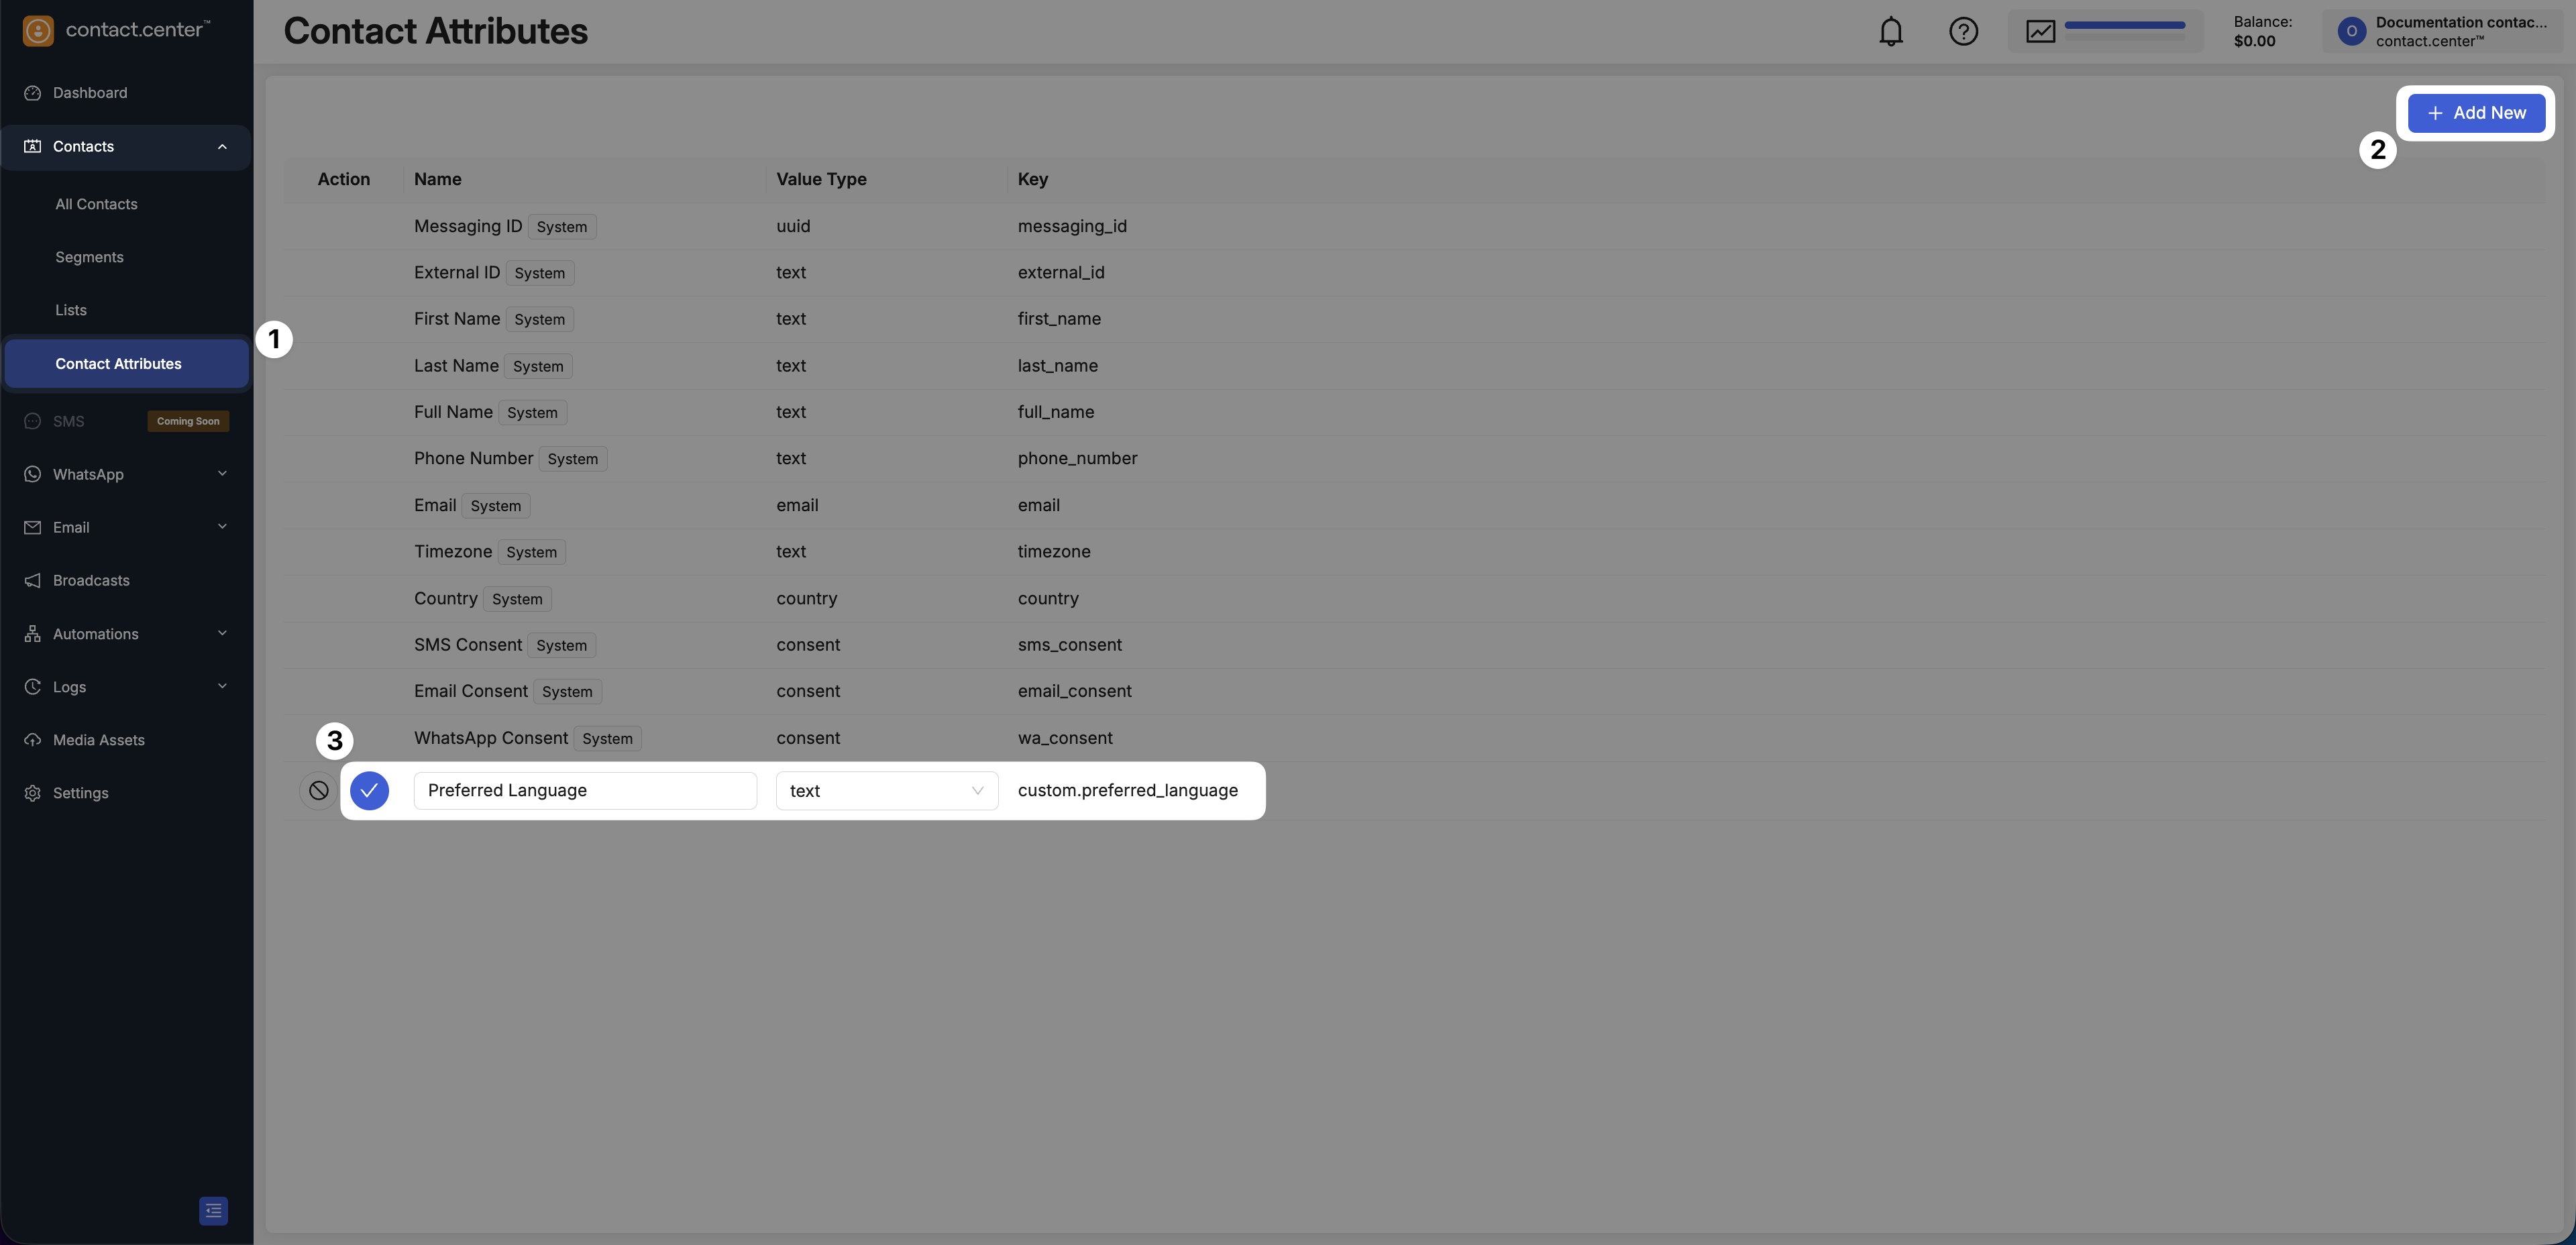
Fig. 1. Creating a custom contact attribute.
Edit Custom Contact Attribute
Note
You can edit only the Name of a custom attribute. The Value type and Key cannot be modified.
Go to Contacts → Contact Attributes.
Click the pencil icon next to the custom attribute you want to edit.
Update the Name or Value type as required.
Click the blue checkmark icon to save your changes.

Fig. 3. Editing a custom contact attribute.