Create Email Template with Raw HTML
Use the Raw HTML flow to create an email template with your own HTML code. This option lets you configure the template properties on the New Email Template page, build the message in the HTML editor, preview the result, and then save the template.
Create Email Template
Use the New Email Template page to configure your raw HTML email template, preview how it will appear in the inbox preview, and then save it for later use in your email workflows.
Before You Begin
Before creating email templates, make sure you have:
A verified email domain is required to send test emails and preview templates. See How to Verify Your Email Domains.
A configured Sender ID is required to send test emails. See How to Add Sender Information.
A positive email balance is required to send emails. If needed, visit your plan overview and upgrade your plan.
Step 1: Open the Template Creation Page
To start creating a new email template, open the Email Templates list and choose the Raw HTML flow.
In the left navigation menu, go to Email → Templates.
In the top-right corner of the page, click Create New.
In the Create Email Template modal, select Raw HTML.
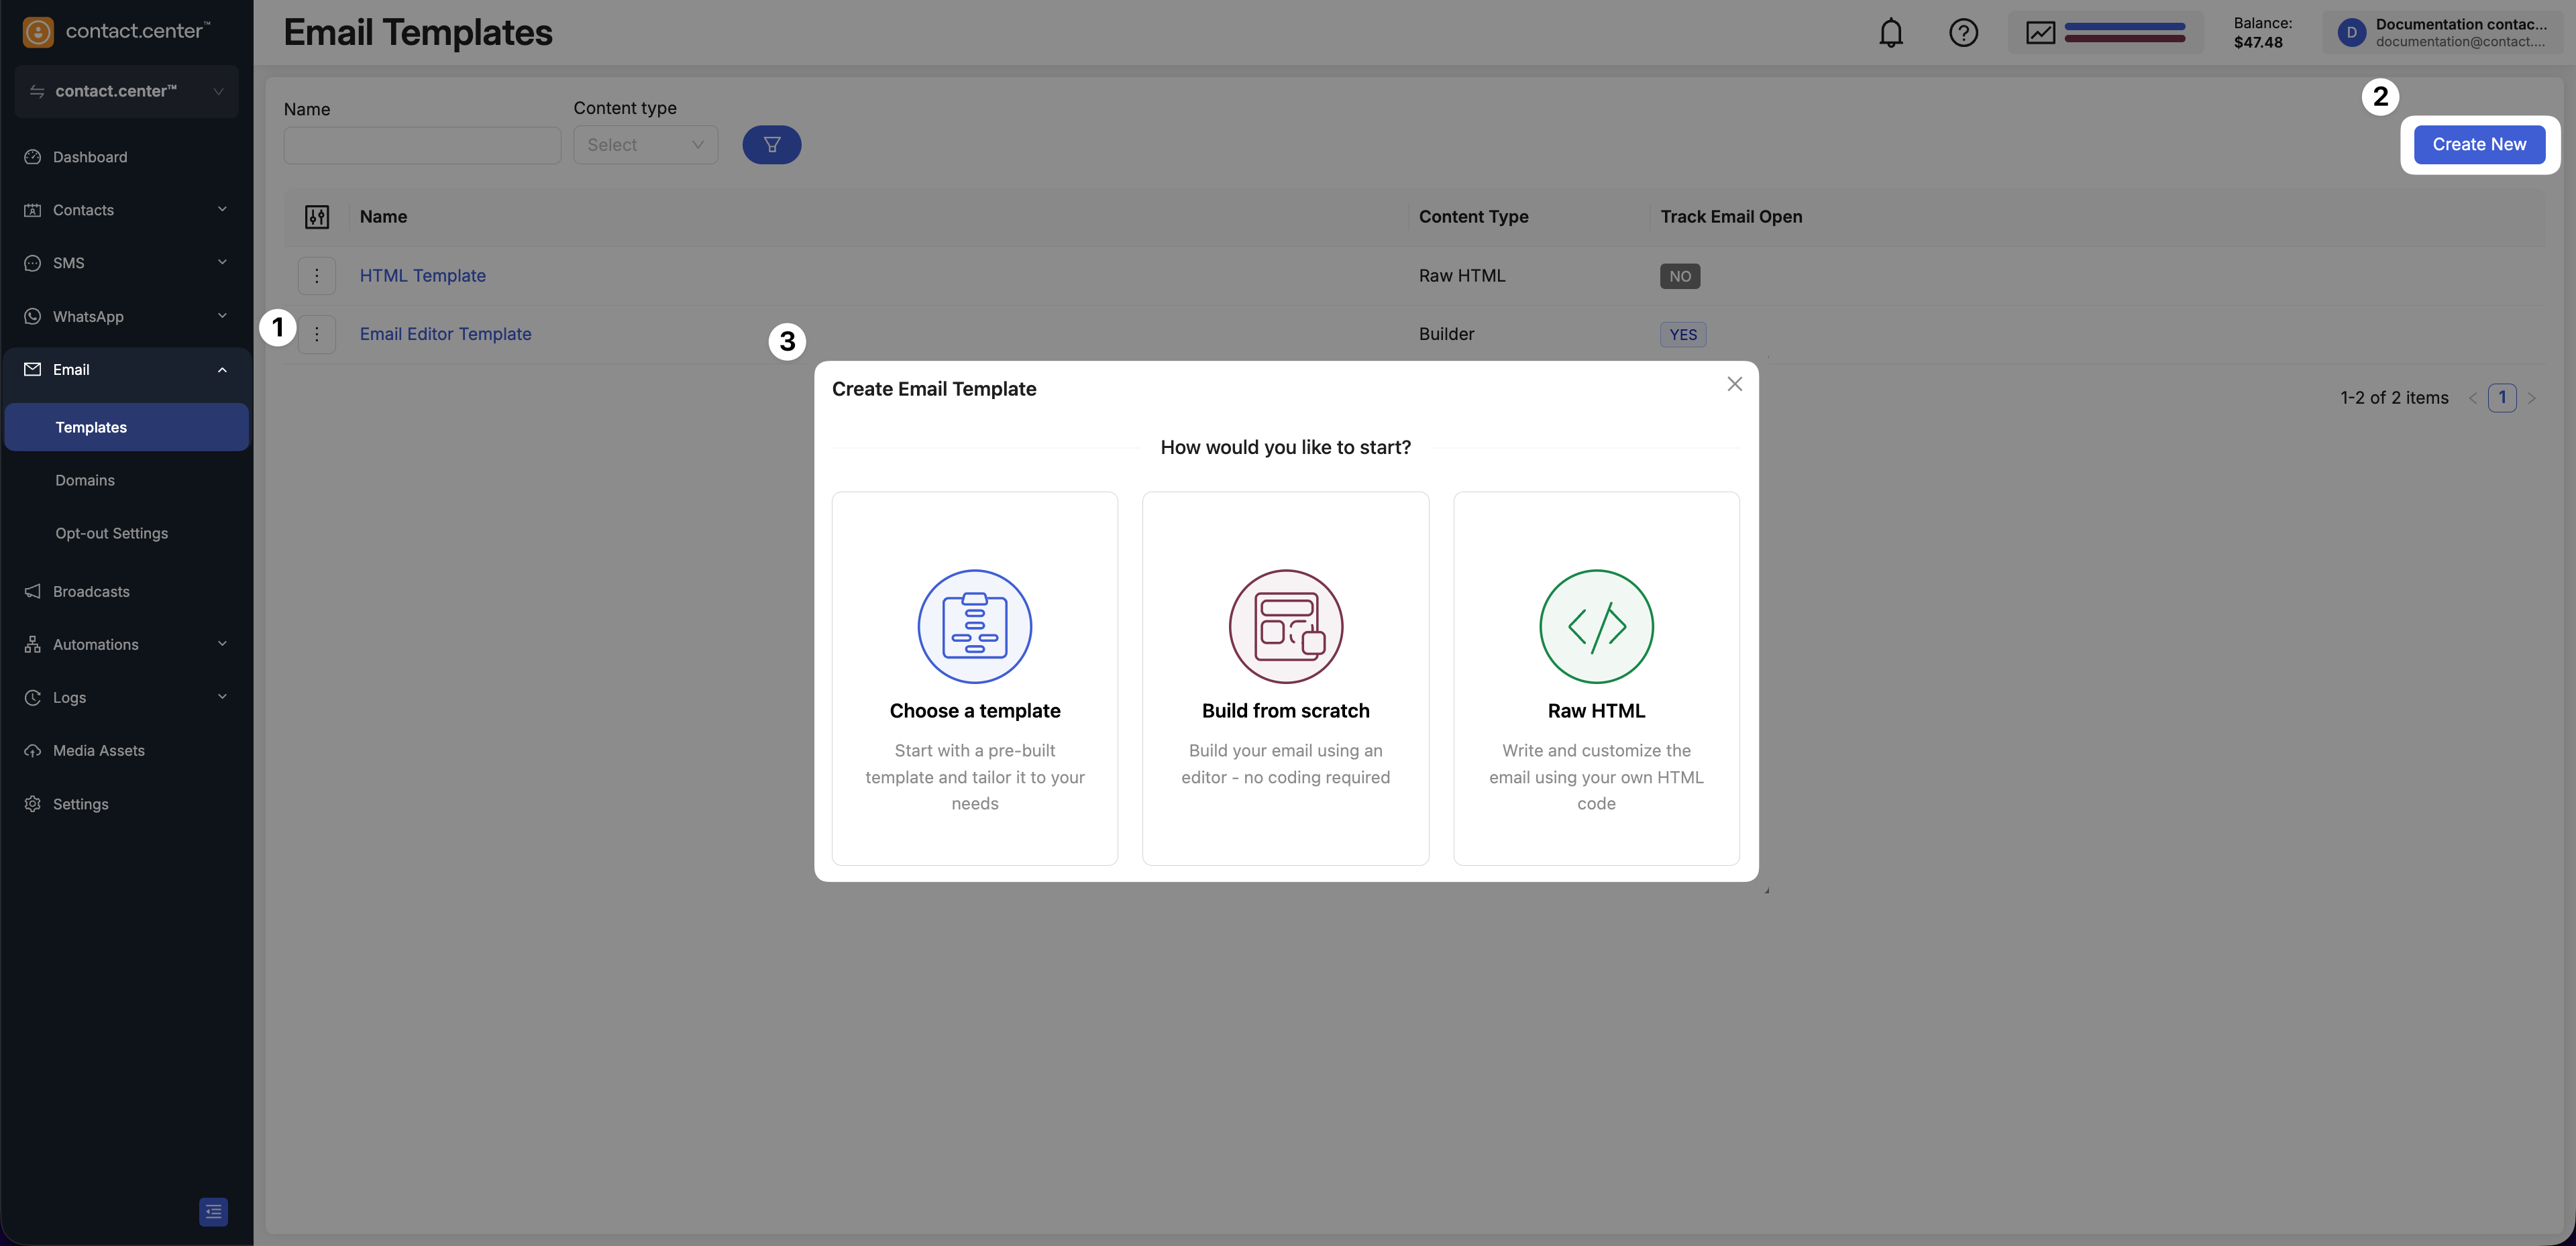
Fig. 1. Email Templates page with the Create Email Template action
Step 2: Configure Template Details
Fill in the following fields:
Name: Enter a name for your email template. This name is for internal reference and will help you identify the template later.
Subject: Specify the subject line of the email, which will be displayed to recipients.
Custom Preview text: Enter custom preview text that appears next to the subject line in recipients’ inboxes.
Personalize Send To: Toggle this option on if you want to personalize the email based on contact-specific attributes.
Track Email Open: Enable this option to track whether recipients open the email. Tracking can provide valuable engagement metrics.
Note
Some fields allow you to add placeholders like {{contact.first_name}} or {{company_address}} to dynamically insert information based on workspace and contact attributes.
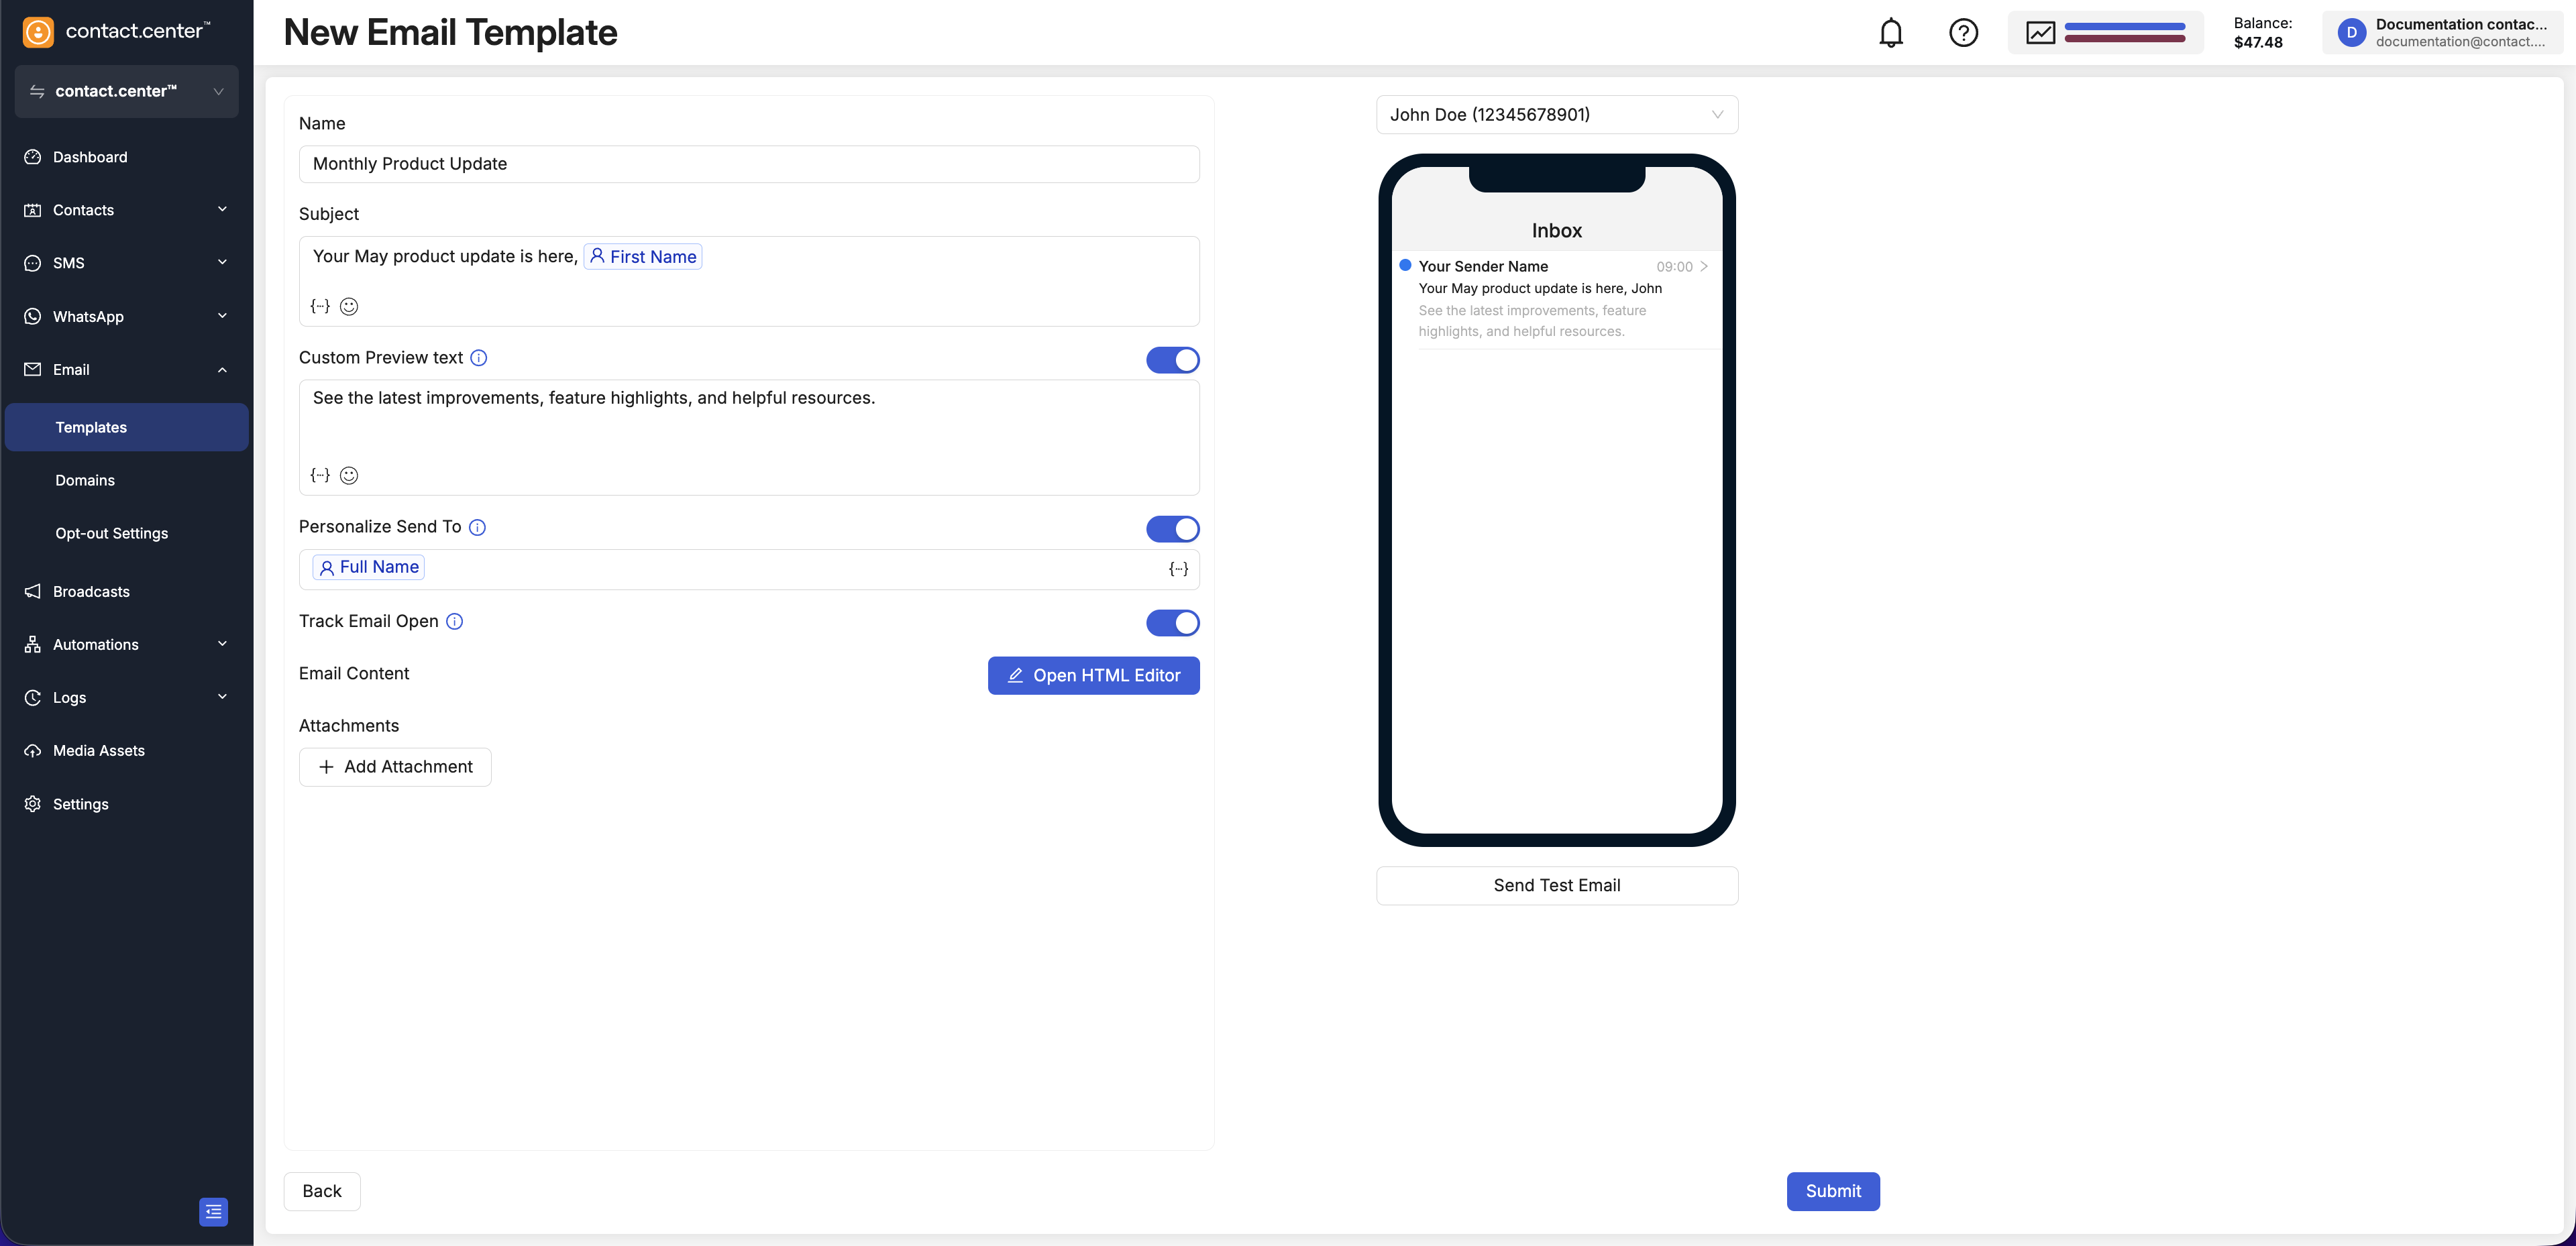
Fig. 2. New Email Template page for the Raw HTML flow
Step 3: Open the HTML Editor
In the Email Content section, click Open HTML Editor.
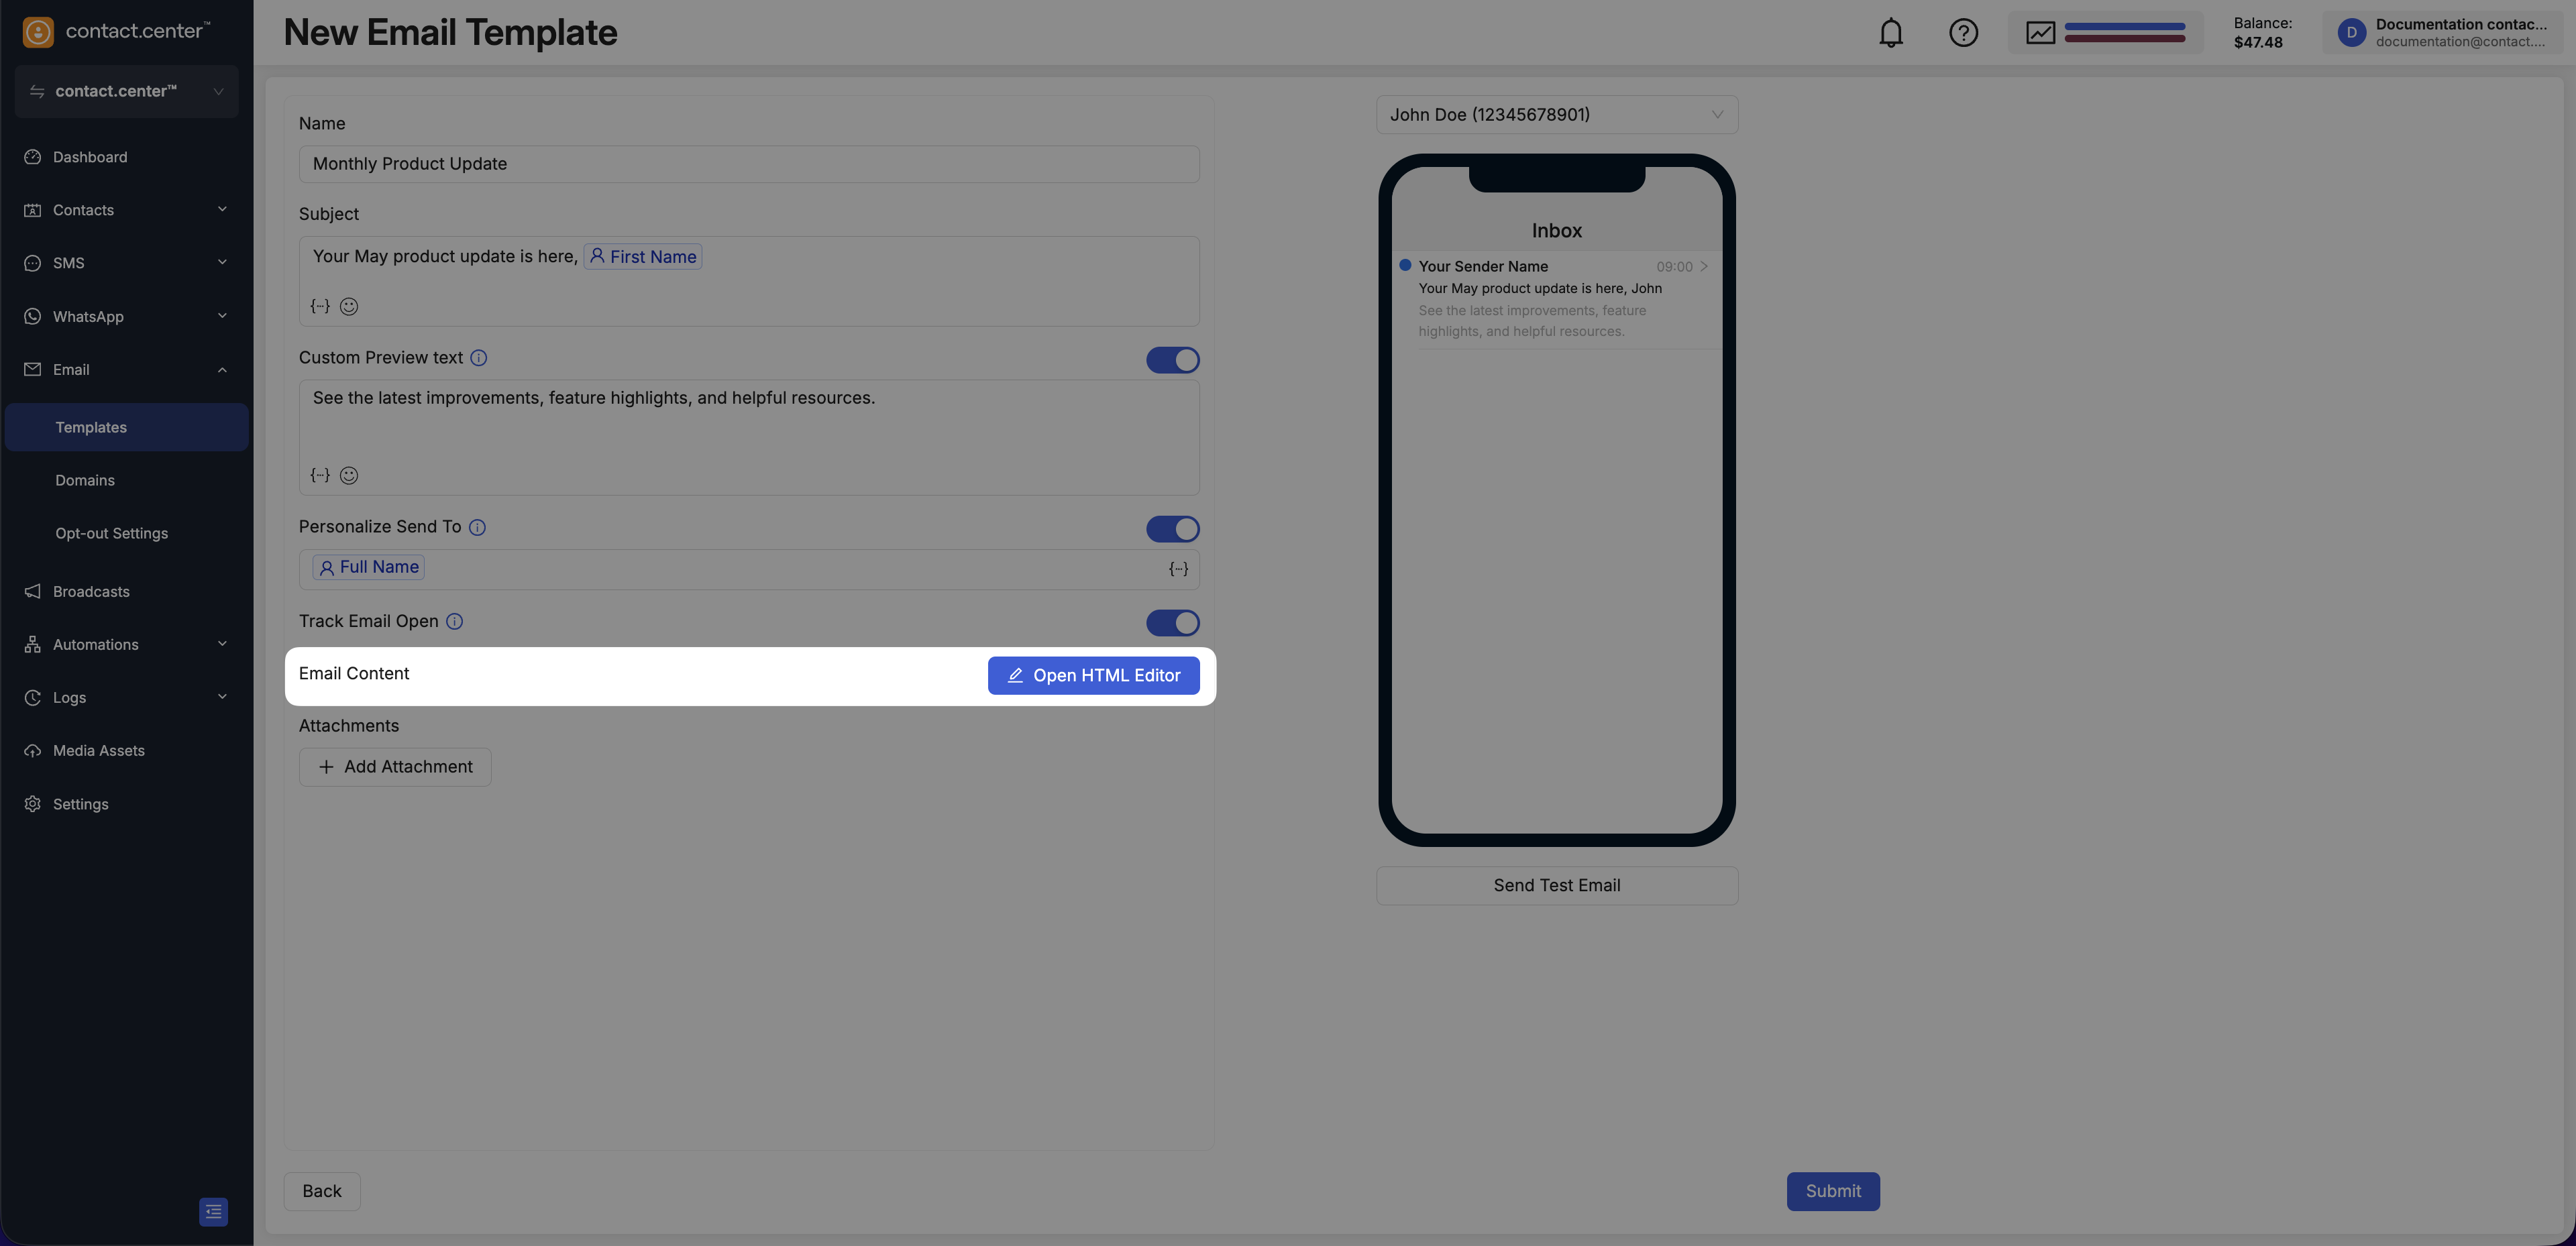
Fig. 3. Open HTML editor
Step 4: Enter HTML Code
In the right pane, use the code editor to enter or paste your HTML code. The editor supports syntax highlighting, making it easier to structure and read your code.
The Beautify HTML option is available to automatically format your HTML for better readability.
Note
You may use the placeholders panel on the left to insert workspace placeholders and contact attributes.
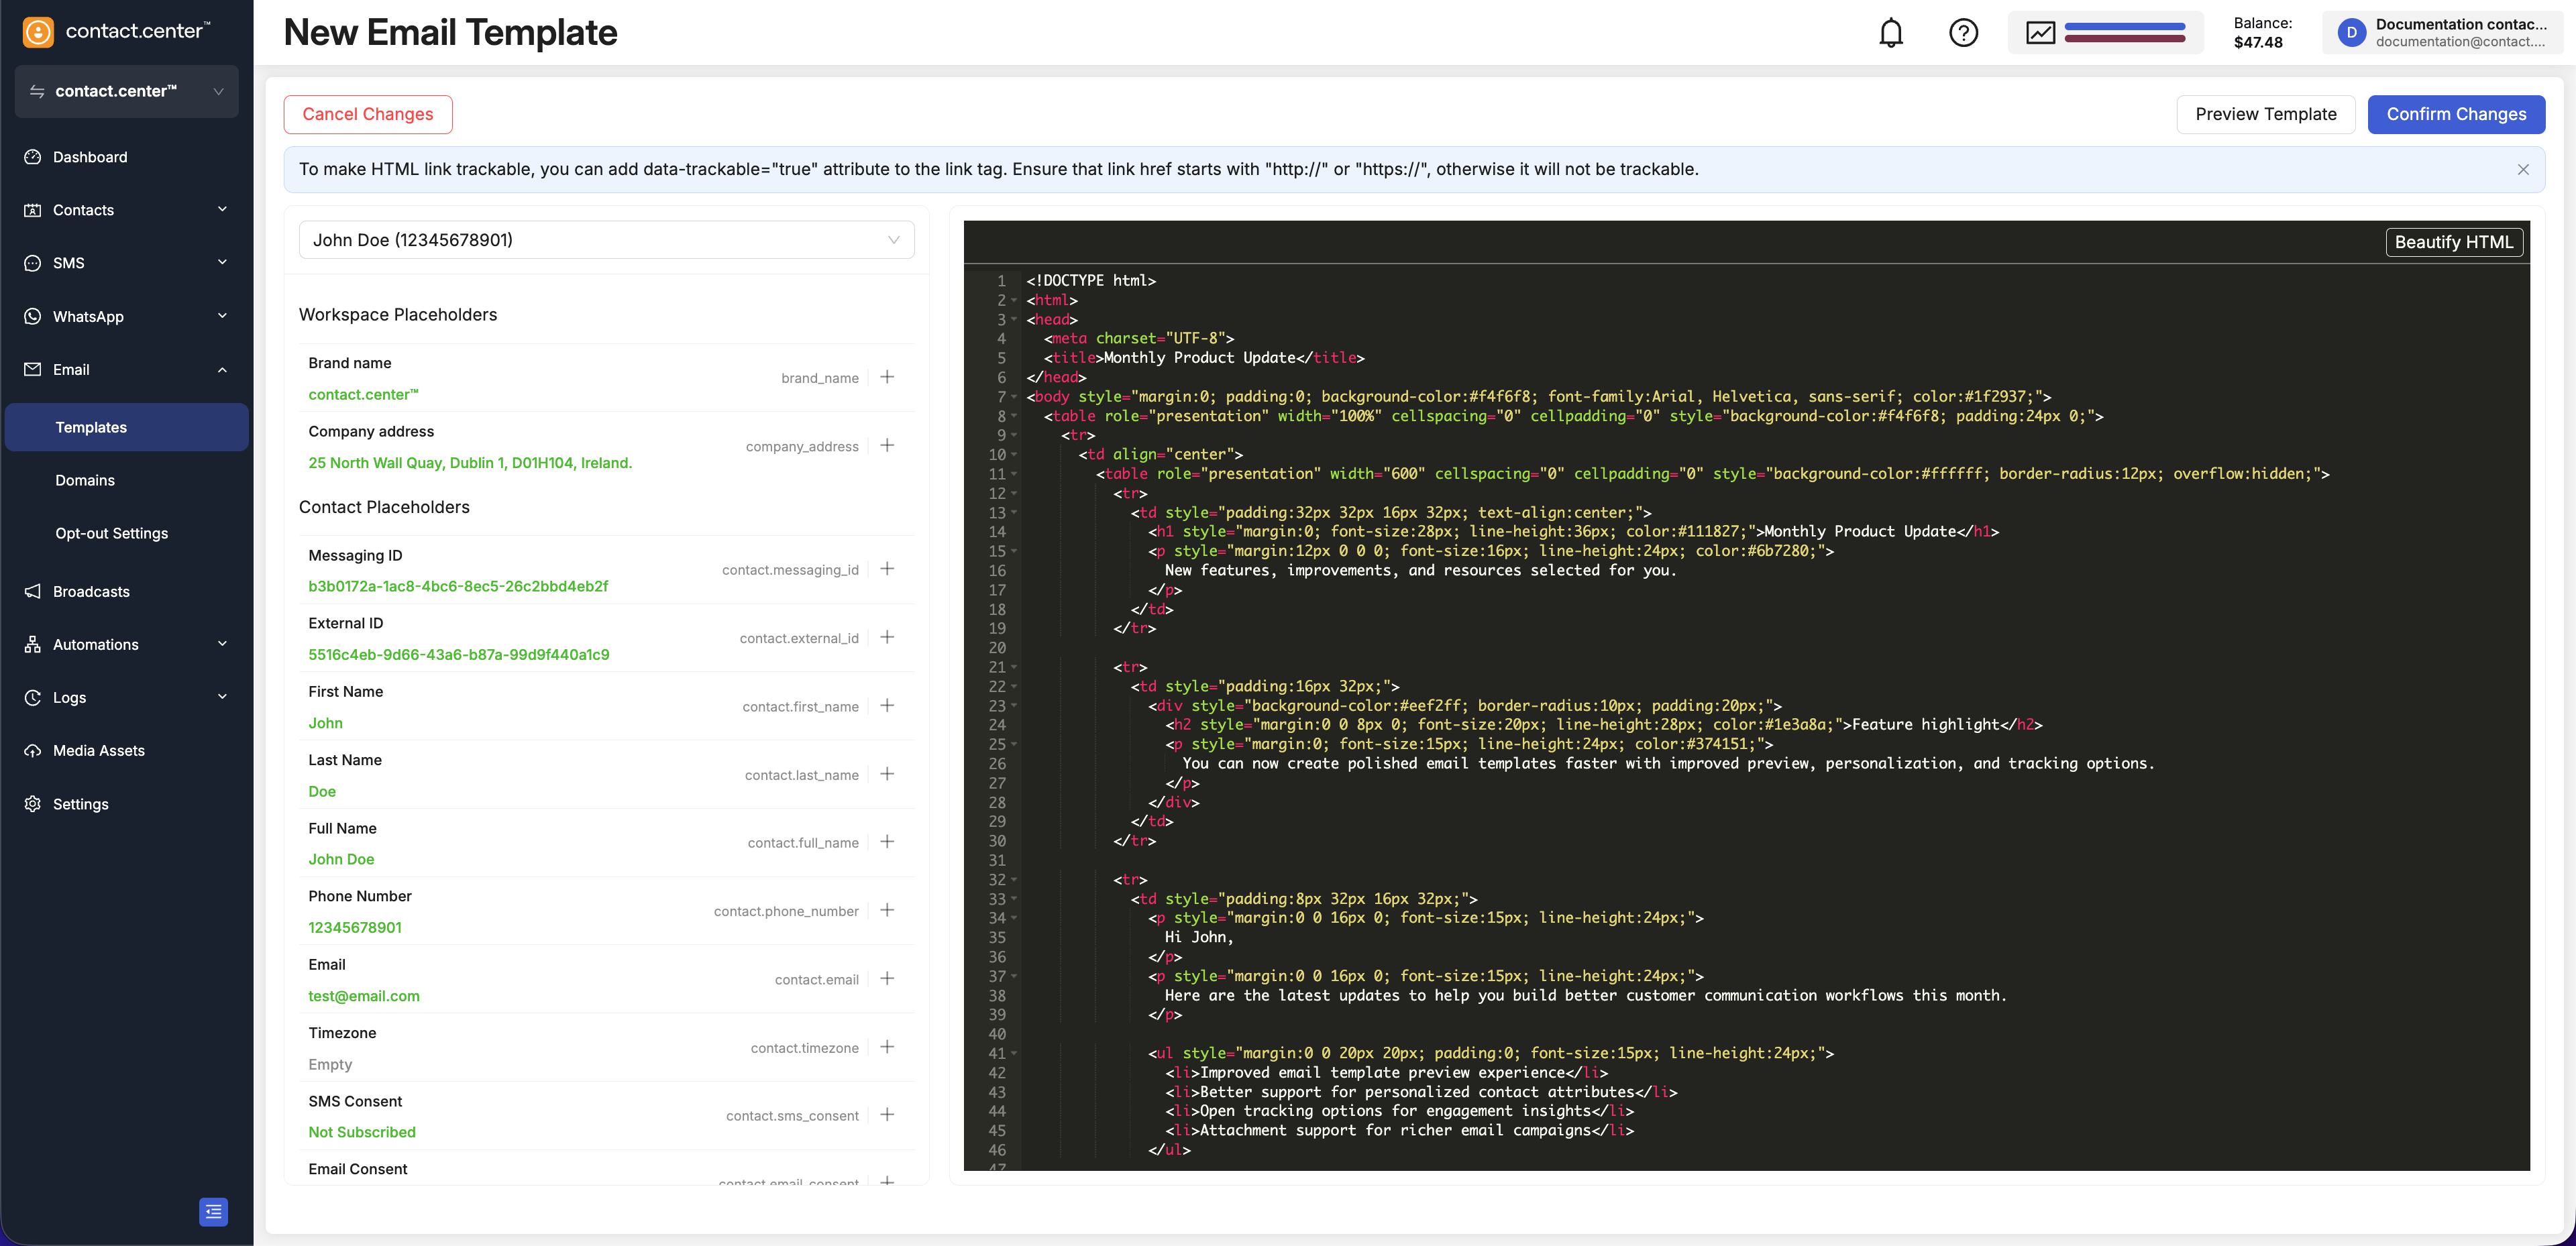
Fig. 4. HTML editor
Step 5: Add Trackable Links (Optional)
To make a link trackable, add the attribute data-trackable="true" to the link tag.
Note
Ensure that the link href starts with http:// or https://. Otherwise, the link will not be trackable.
Step 6: Preview the HTML Template
In the top-right corner of the page, click Preview Template.
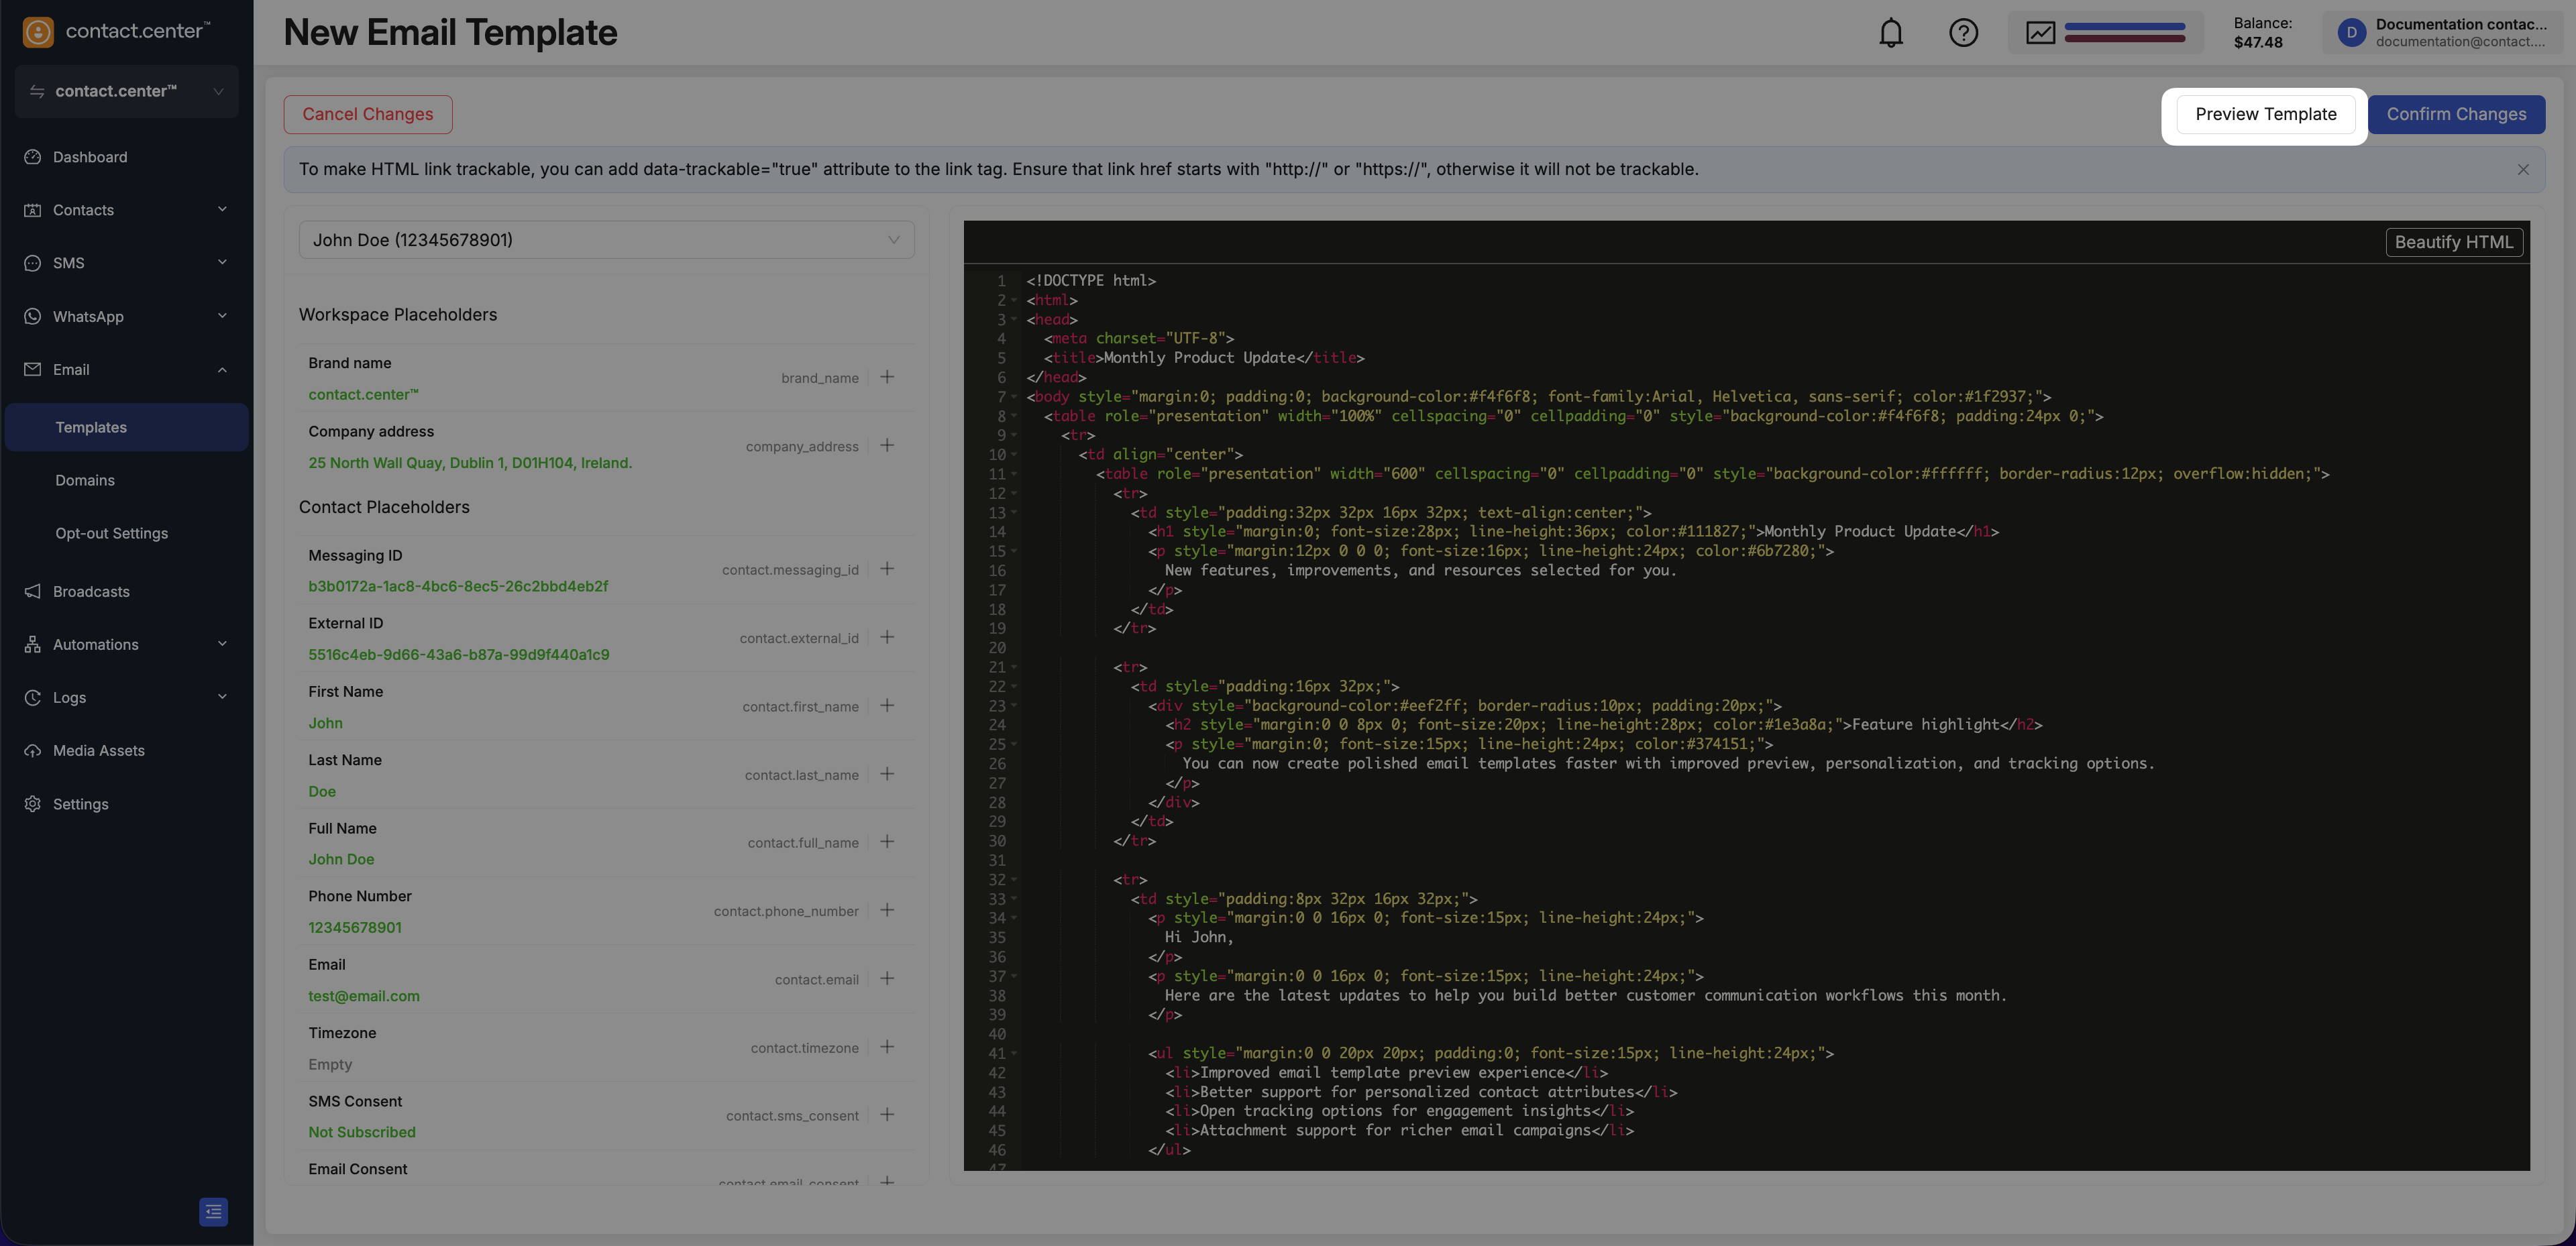
Fig. 5. Preview Template button
The preview feature allows you to see how the email will appear on desktop, tablet, and mobile devices. This is especially useful for checking the layout, styling, and overall appearance to ensure the HTML renders as expected across different views.
In preview mode, you can interact with links and review the layout as recipients will see it, allowing you to make adjustments before finalizing the template.

Fig. 6. Preview Template
Step 7: Confirm Changes
Once you are satisfied with your HTML template, click Confirm Changes to save the changes and return to the New Email Template page.
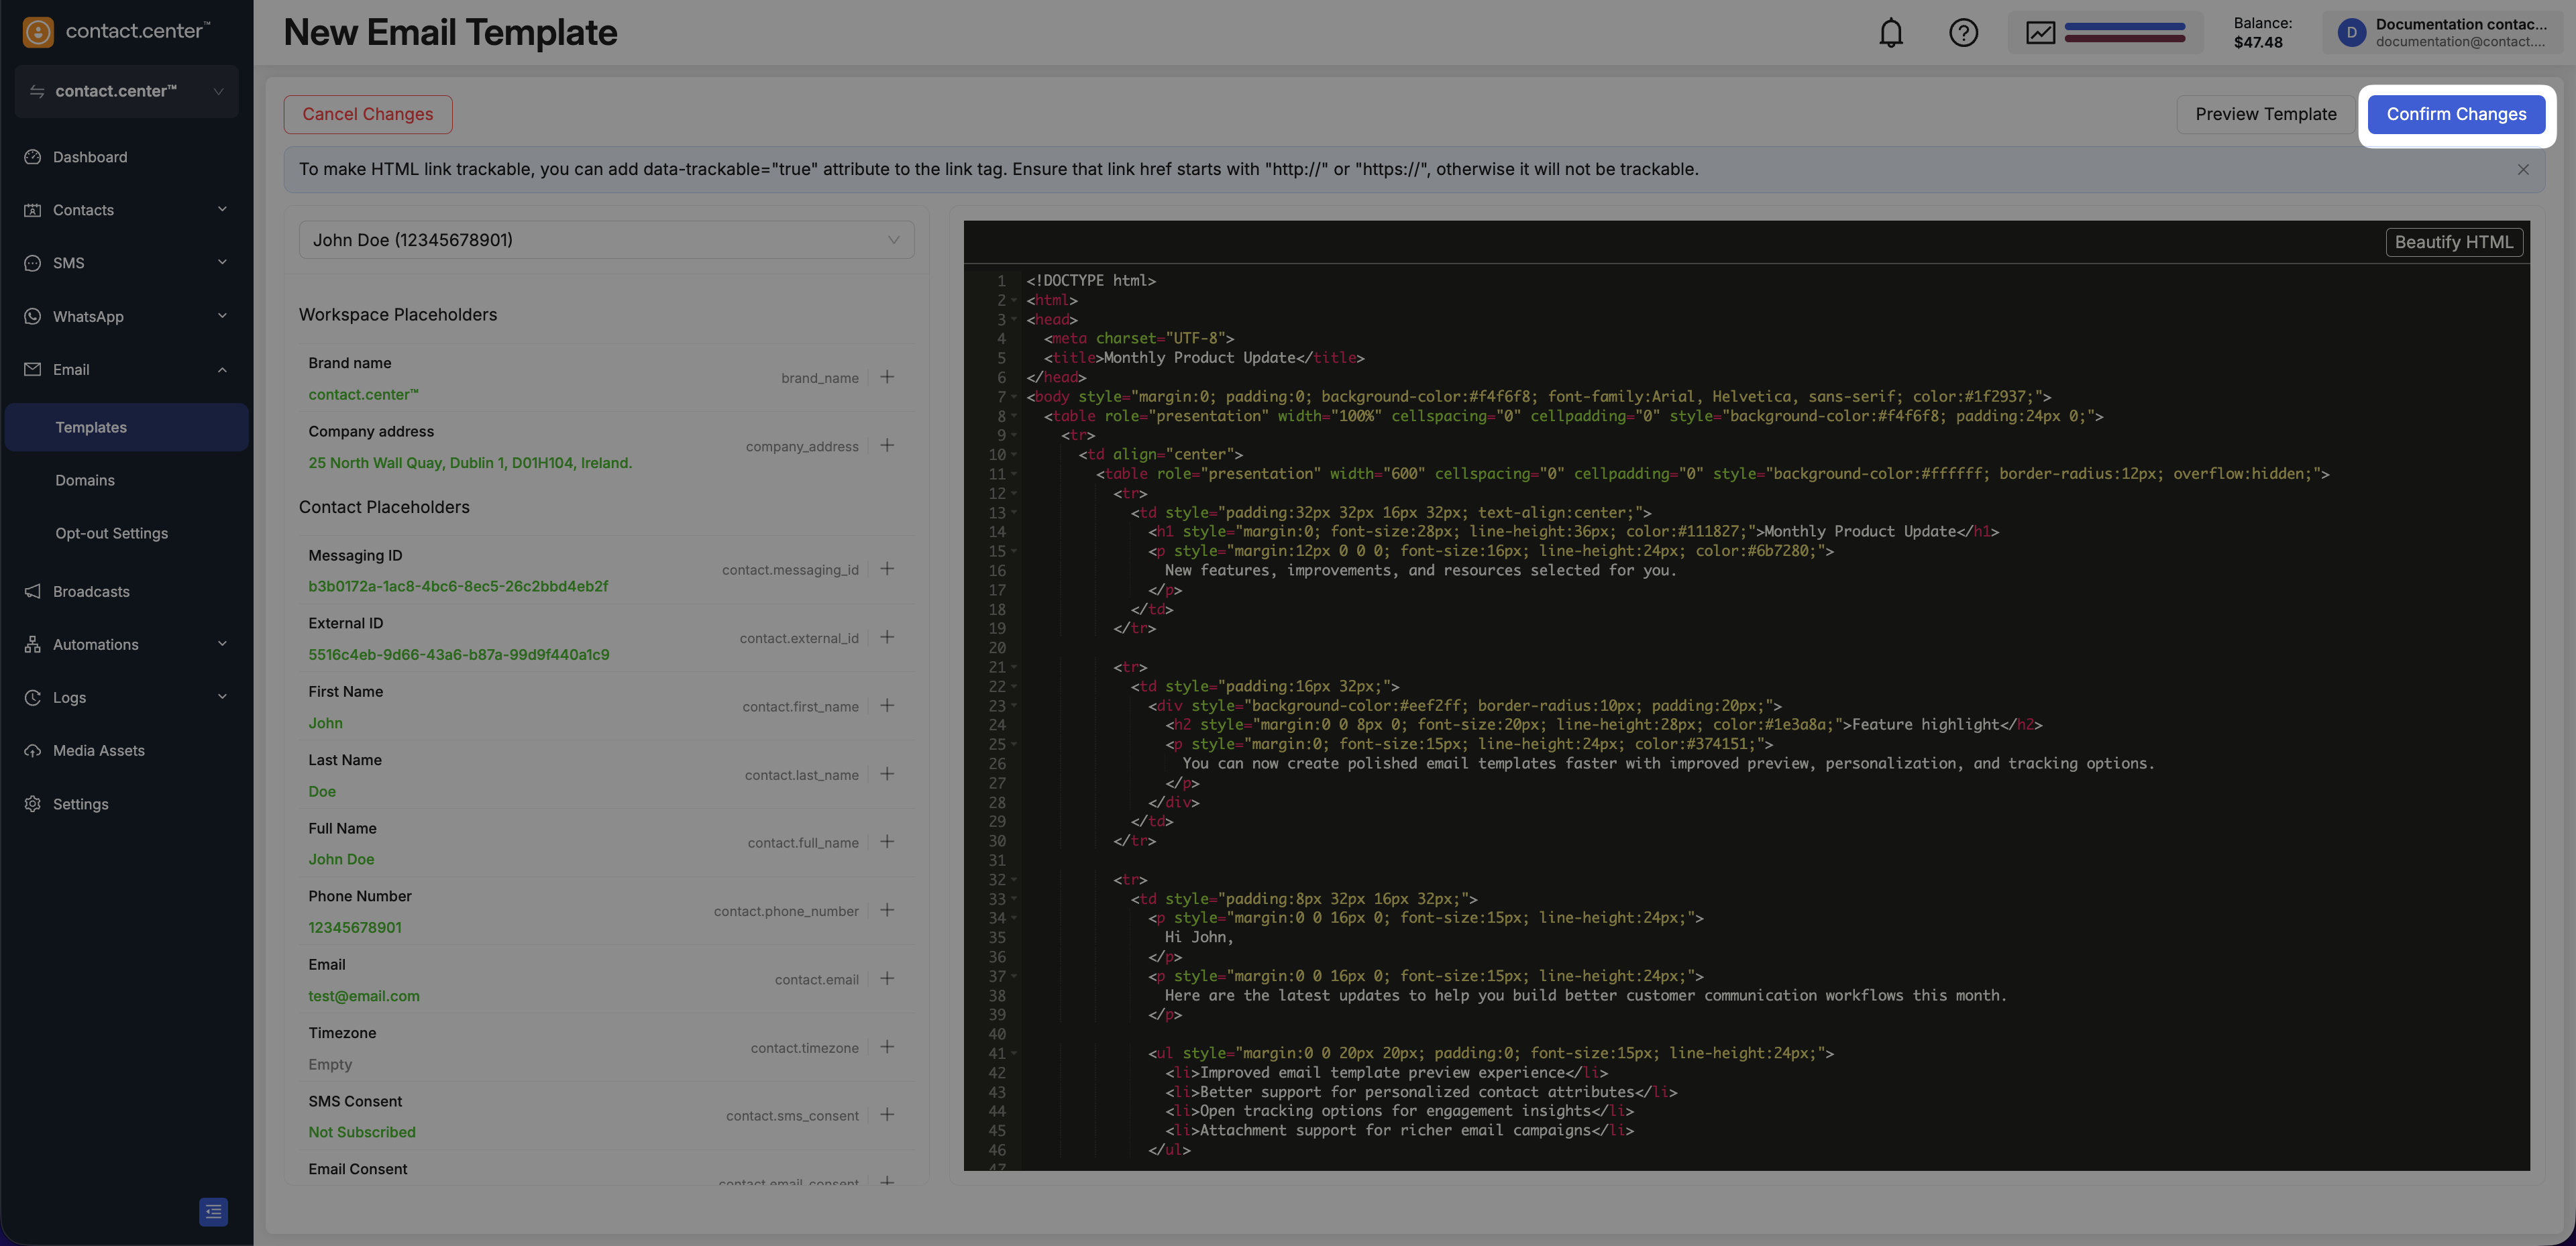
Fig. 7. Confirm Changes button
Step 8: Add Attachments (Optional)
Attachments can be added in the Raw HTML flow to enhance your template by including supporting documents such as PDFs, images, or other files that complement the message content.
In the Attachments section, click Add Attachment.
Select the file you want to attach to the email template.
Click insert to attach the file to your email.
Note
File size must not exceed 15 MiB.
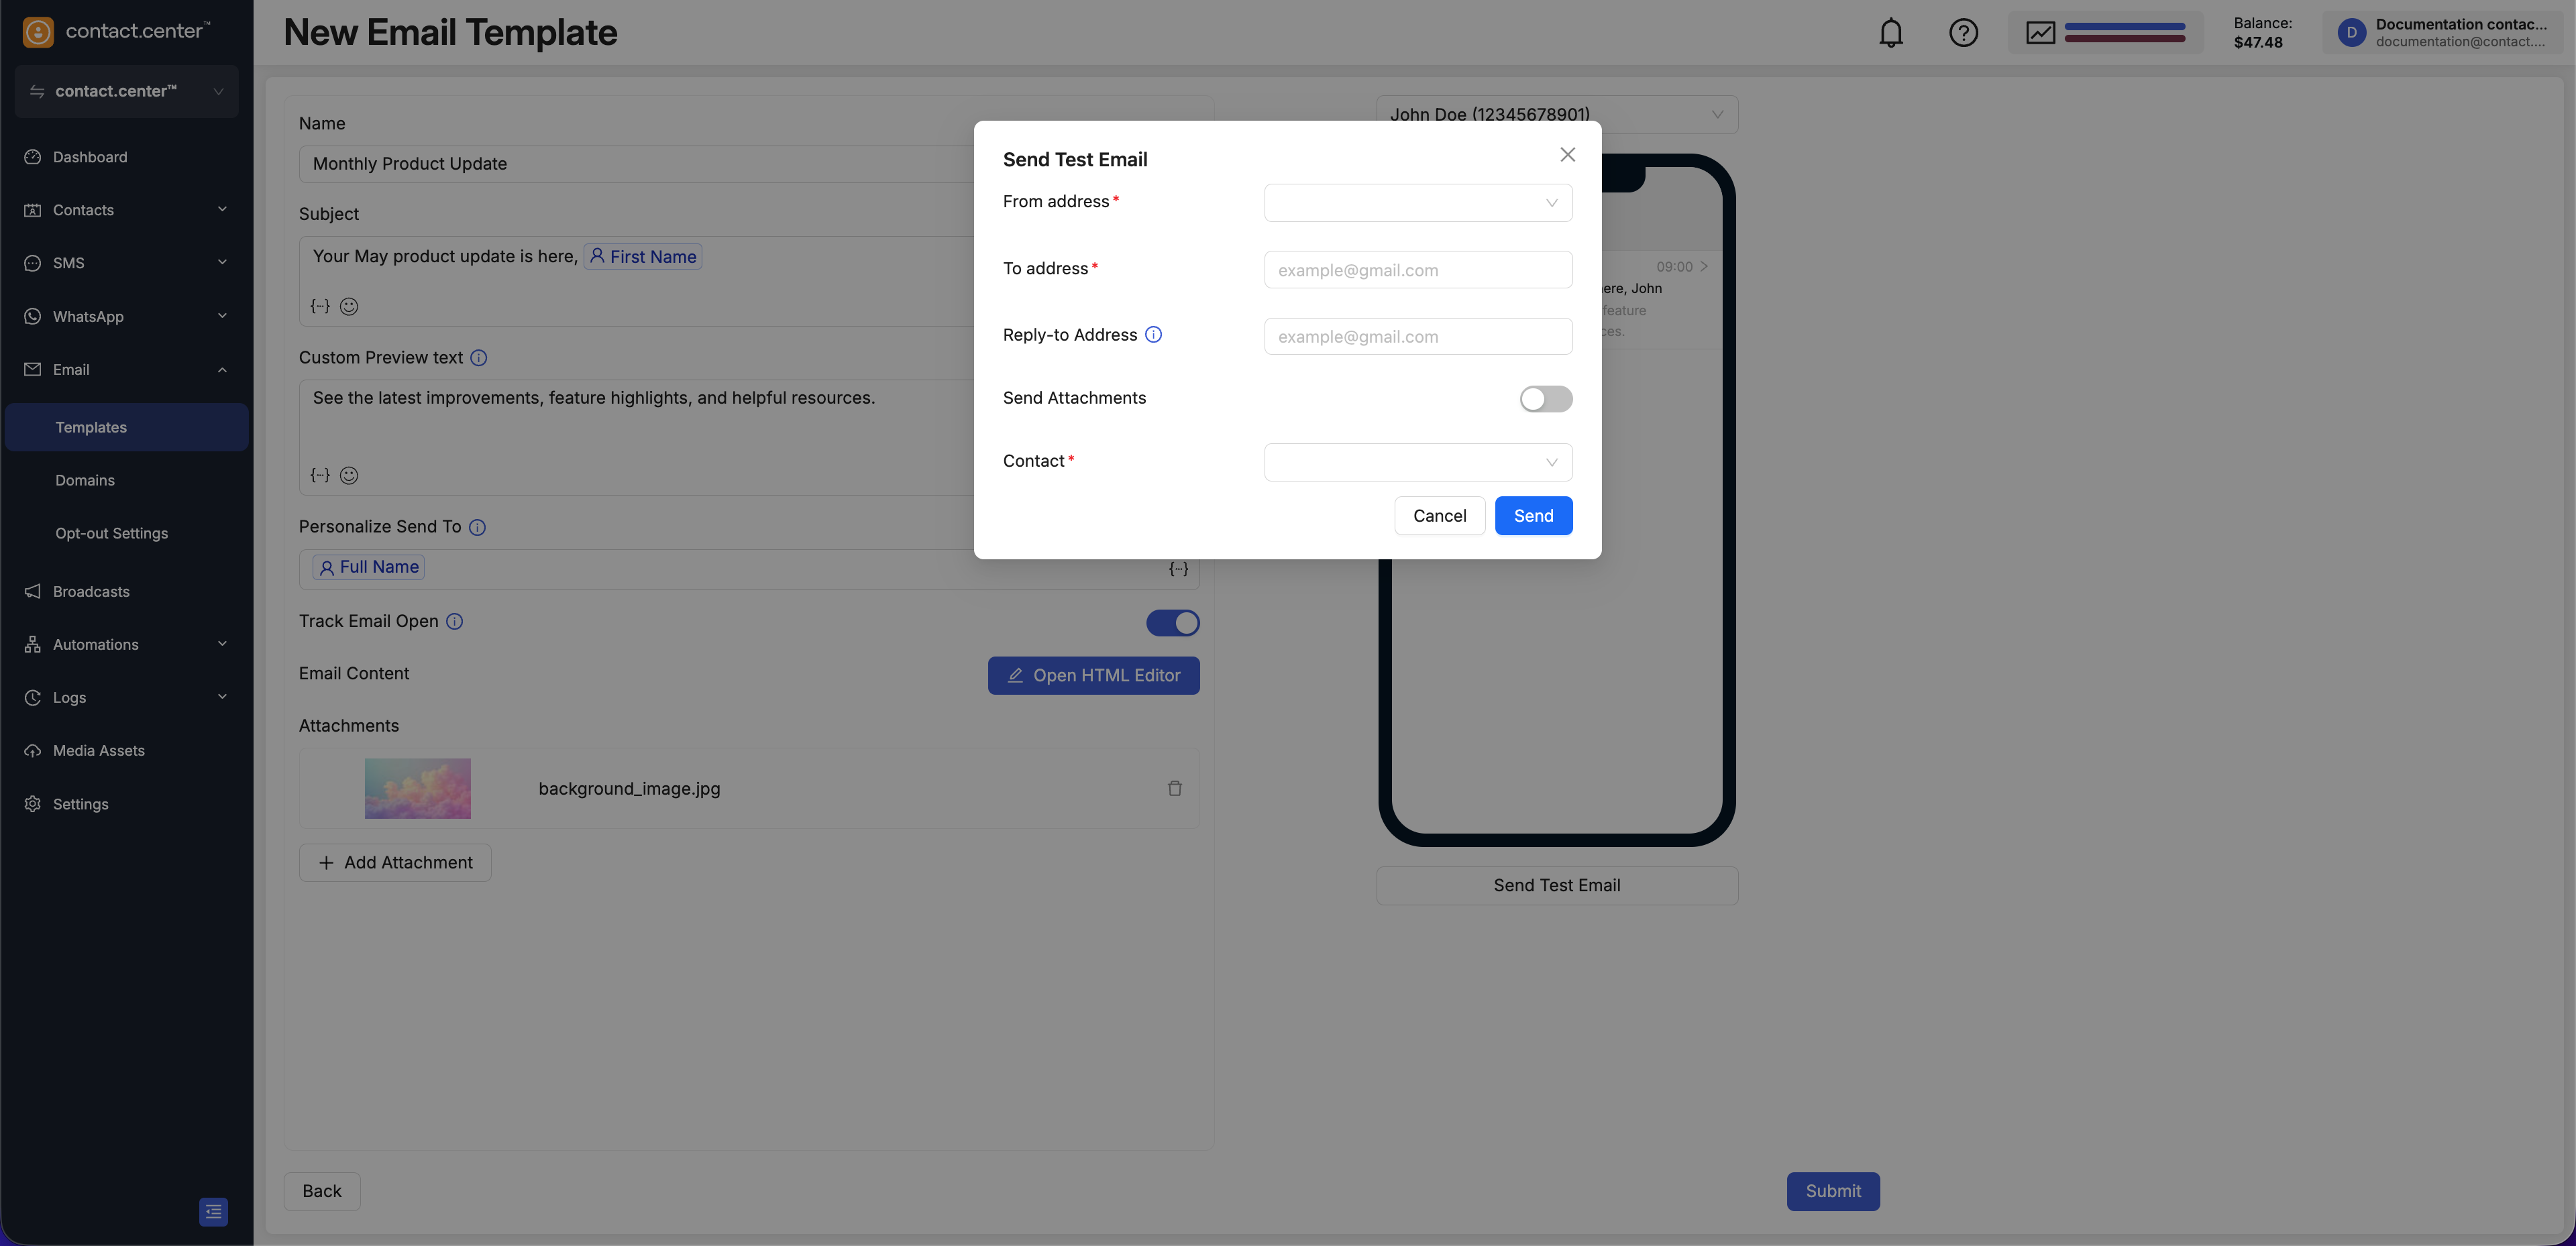
Fig. 8. Attachments section in the New Email Template page
Step 9: Send a Test Email (Optional)
To preview the email’s appearance and content before saving the template, you can send a test email.
Review the inbox preview on the right side of the page as you configure the template.
Click Send Test Email.
Input the test email delivery details:
From address: Select the email address you want to display as the sender.
To address: Enter the recipient’s email address where the test email will be sent.
Reply-to Address: Specify the email address to which replies will be directed. If left empty, the reply-to address will be the same as the sender’s email address.
Send Attachments: Toggle this option on if you want to include any attachments that are part of the email template.
Contact: Choose a contact from the dropdown list if you want to populate placeholders with actual contact data.
Click Send to deliver the test email.

Fig. 9. Send Test Email modal in the New Email Template page
Step 10: Submit the Template
When the template is ready, click Submit at the bottom of the page to save it.

Fig. 10. Submit button for saving the Raw HTML template
Edit or Delete Templates
Use the template actions menu to edit or delete an existing email template.
Warning
Before deleting a template, make sure it is not used by any active or scheduled broadcasts or automations.
To edit or delete a template:
Go to Email → Templates.
Locate the template you want to manage.
Click the actions menu for that template.
Select Edit to update the template, or Delete to remove it permanently.
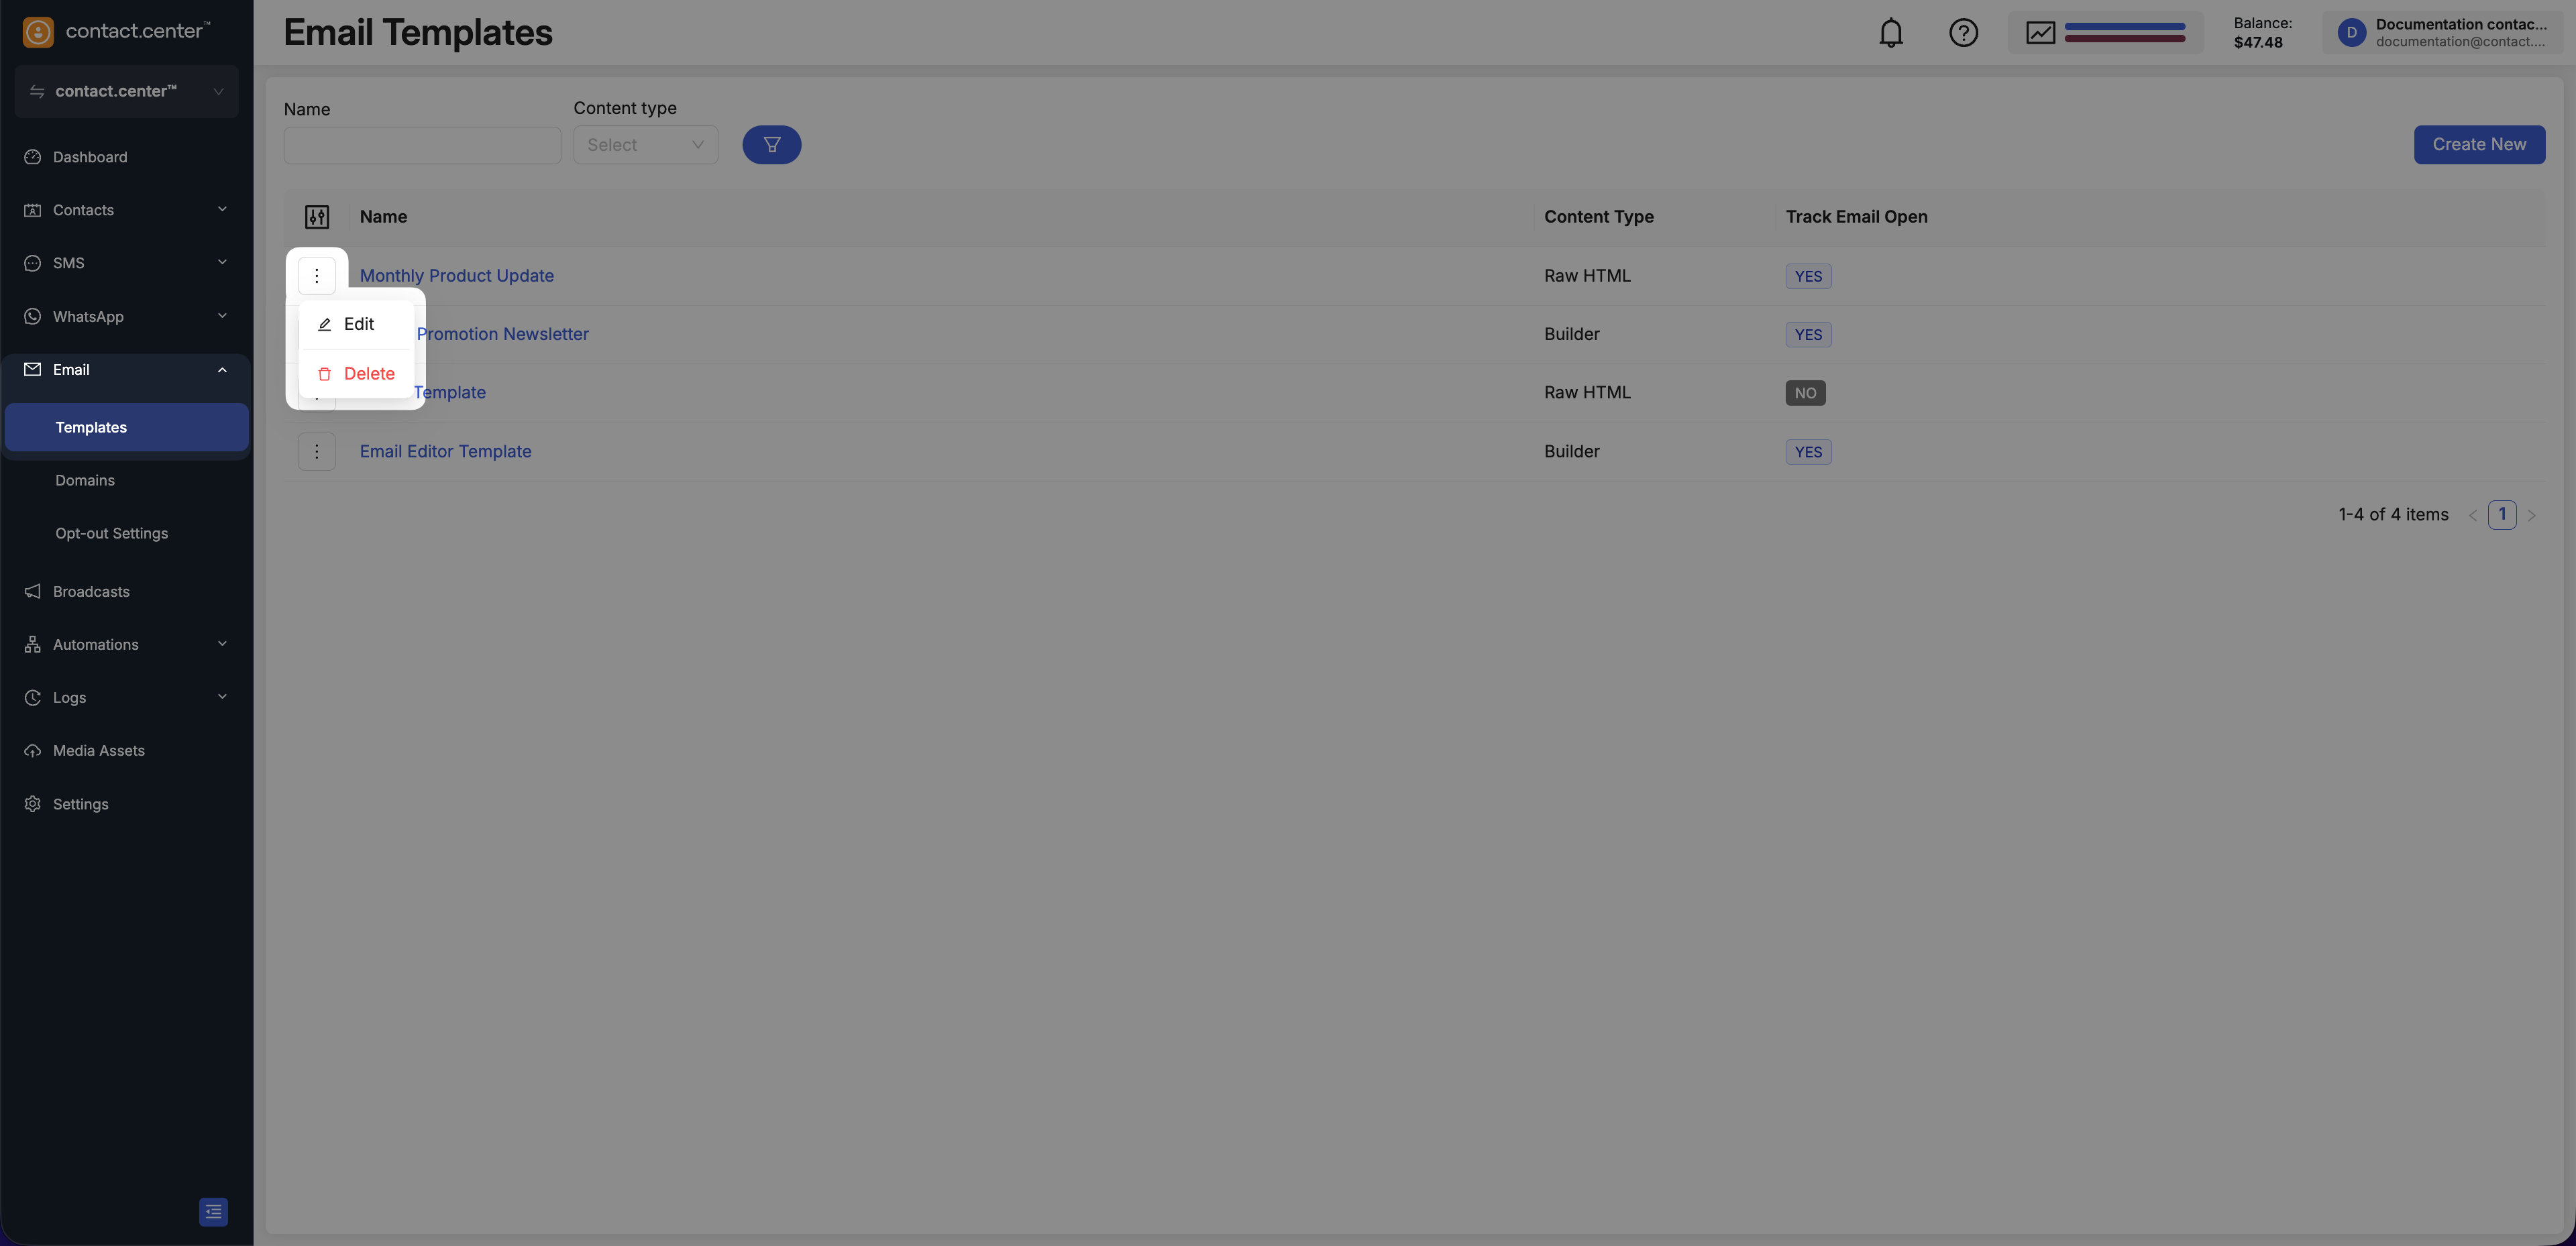
Fig. 11. Templates actions menu