Image Block
Images help draw attention to key parts of your email and make the design more engaging. Use the Image content block in the Email Editor to add visuals, adjust their presentation, add alternate text, and link them to external destinations.
Insert Images
To insert an image in your email design, first drag the Image content block into the email canvas where you want the image to appear.
Fig. 1. Drag the Image block into the email canvas.
Once the Image block is in the canvas, you can add an image in several ways:
Drag and drop
Via Content Library
From a URL
Use variables
Choose the tab that matches how you want to insert the image into your email design:
Easily add images to your email design by dragging and dropping them directly from your computer into the Image block.
This is useful when you want to place a new image quickly while editing the email.
Fig. 2. Add an image by dragging and dropping it into the Image block.
Use Media Assets to upload and manage reusable files before using them in your email templates.
After inserting the Image block, click the block to open its settings in the left panel and use Replace Image to choose the file you want to display.
This is useful when you want to reuse images across multiple templates instead of uploading the same file each time.
Fig. 3. Replace an image using an existing media asset.
To insert an image from a URL, the image must be hosted on a publicly accessible website.
To load an image from a direct link:
Select the Image block in the canvas.
In the left panel, use Insert image from URL.
Paste the image URL.
Confirm the selection so the image loads into the block.
The image will appear in your email without needing to be uploaded through the editor first. When the email is opened, the image is loaded directly from that URL, so changes to the hosted file will appear automatically in future views.

Fig. 4. Insert an image from a URL.
Variables let you display dynamic, personalized images in your email automatically. Instead of inserting a fixed image URL, you can insert a variable that is resolved when the email is sent based on the latest data available.
To do this:
Select the Image block in the canvas.
In the left panel, locate Insert image from URL.
Click the variable icon next to the field.
Insert the variable you want to use for the image source.
Open the template preview to check how the image will appear for the recipient.
This is useful when the image should vary based on recipient data or another dynamic value available in the template, without manually updating the image for each email.
Fig. 5. Insert an image using a variable in the URL field.
Edit an Image
After the image is in place, you can adjust its size, accessibility text, link behavior, and visual styling from the left panel.
Resize an Image
Click the image block you want to edit.
In the left panel, expand Layout.
In Width, enter the size you want for the image.
In Height, keep the value on auto to preserve the image proportions, or enter a specific value if you need to control the height directly.
You can also adjust Align in the same section to control how the resized image is positioned inside the block.
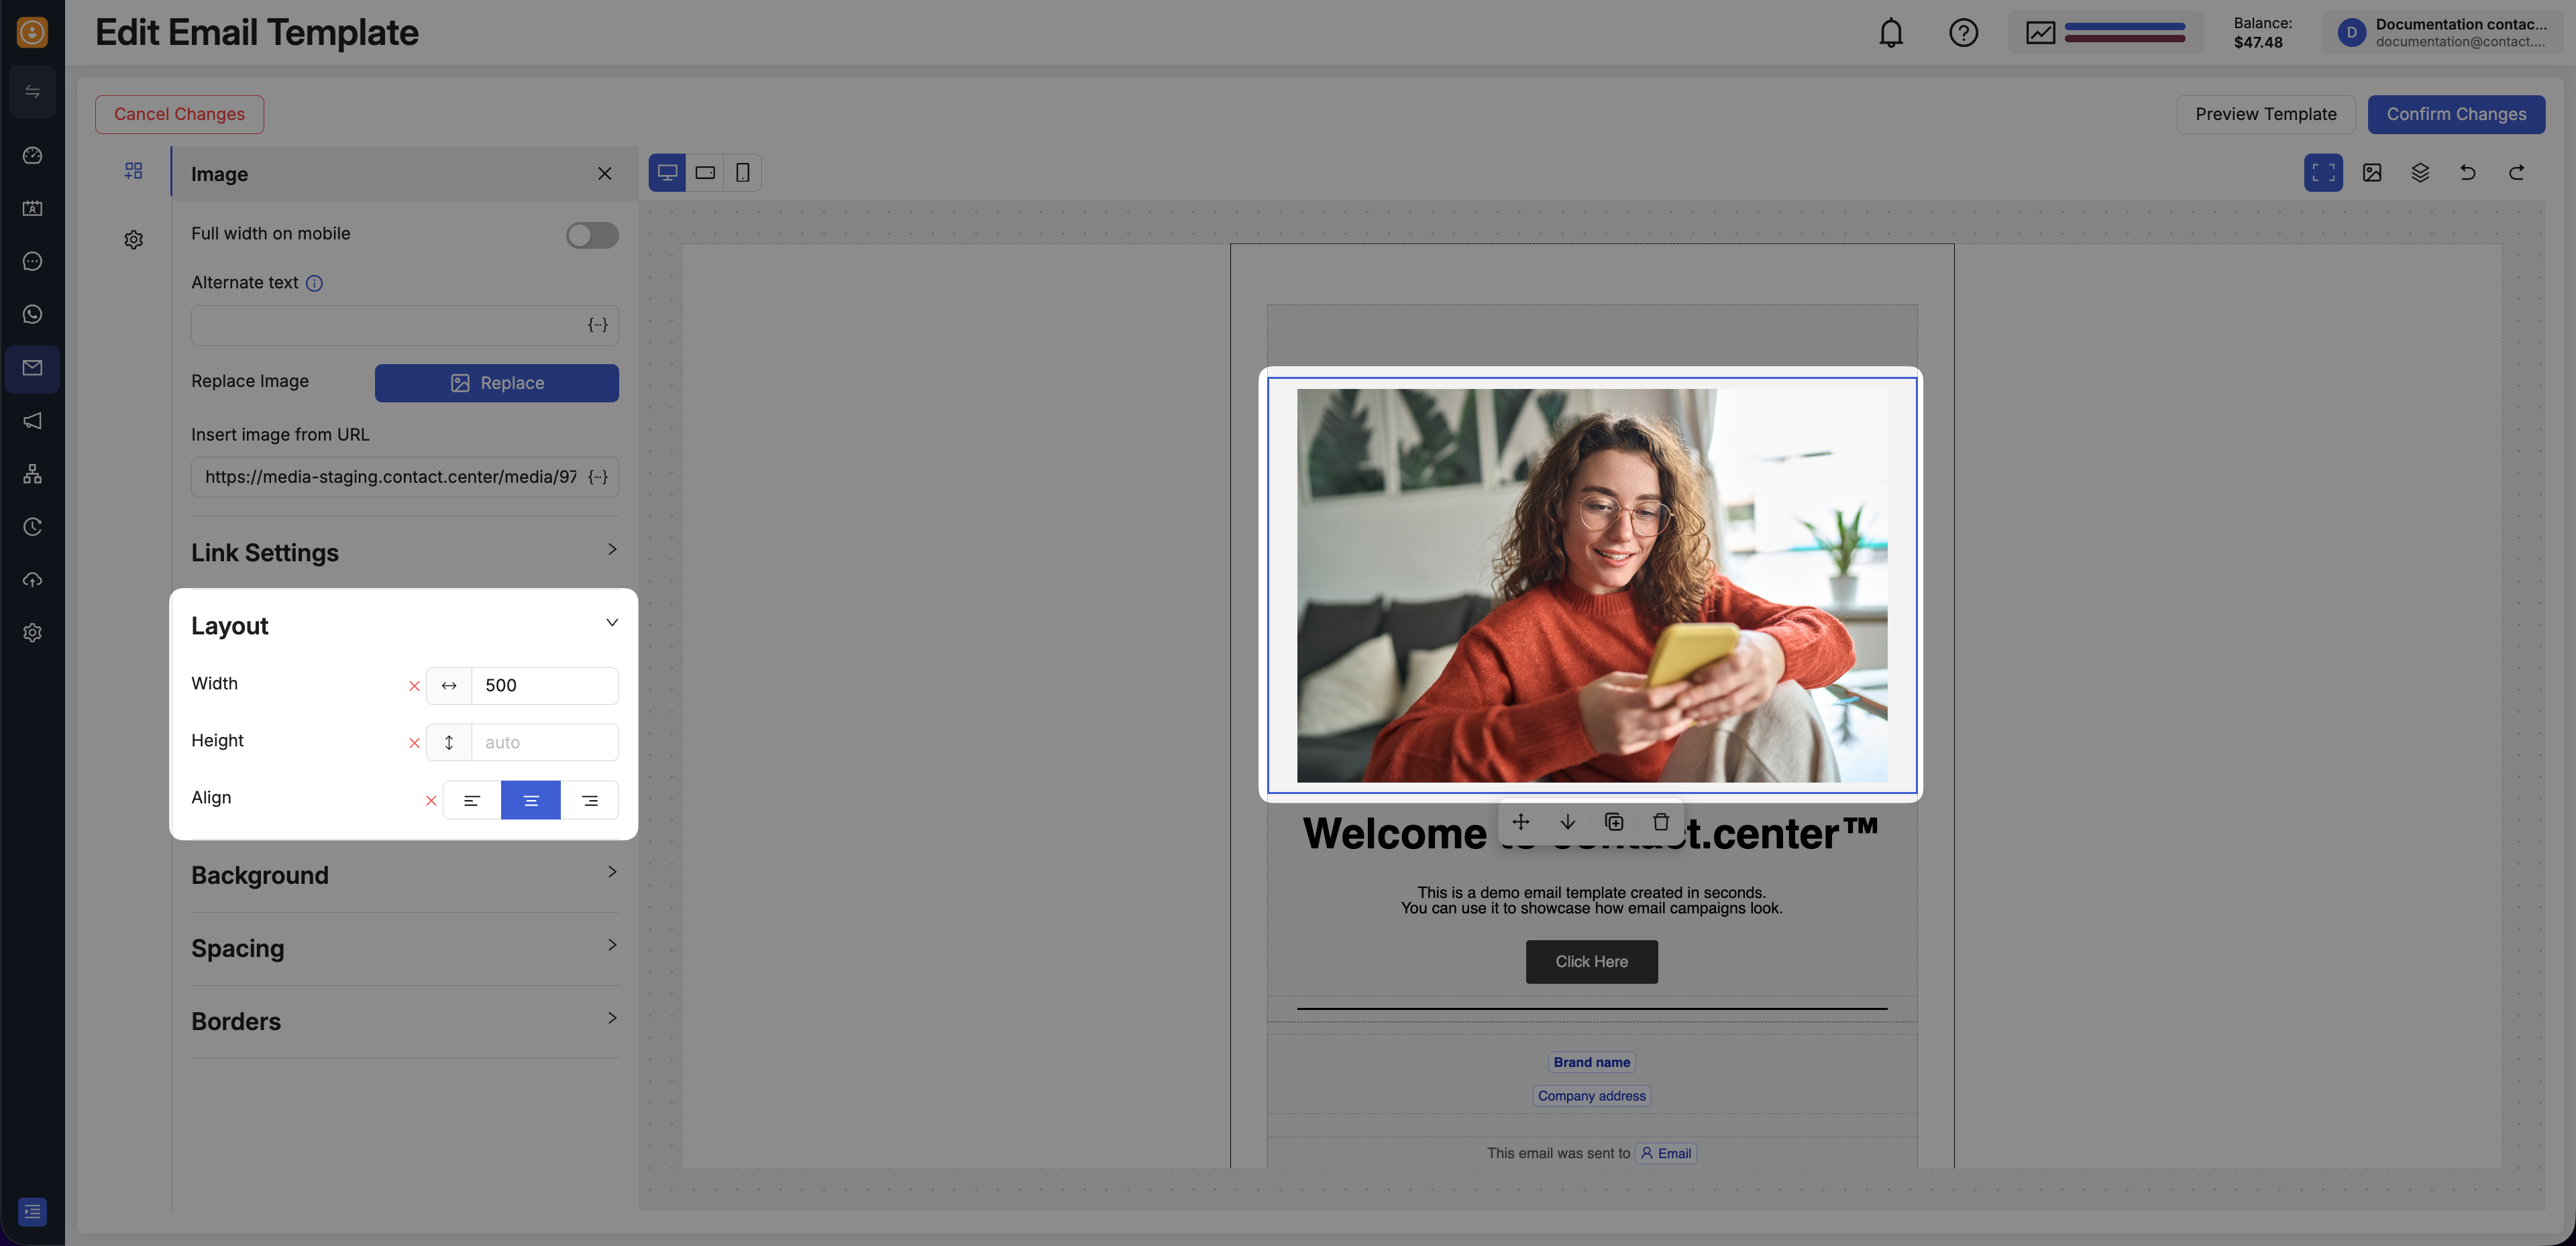
Fig. 6. Resize an image using the Layout width and height settings.
Add Alt Text to an Image
Alternate text helps communicate the purpose of the image when it cannot be displayed and improves accessibility for recipients using screen readers.
Click the image block you want to edit.
In the left panel, locate the alternate text field.
Enter a short, accurate description of the image.
Keep the text focused on the purpose of the image rather than describing decorative details that do not add value to the email.
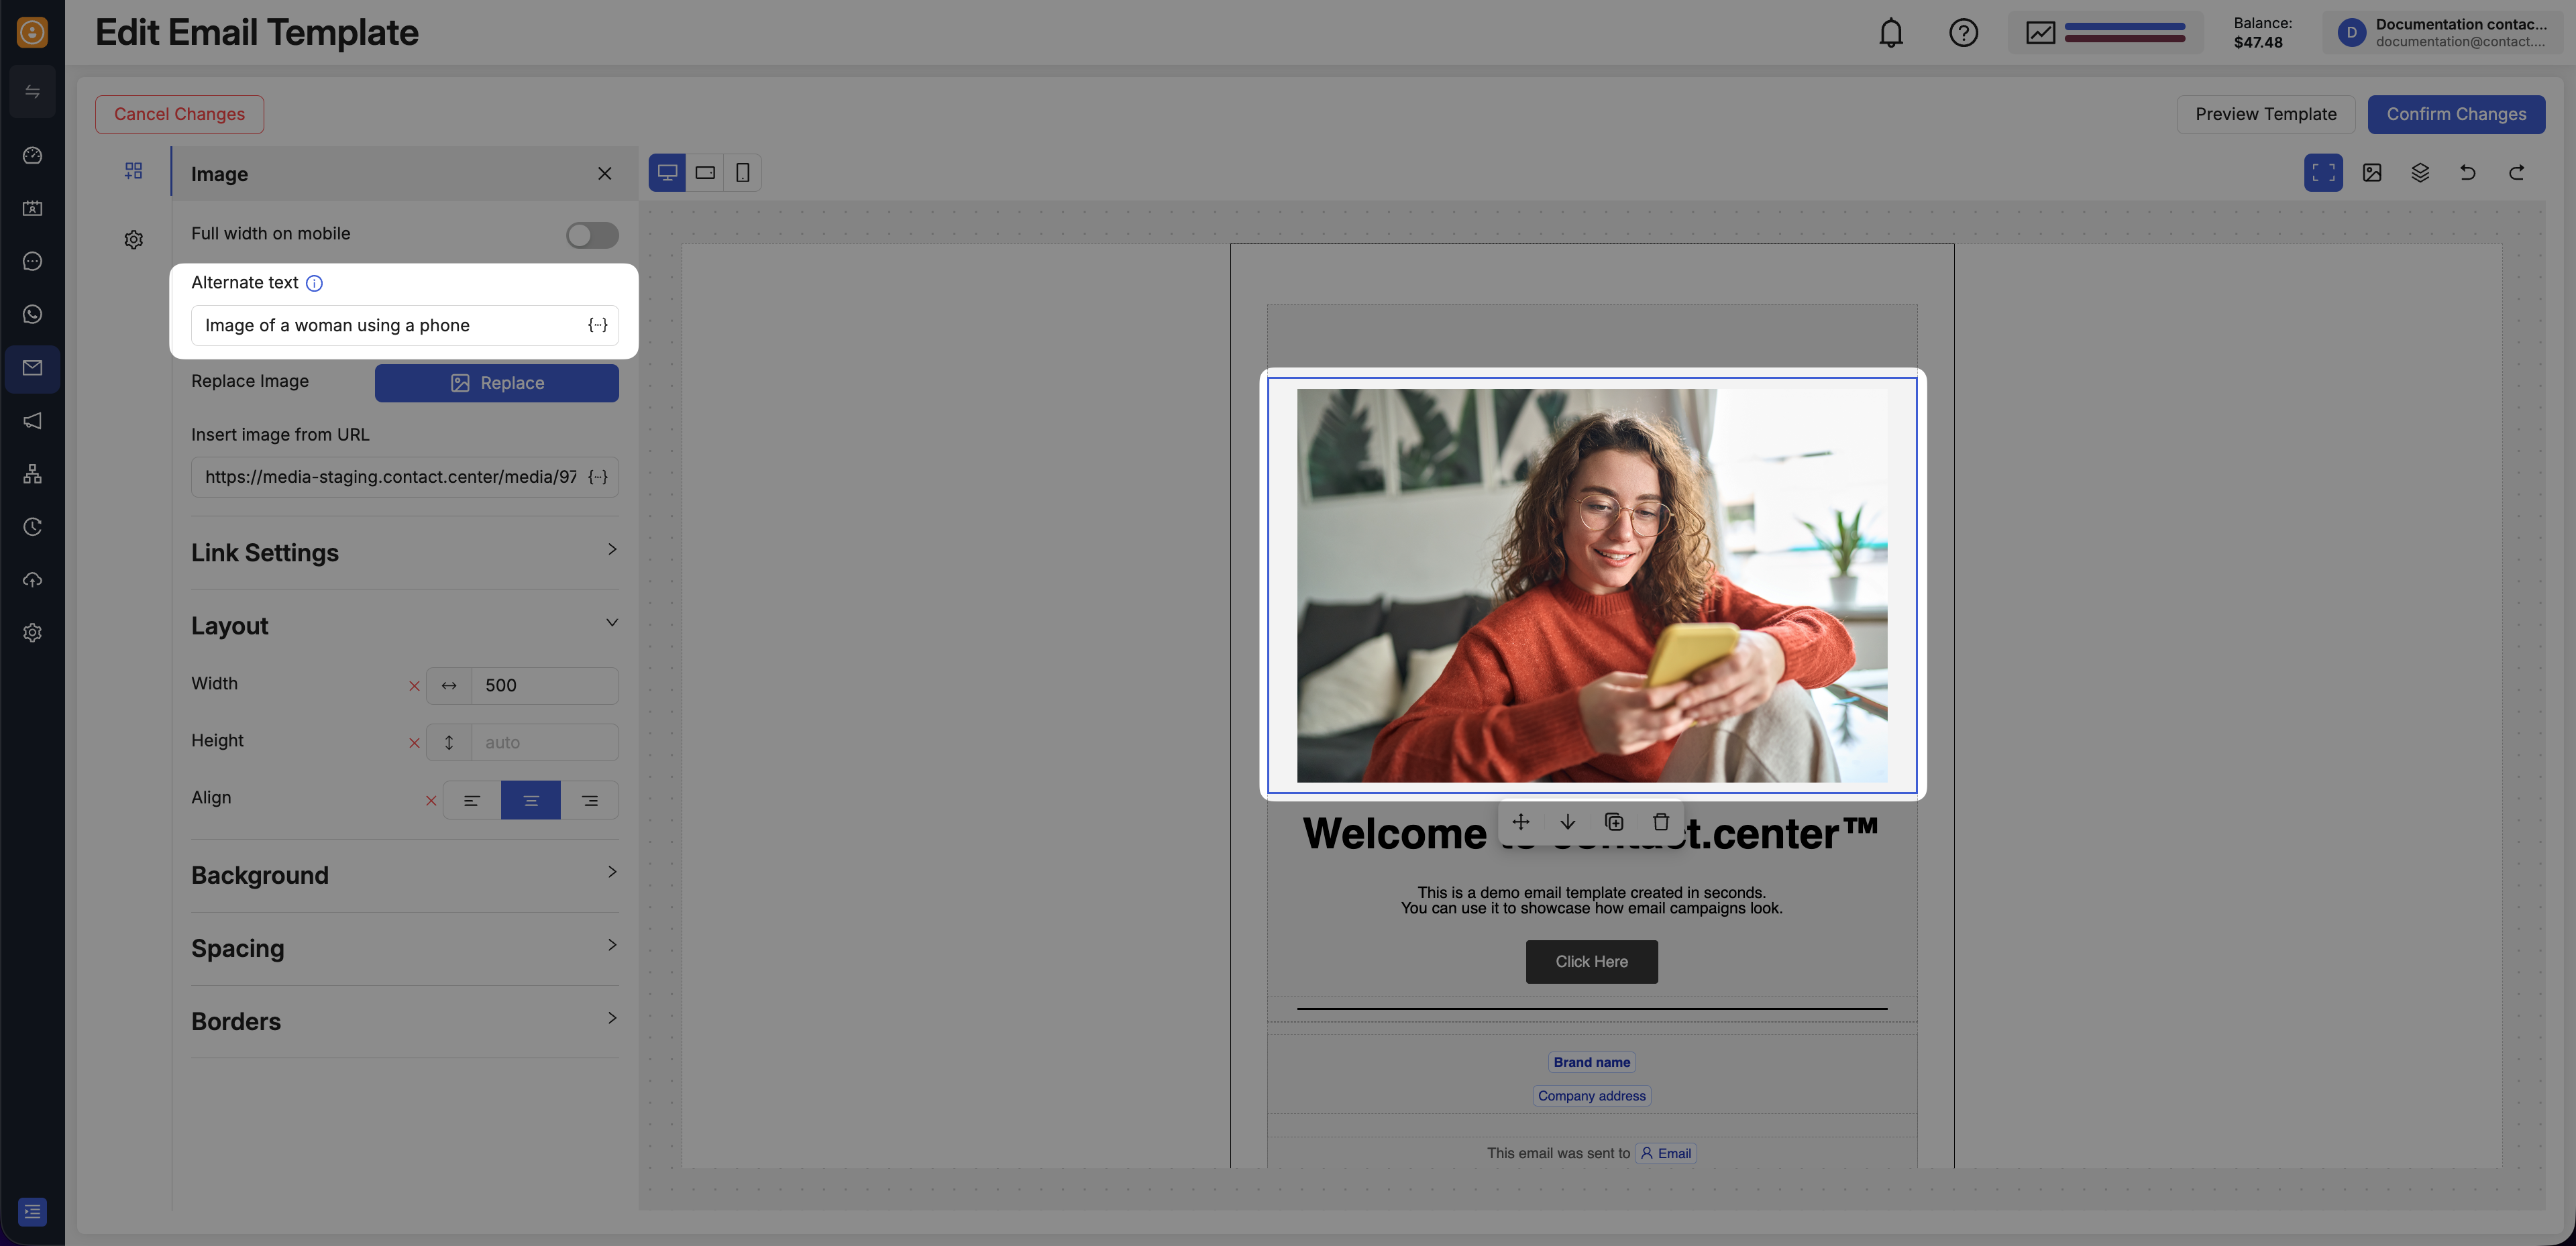
Fig. 7. Add alternate text to an image.
Add a Link to an Image
Linking an image lets recipients open a website or another destination directly from the visual.
Open Link Settings and choose the tab that matches the link type you want to use:
Use this option to send recipients to a webpage or any other direct URL.
Click the image block you want to edit.
In the left panel, open Link Settings.
In Link Type, select Absolute (URL).
In Link target, enter the destination URL.
Optionally add Tooltip.
Enable link tracking if you want to measure clicks on the image.
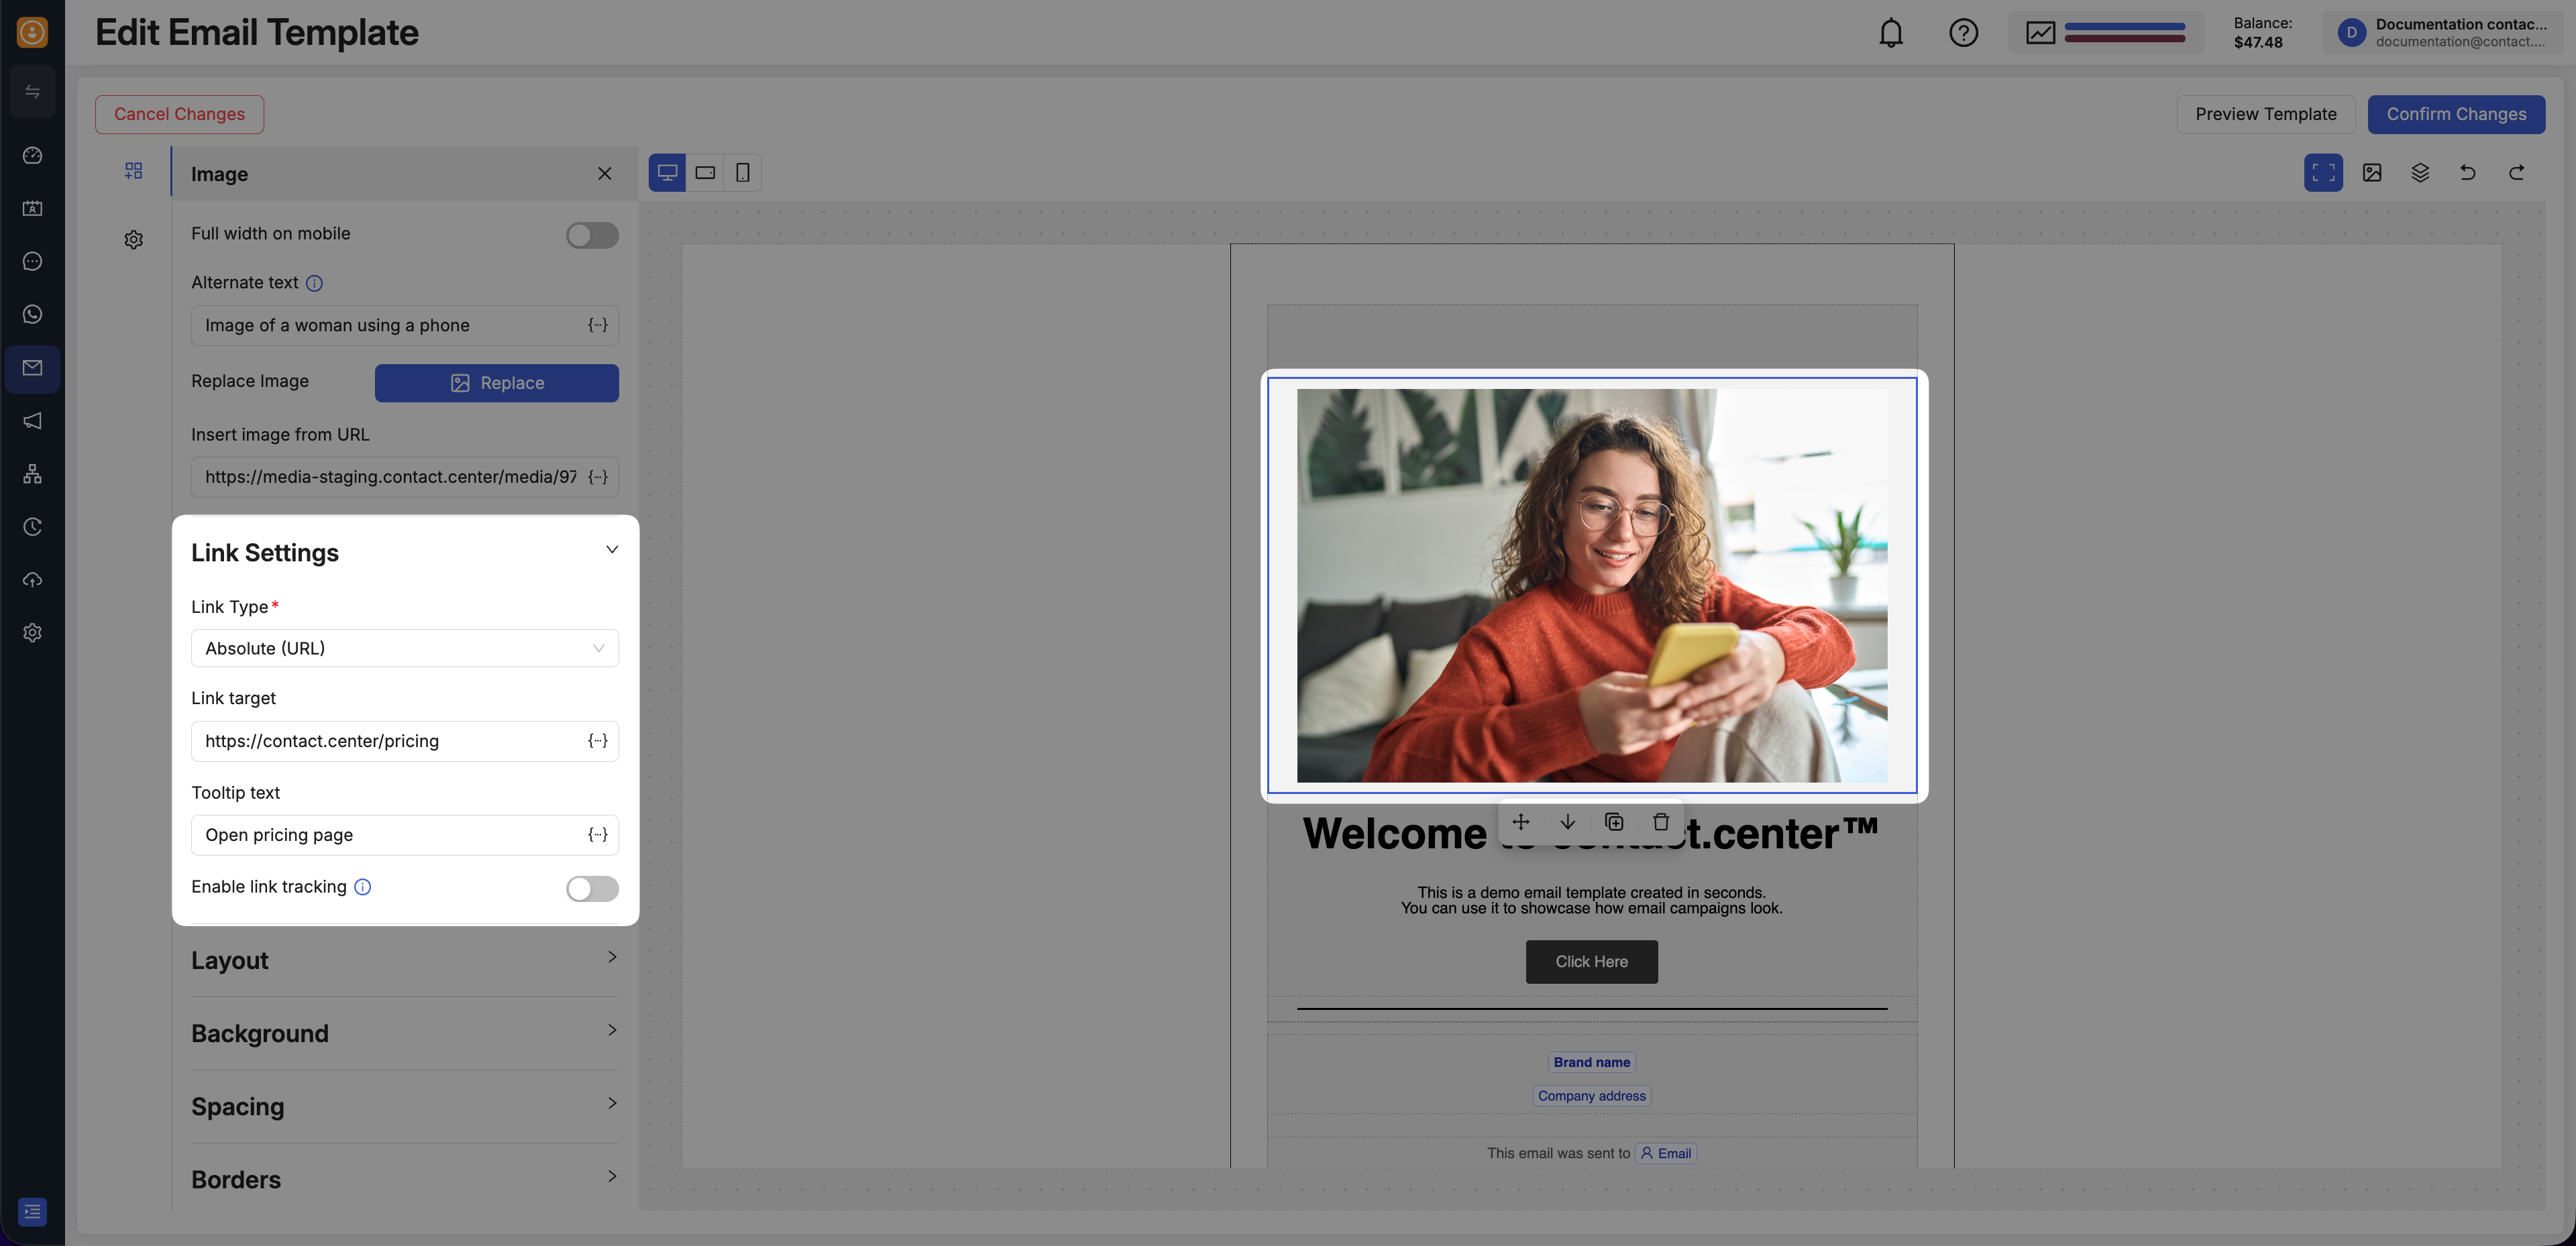
Fig. 8. Add an absolute URL link to an image.
Use this option when the image should start a phone call on supported devices.
Click the image block you want to edit.
In the left panel, open Link Settings.
In Link Type, select Click-to-call phone number (tel).
In Telephone number, enter the phone number you want to use.
Optionally add Tooltip.
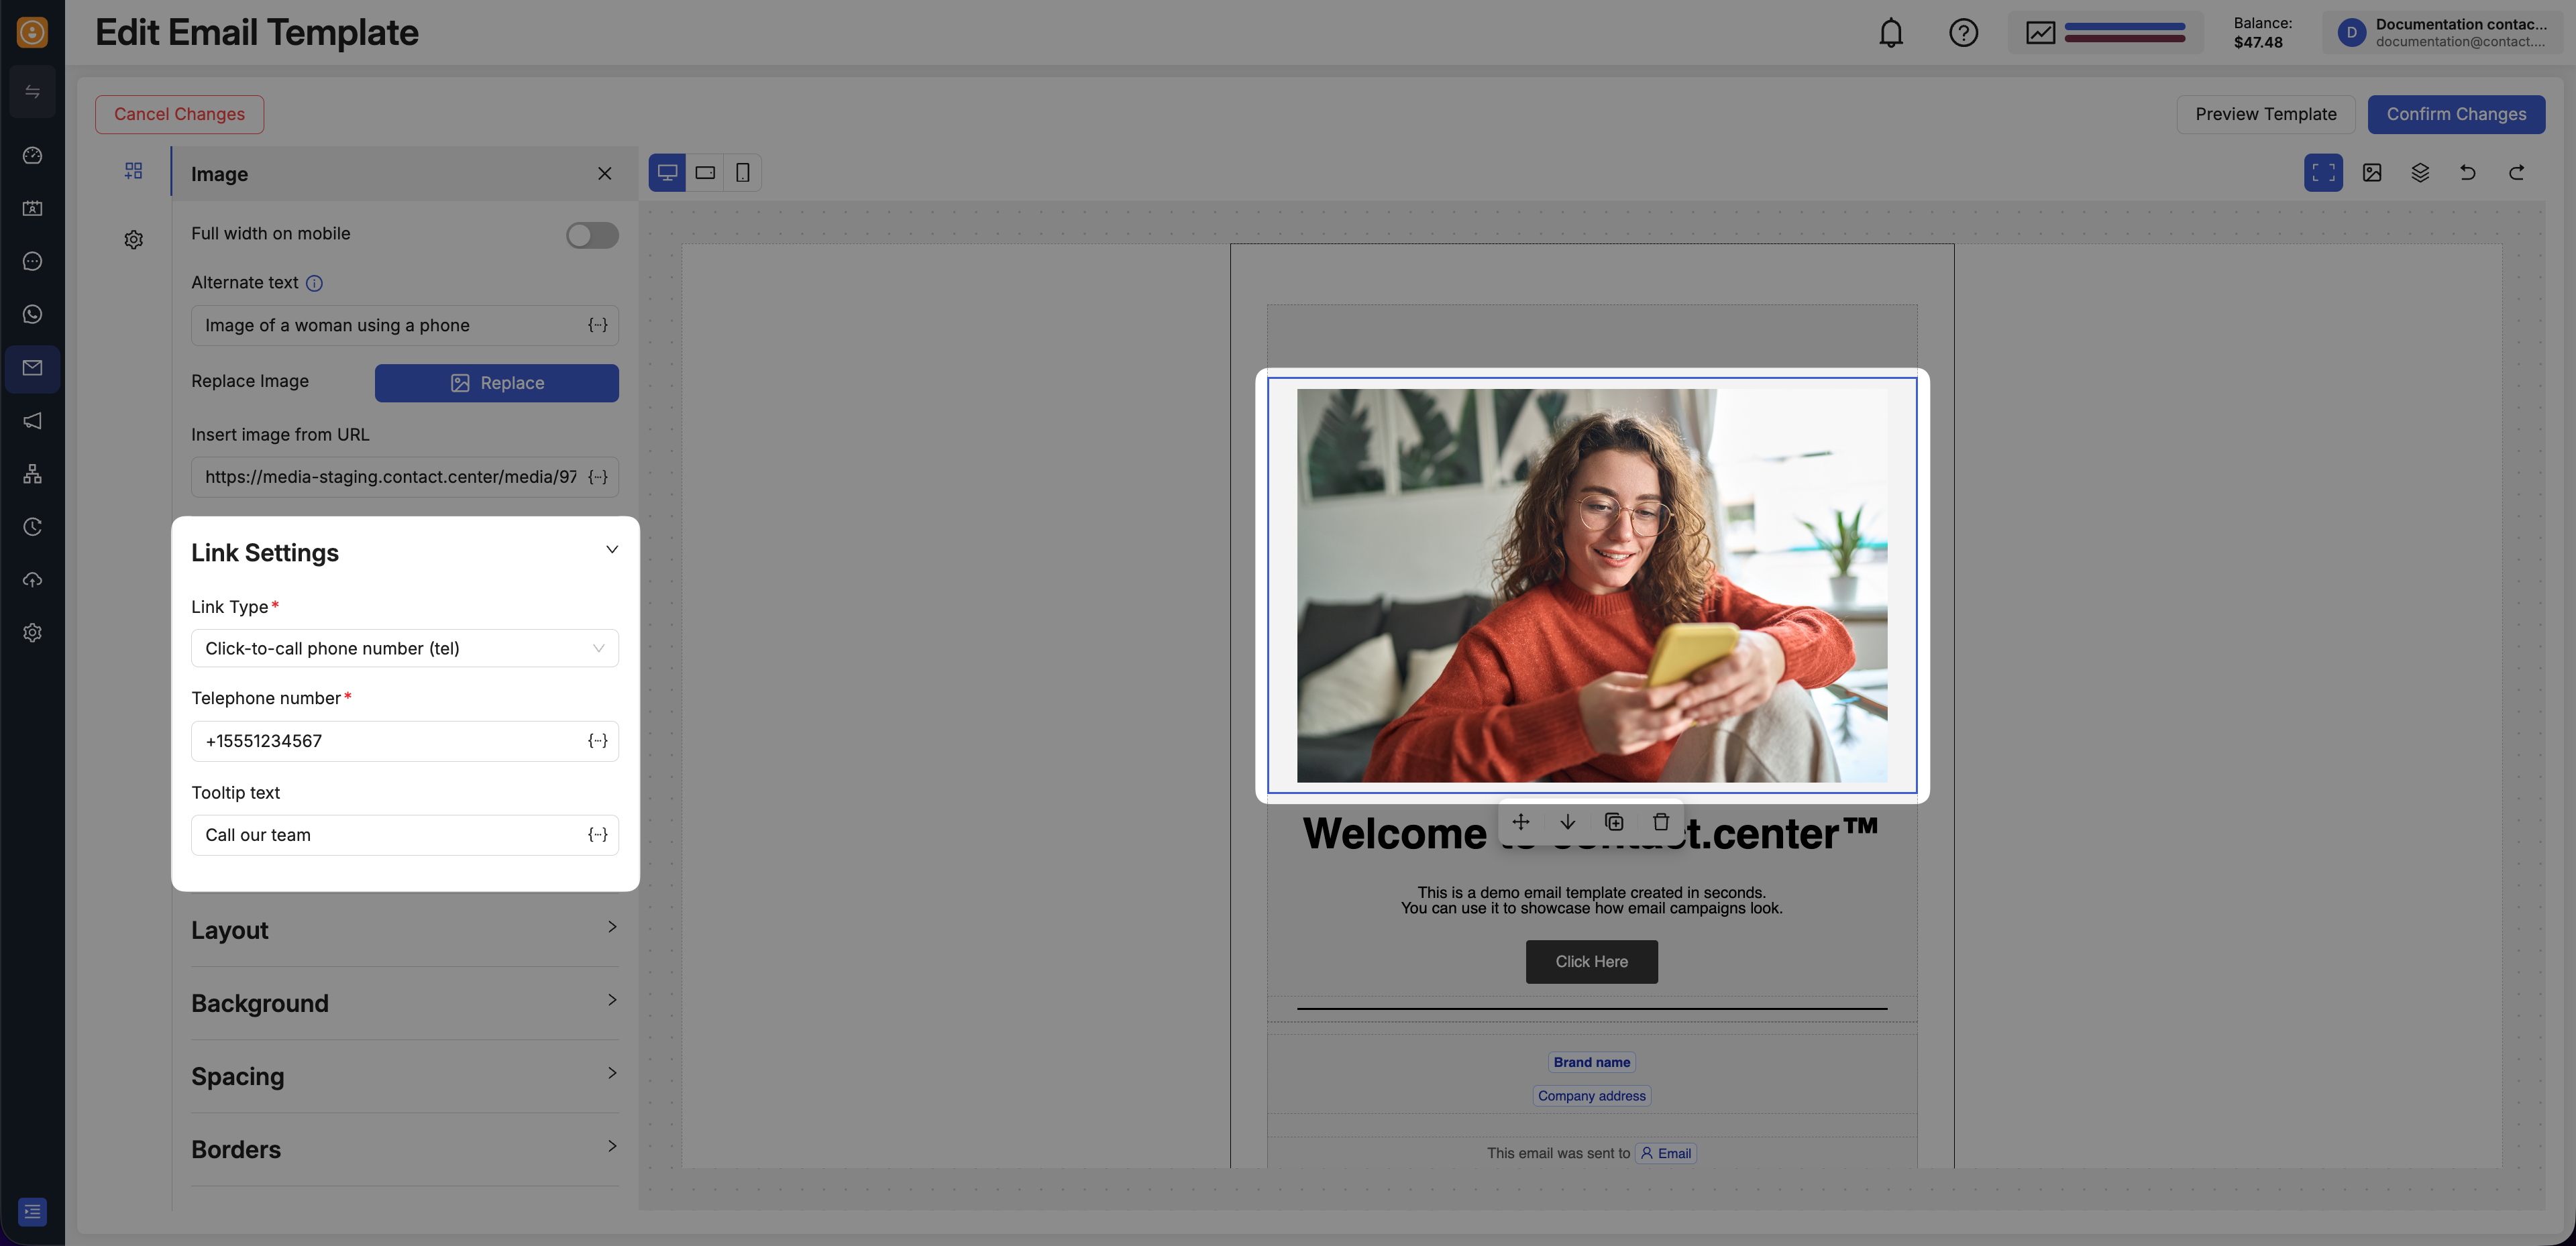
Fig. 9. Add a click-to-call phone number link to an image.
Use this option when the image should open a new email message for the recipient.
Click the image block you want to edit.
In the left panel, open Link Settings.
In Link Type, select Email link (mail-to).
In Email address, enter the destination email address.
Fill in Email subject and Email body.
Optionally add Tooltip.
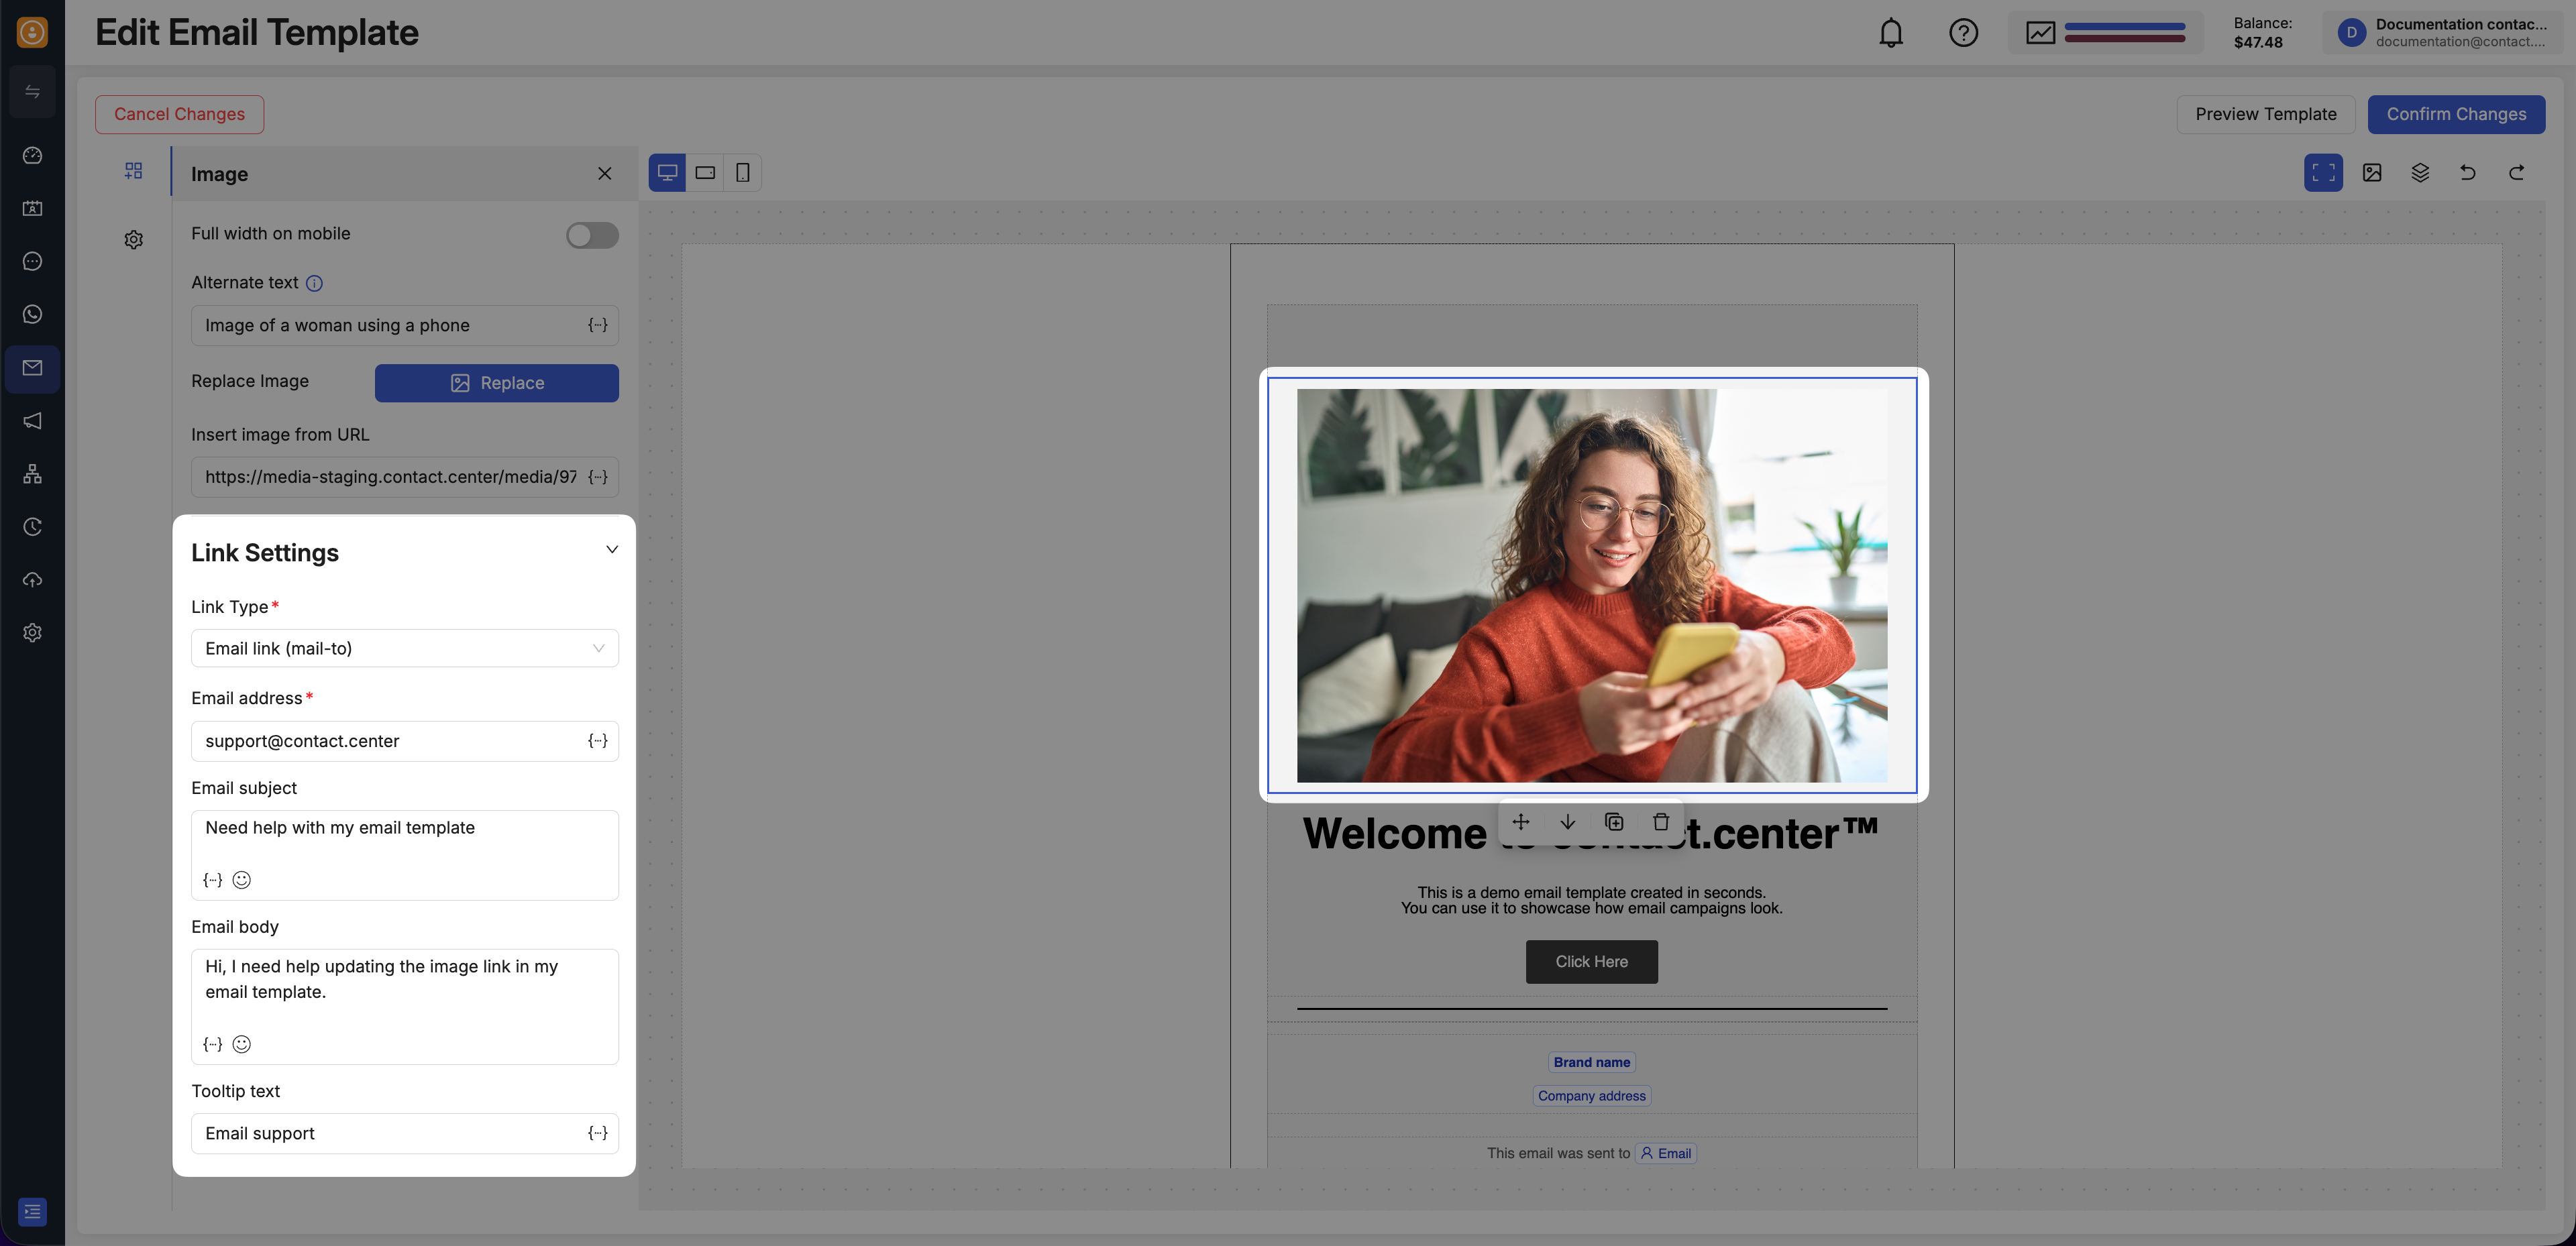
Fig. 10. Add an email link to an image.
Use this option when the image should act as an unsubscribe action in the email.
Click the image block you want to edit.
In the left panel, open Link Settings.
In Link Type, select Unsubscribe link.
Optionally add Tooltip.
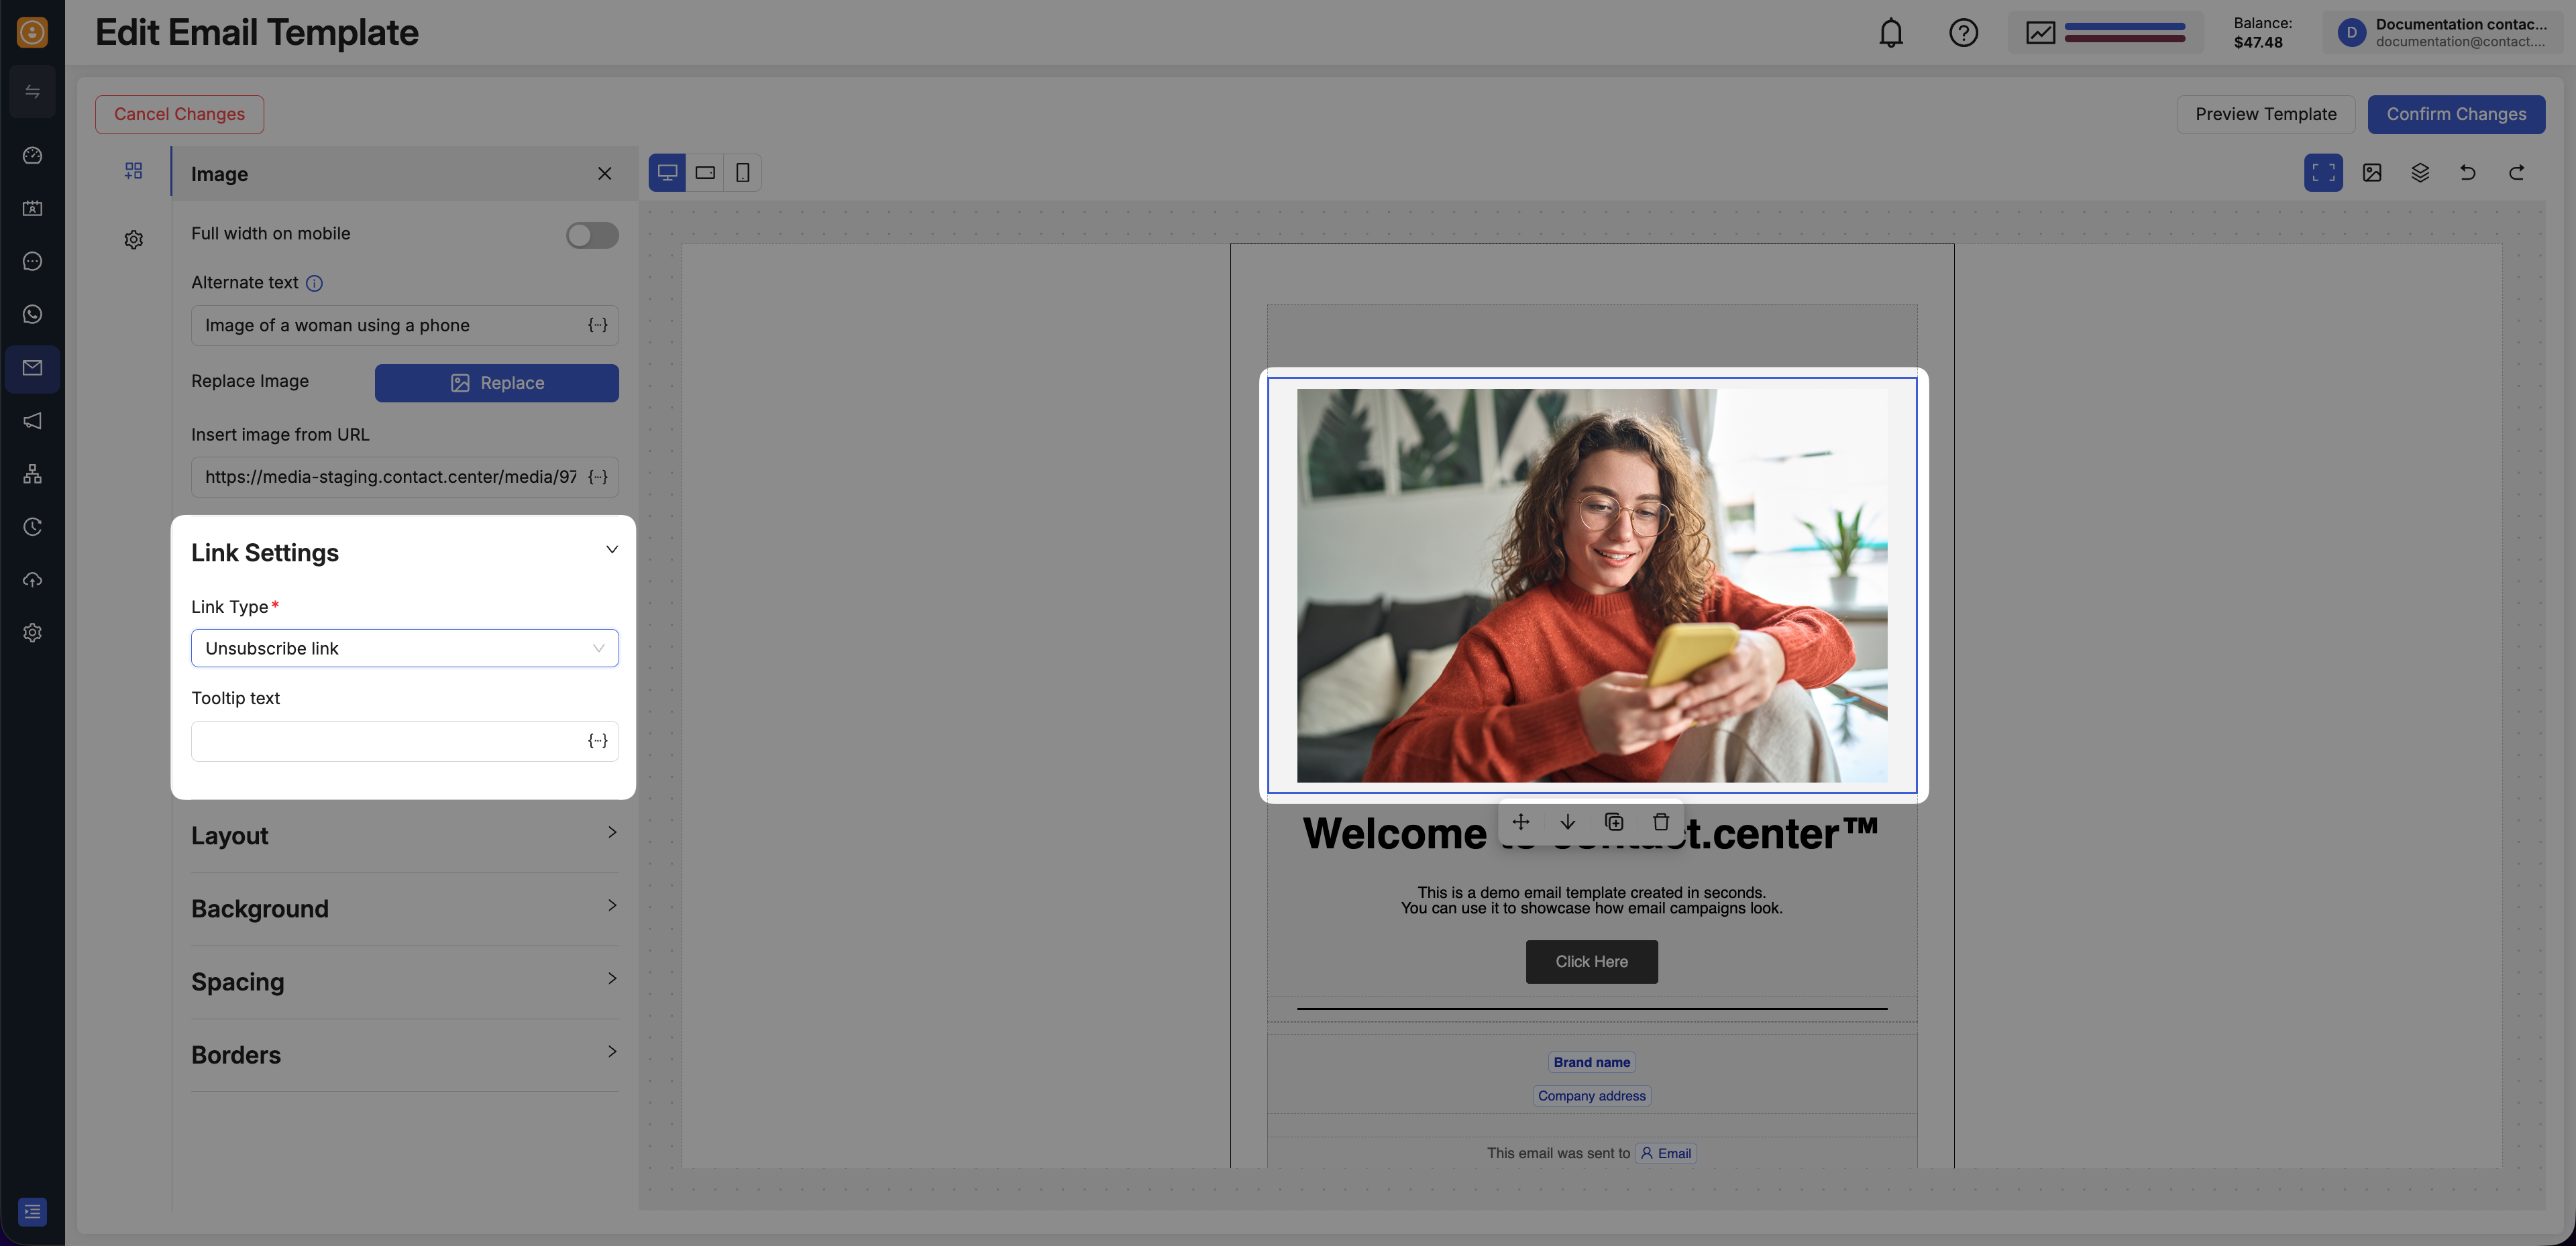
Fig. 11. Add an unsubscribe link to an image.
These link types are useful for banners, promotional visuals, logos, and any image that should guide the recipient to a specific action.
Add a Border or Rounded Corners
Borders and rounded corners can help your images stand out and better match the visual style of your email.
To adjust these settings:
Click the image block you want to edit.
In the left panel, scroll down to Borders.
In Rounded corners, enter the radius values you want to use for the image corners.
In Border, enter the border size, choose the style, and select the color.
Leave All sides enabled to apply the same border on every side, or disable it to control each side separately.
Use these controls when you want to soften the image edges, create a framed look, or add more visual separation around the image.
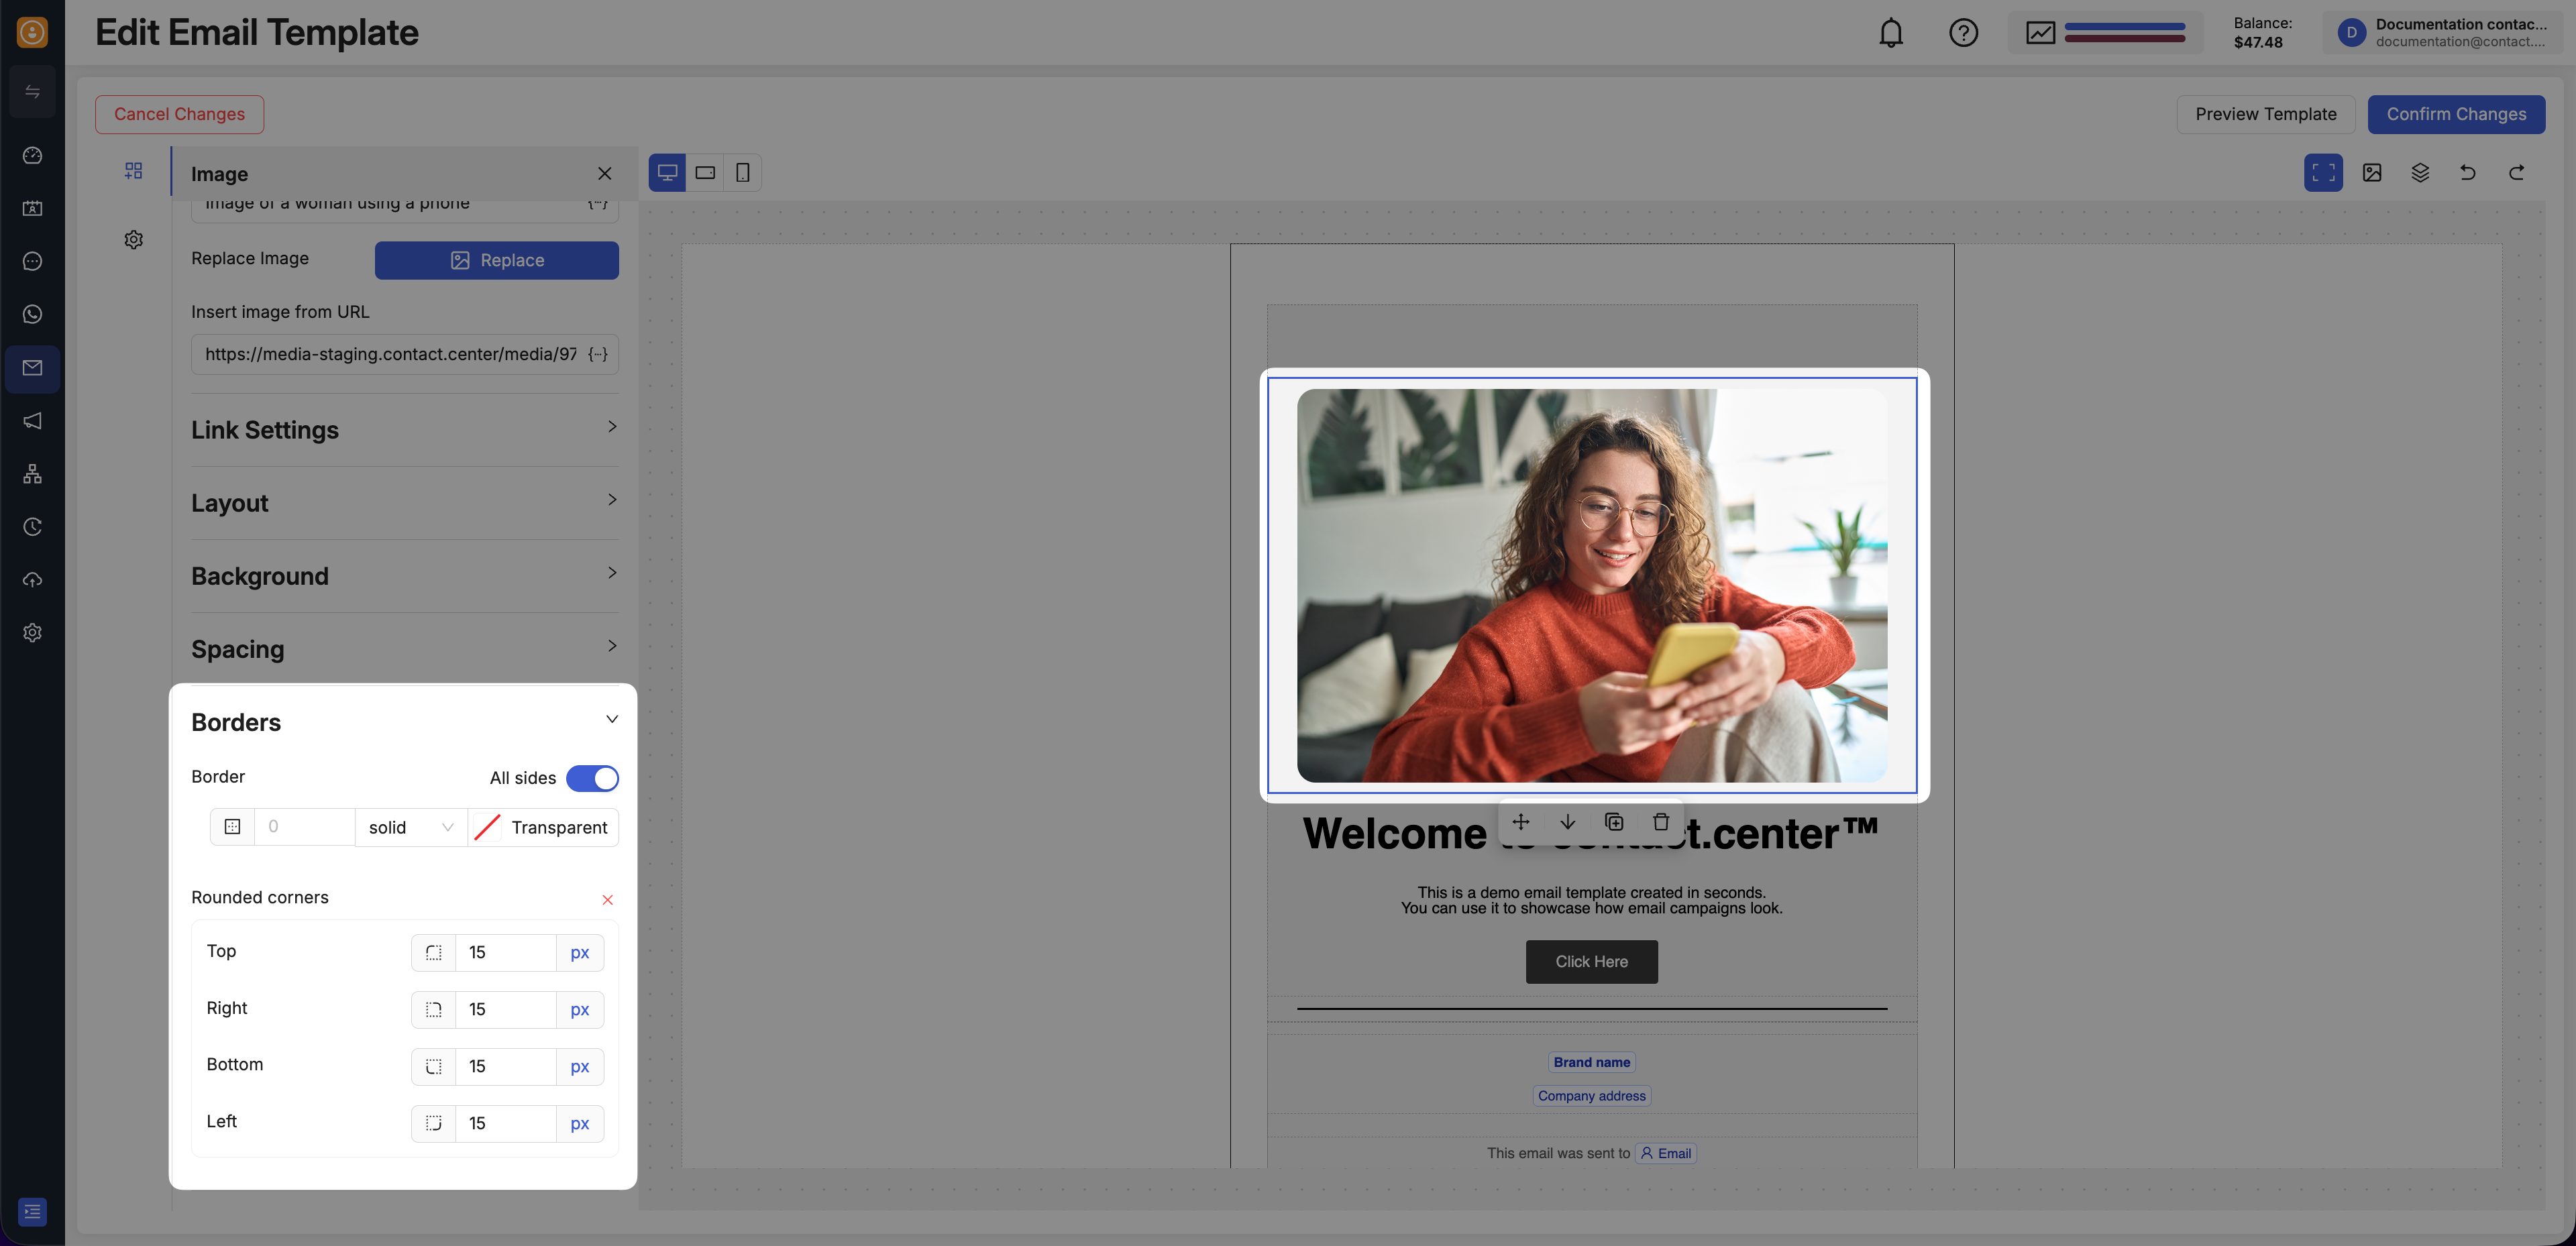
Fig. 12. Add borders and rounded corners to an image.