Web Fonts
Font selection helps reinforce your brand identity and improve the readability of your emails. In contact.center™, you can use web fonts in the Email Editor for blocks that support text styling, such as the Text block.
You can add and apply fonts directly from the Email Editor through the Font dropdown in supported text settings.
Which Fonts Can Be Used?
When designing your email, the Font dropdown includes:
Web Safe Fonts that are available by default
Your Fonts, which contains the Google fonts and custom fonts you add through + Add Font
Fallback fonts that you choose when adding Google or custom fonts so unsupported fonts can be replaced when needed
Tip
Google fonts and imported custom fonts may not be supported by all email clients. Always configure a fallback font so your email remains readable if the selected font is not available to the recipient.
Where Fonts are Used
In the Email Editor, font controls appear in blocks that support text styling.
For example, in the Text block you can use the Font field under the Text settings to select one of the fonts available in your workspace.
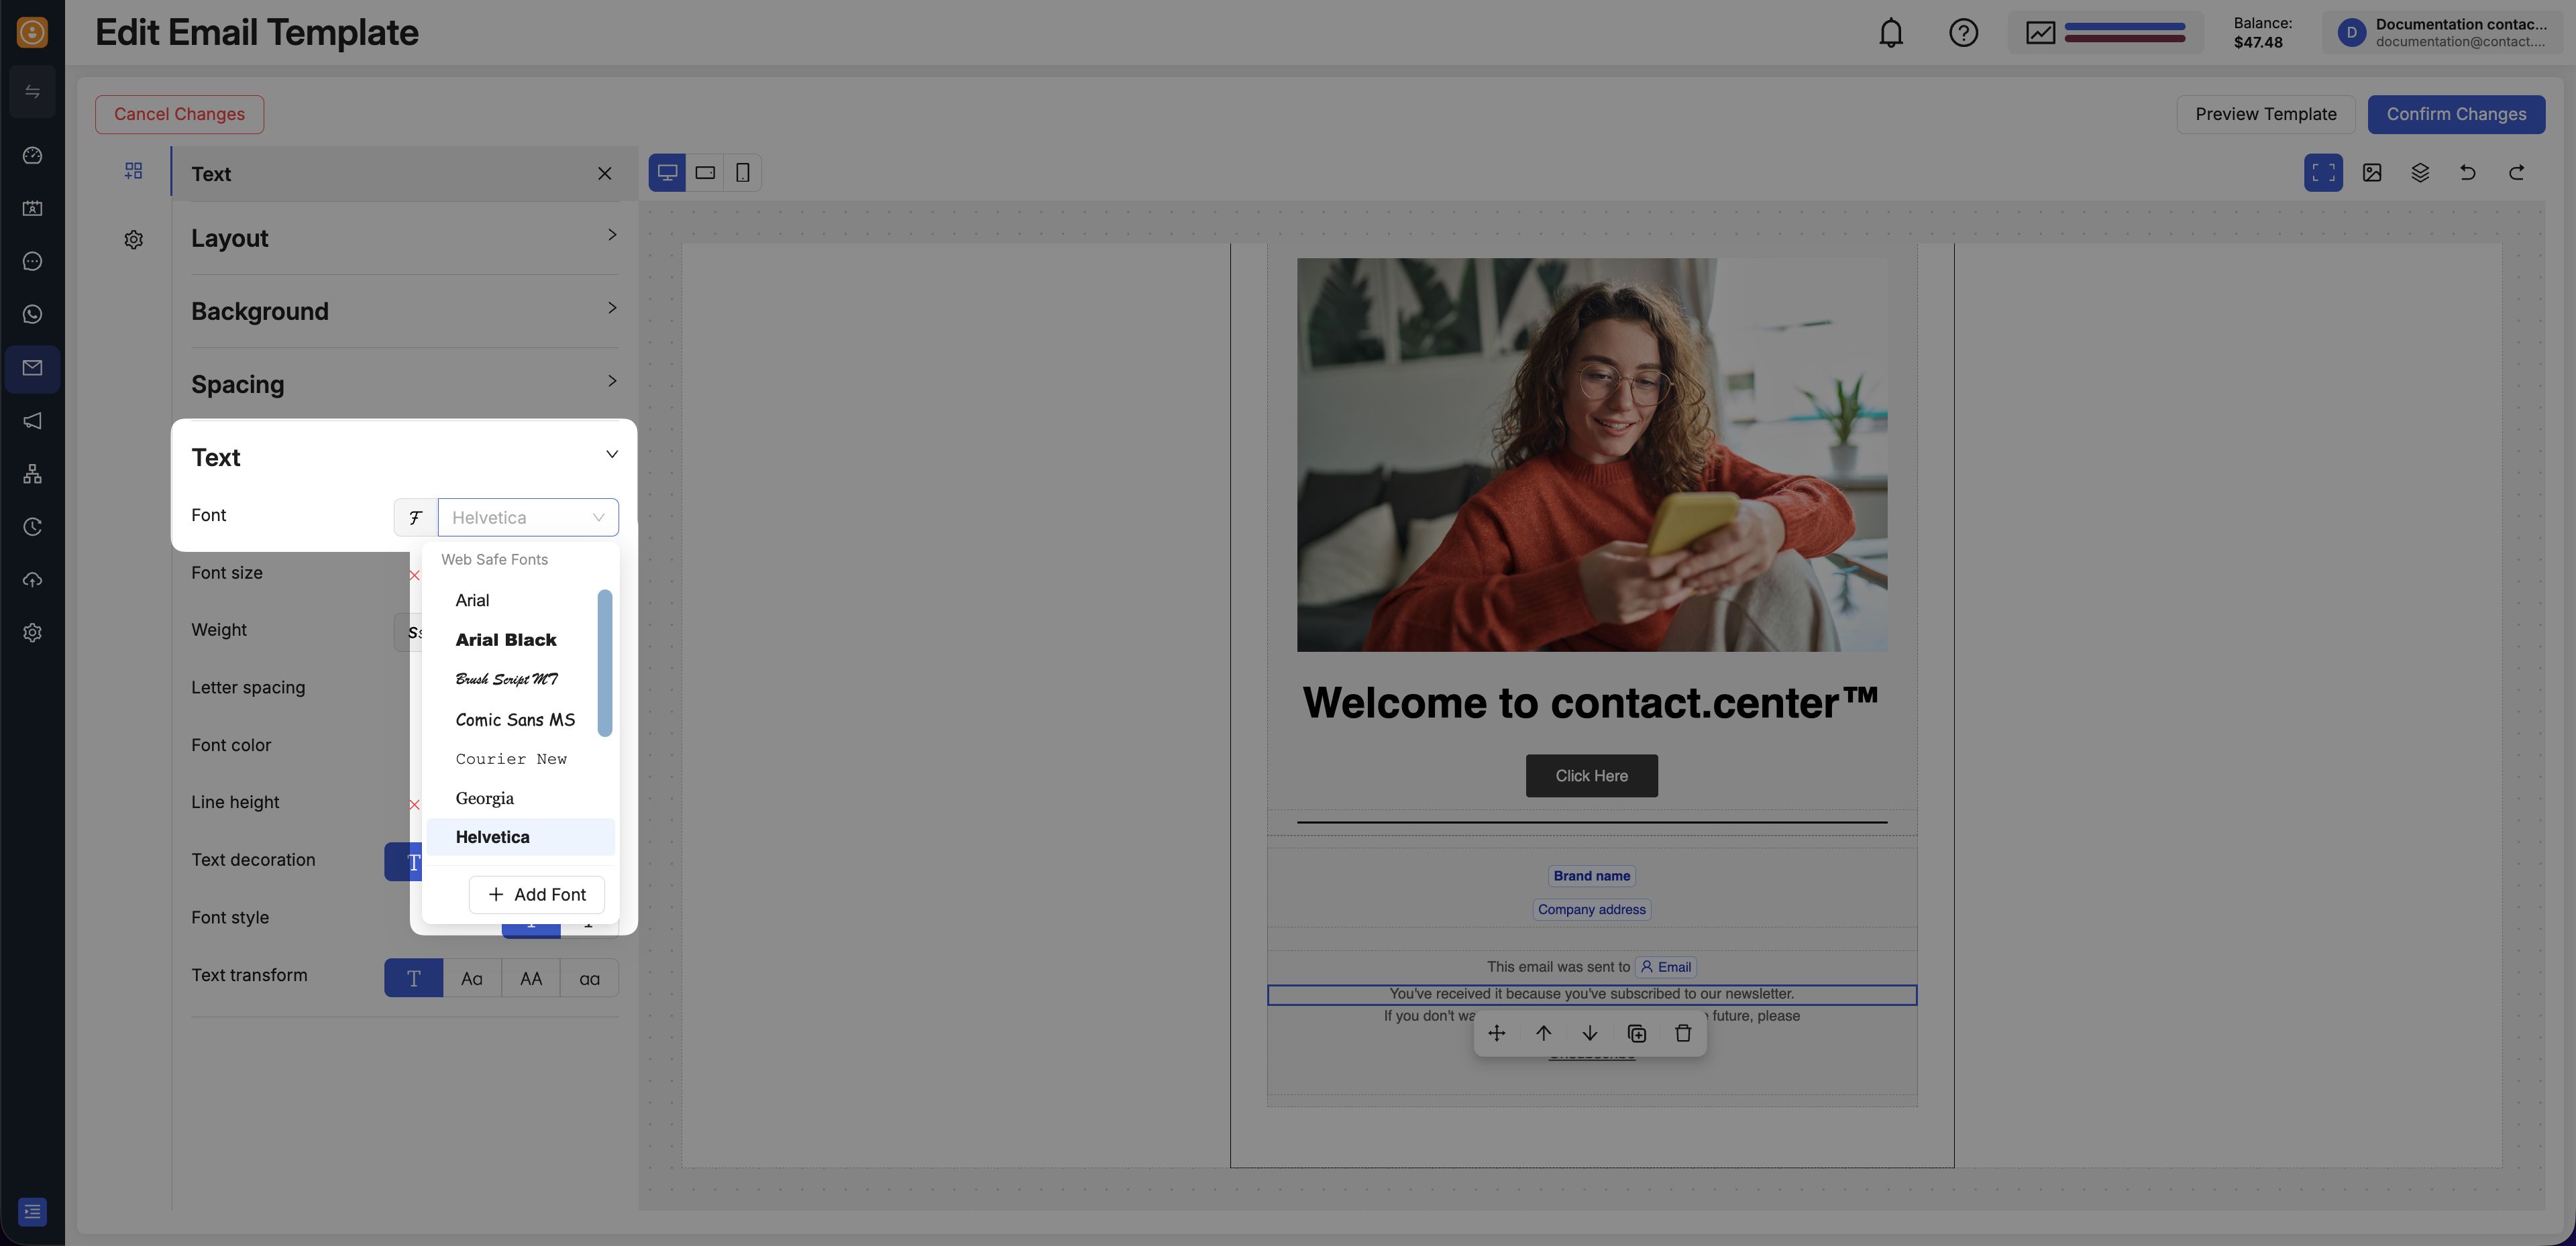
Fig. 1. Font selection in the Text block settings.
Add Fonts from the Email Editor
To add Google fonts, custom fonts, or fallback fonts while editing an email:
Open your email template in the Email Editor.
Select a block that supports text styling, such as a Text block.
Expand the Text section in the left panel.
Open the Font dropdown.
Click + Add Font at the bottom of the font list.
This opens the same shared font configuration used across your workspace, but you can access it directly from the Email Editor while working on the template.
In the Add font window, keep the Google Fonts tab selected.
From the Font name dropdown menu, search for and select your desired font.
From the Fallback Font dropdown, select a suitable web-safe font.
Click OK.
After you save it, the font becomes available in the Font dropdown for supported text settings in the Email Editor.
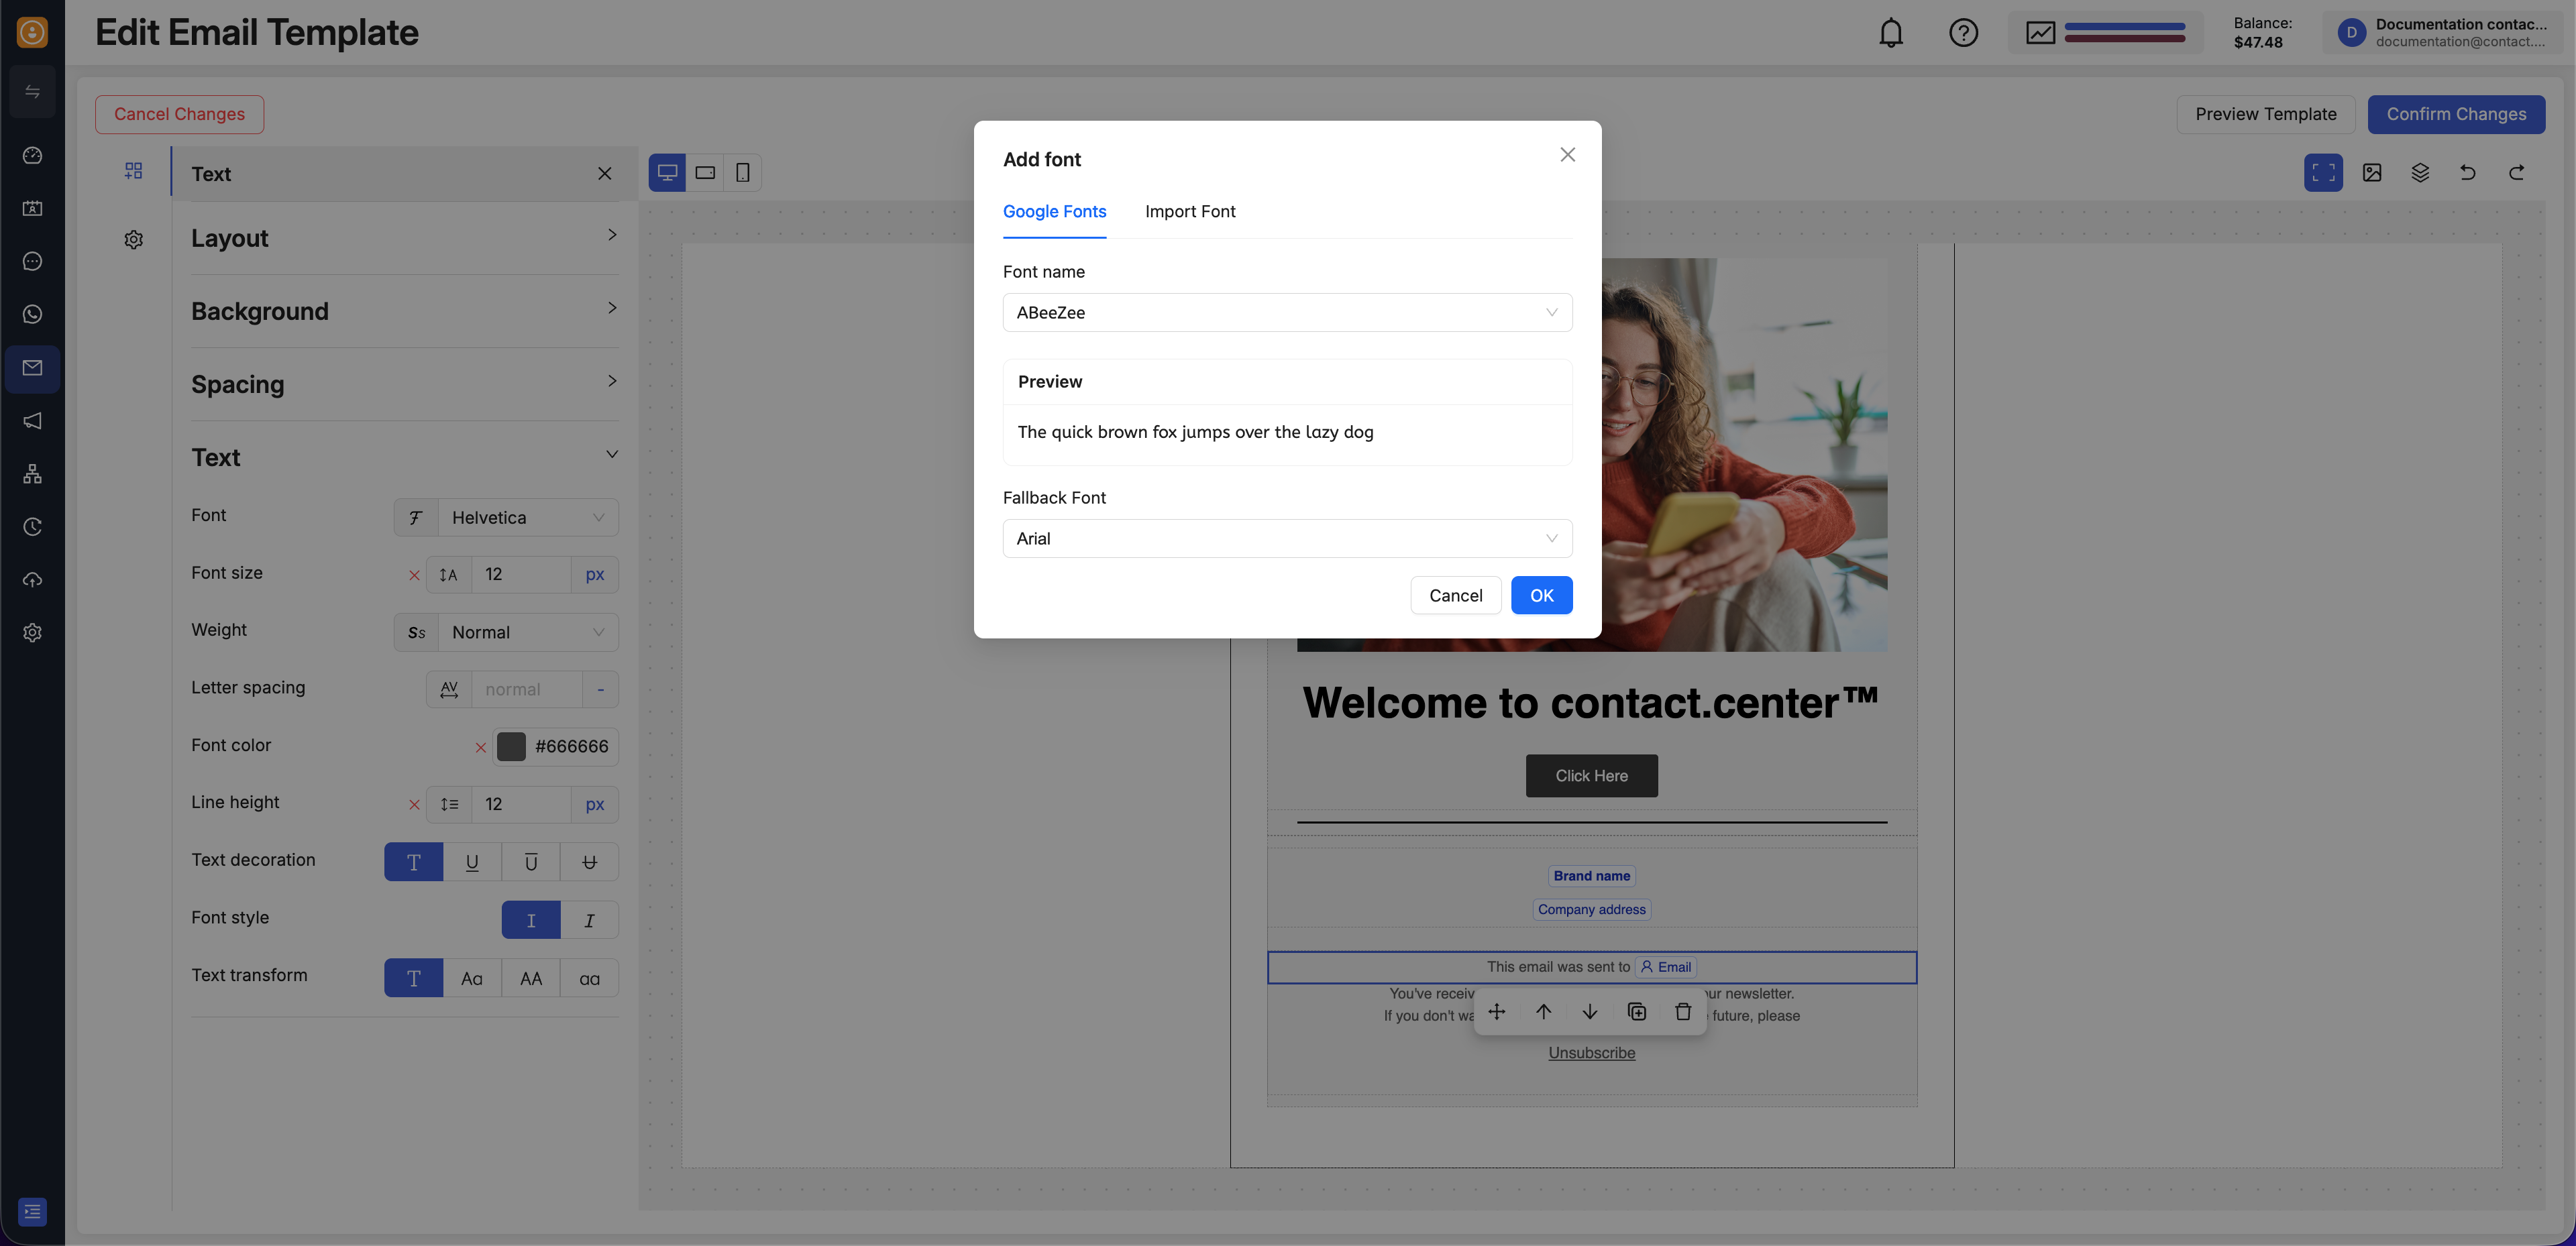
Fig. 2. Adding a font from the Google Fonts library.
In the Add font window, select the Import Font tab.
In the Source Address field, paste the full URL to your font’s CSS stylesheet (e.g.,
https://fonts.googleapis.com/css2?family=Roboto).The Font name should be detected automatically. If not, enter the font family name exactly as it is defined in the CSS file.
Select a Fallback Font.
Click OK.
After you save it, the custom font becomes available in the Font dropdown for supported text settings in the Email Editor.
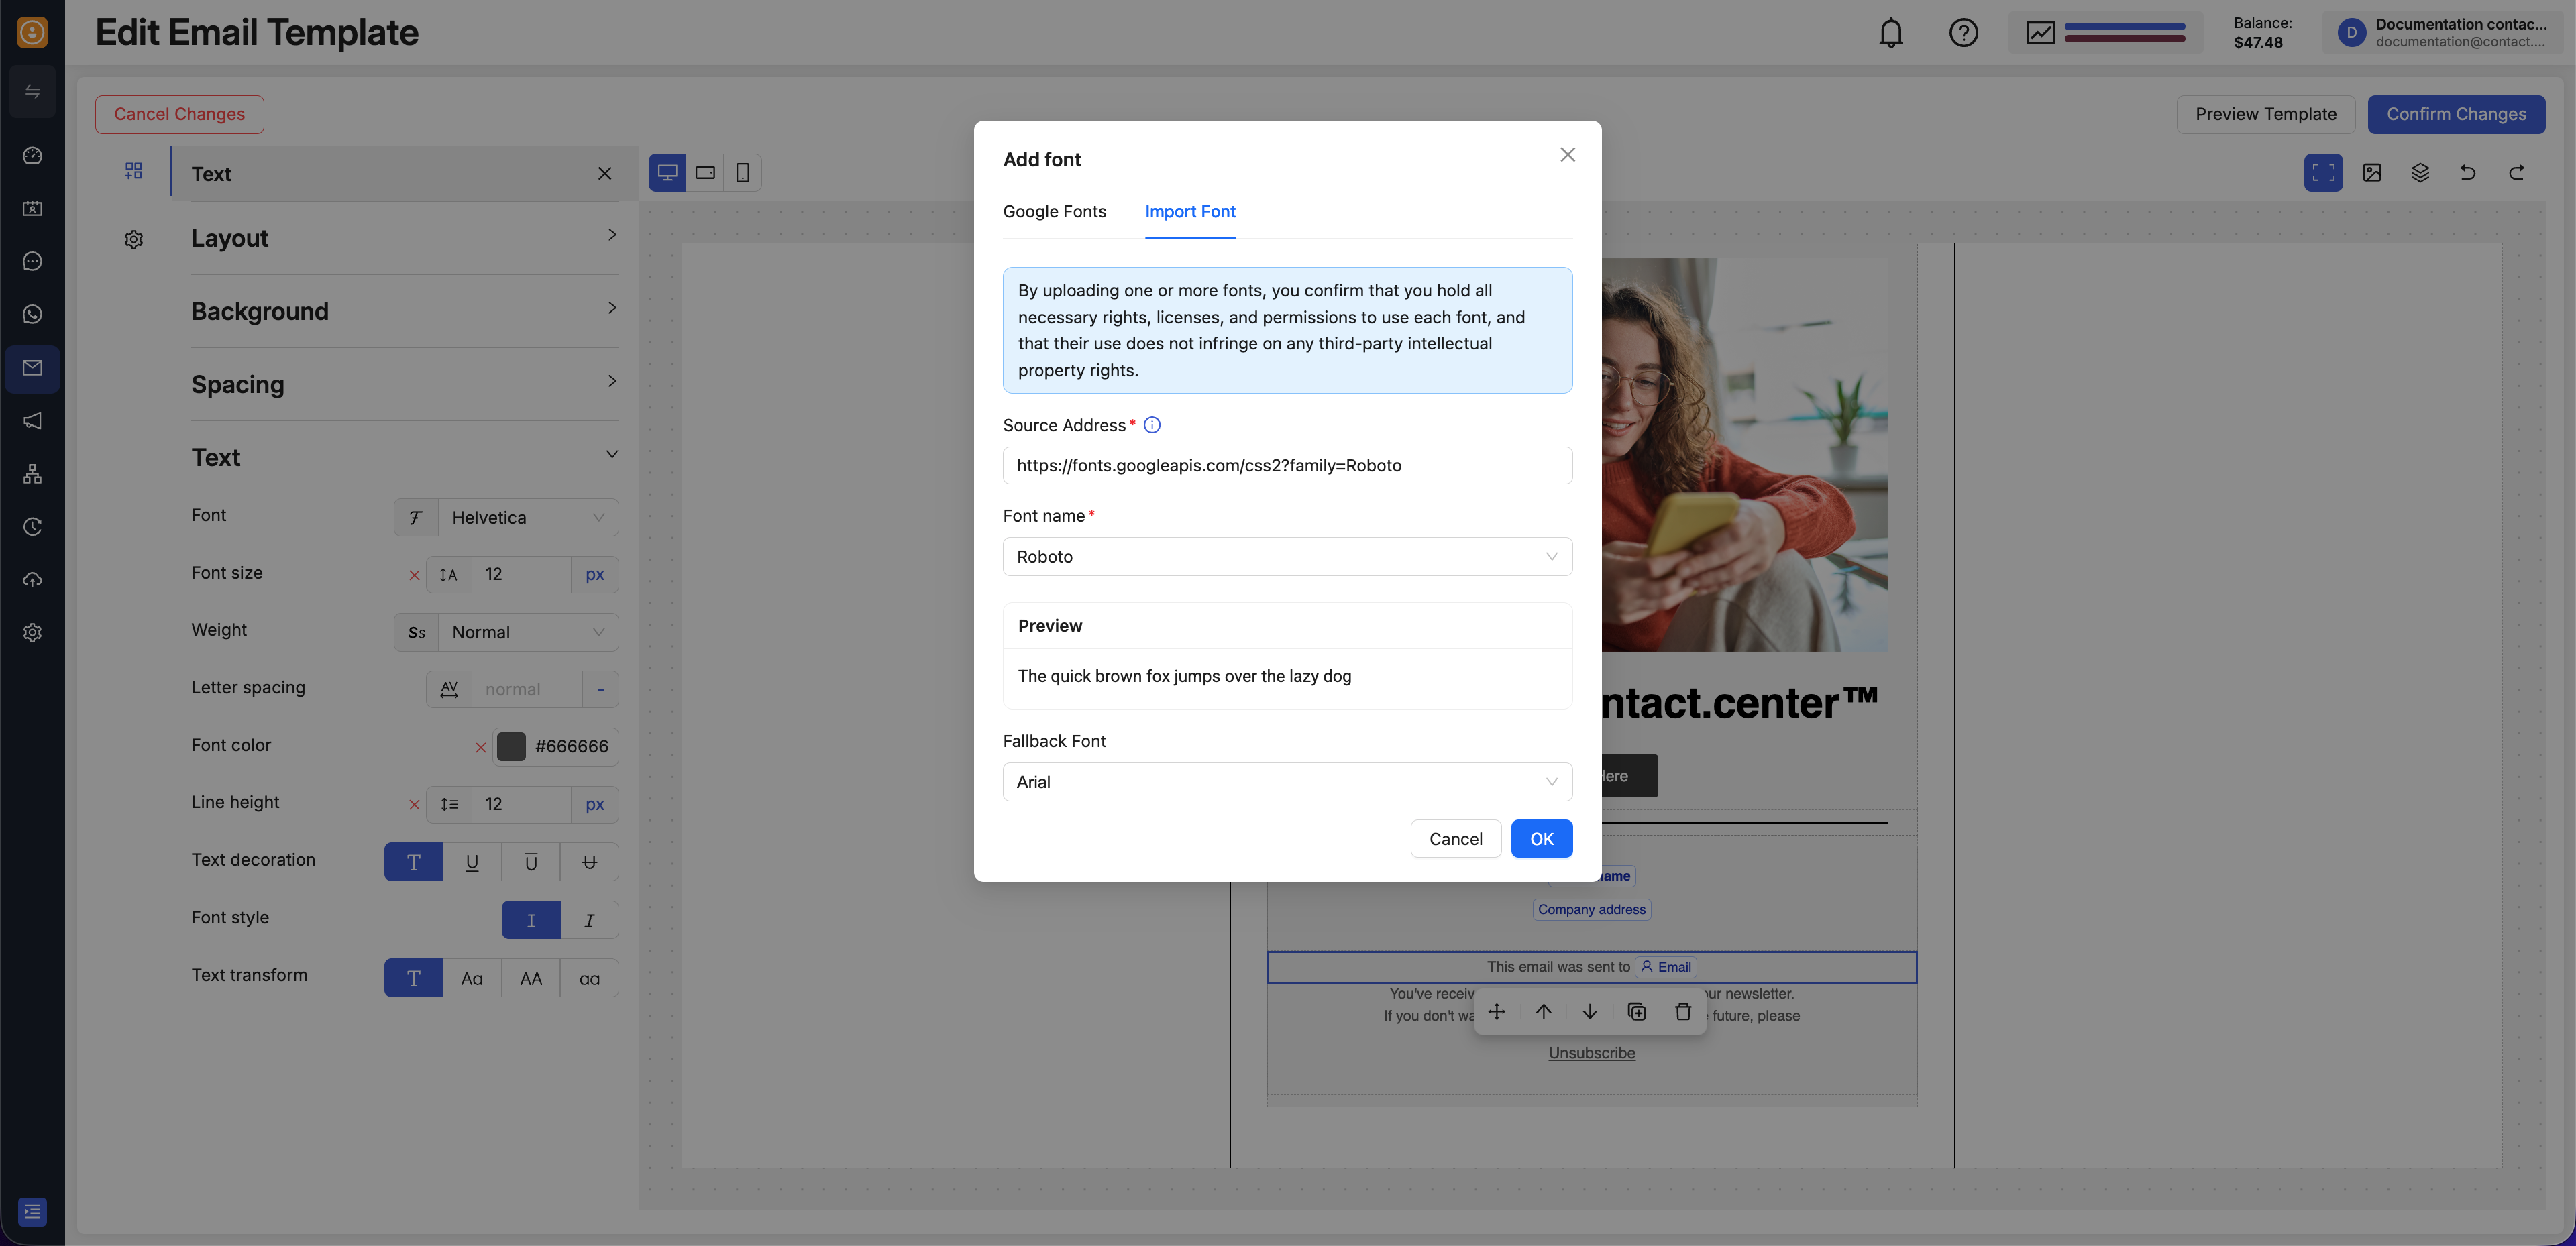
Fig. 3. Importing a font from a source URL.
Note
To edit or delete fonts that are available in the Email Editor, use the shared Web Fonts settings page. If you delete a font that is already used in a template, the content may fall back to another font and the appearance of the email may change.
Use Added Fonts
After a font is added from the + Add Font flow, it becomes available in font selection dropdowns for supported text controls in the Email Editor.
To apply a font:
Open your email template in the Email Editor.
Select a block that supports text styling, such as a Text block.
Expand the Text section in the left panel.
Open the Font dropdown and choose the font you added.
This lets you apply the same brand font choices across headings, paragraphs, and other editable text elements in your design.
The Font dropdown includes built-in Web Safe Fonts by default. Fonts you add through + Add Font appear in the Your Fonts section of the same dropdown and can be selected from supported text settings.
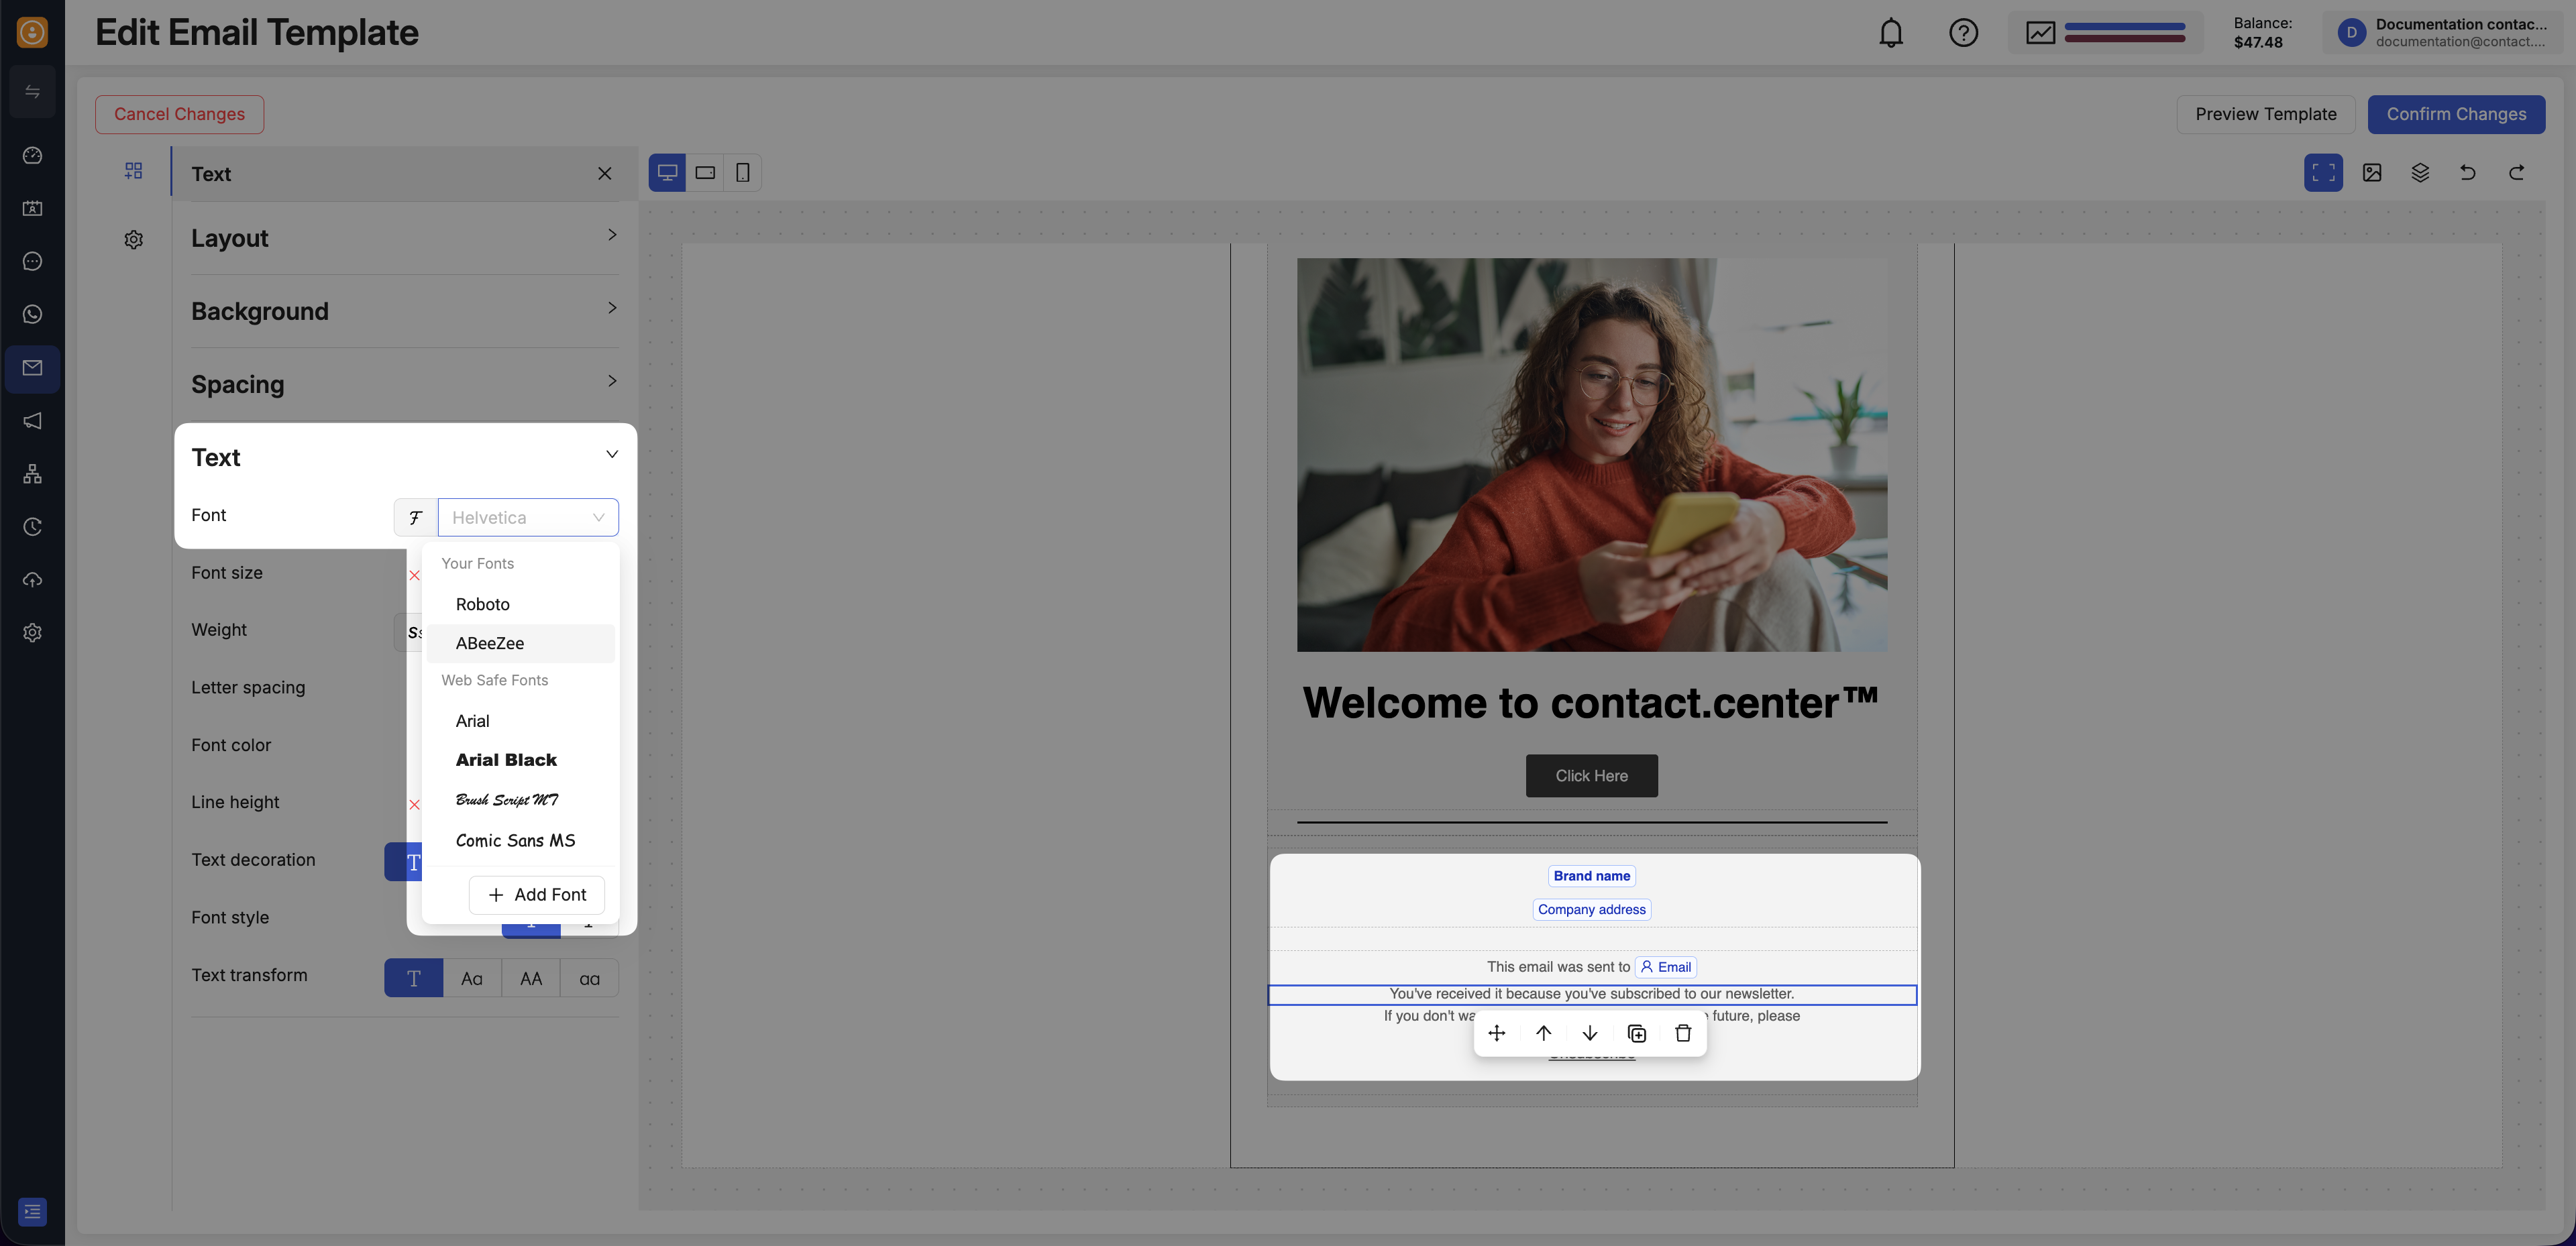
Fig. 4. Select a font from the Font dropdown in the Email Editor.