Contact Segments
The Segments page allows you to dynamically group contacts based on conditions defined using contact attributes. Segments update automatically as contact information changes, ensuring your audiences always stay accurate.
Use Segments when you want to:
Reach the right people with personalized messaging
Automatically include contacts based on specific contact data or behaviors.
Maintain up-to-date targeting lists without manual management.
Create dynamic groups for broadcasts and automations.
Note
Segments update automatically as contacts start or stop matching the defined conditions. If you prefer to group contacts manually, you can use Contact Lists instead.
Before You Begin
Segments use Contact Attributes as filtering criteria.
Make sure the attributes you want to filter by (for example, Country, Subscription status, or any custom fields) are already created in your workspace.
Note
Segments group existing contacts based on defined conditions. Ensure you have contacts added to your workspace before creating segments.
To learn how to add contacts, see Create Contacts.
Manage Contact Segments
Create a new contact segment to automatically group contacts.
Modify contact segment conditions and review matching contacts.
Permanently remove a contact segment without deleting any contacts.
Create Contact Segment
Use conditions and rules to determine which contacts belong to the segment.
Step 1: Add a New Segment
Go to Contacts → Segments.
Click + Create Segment.
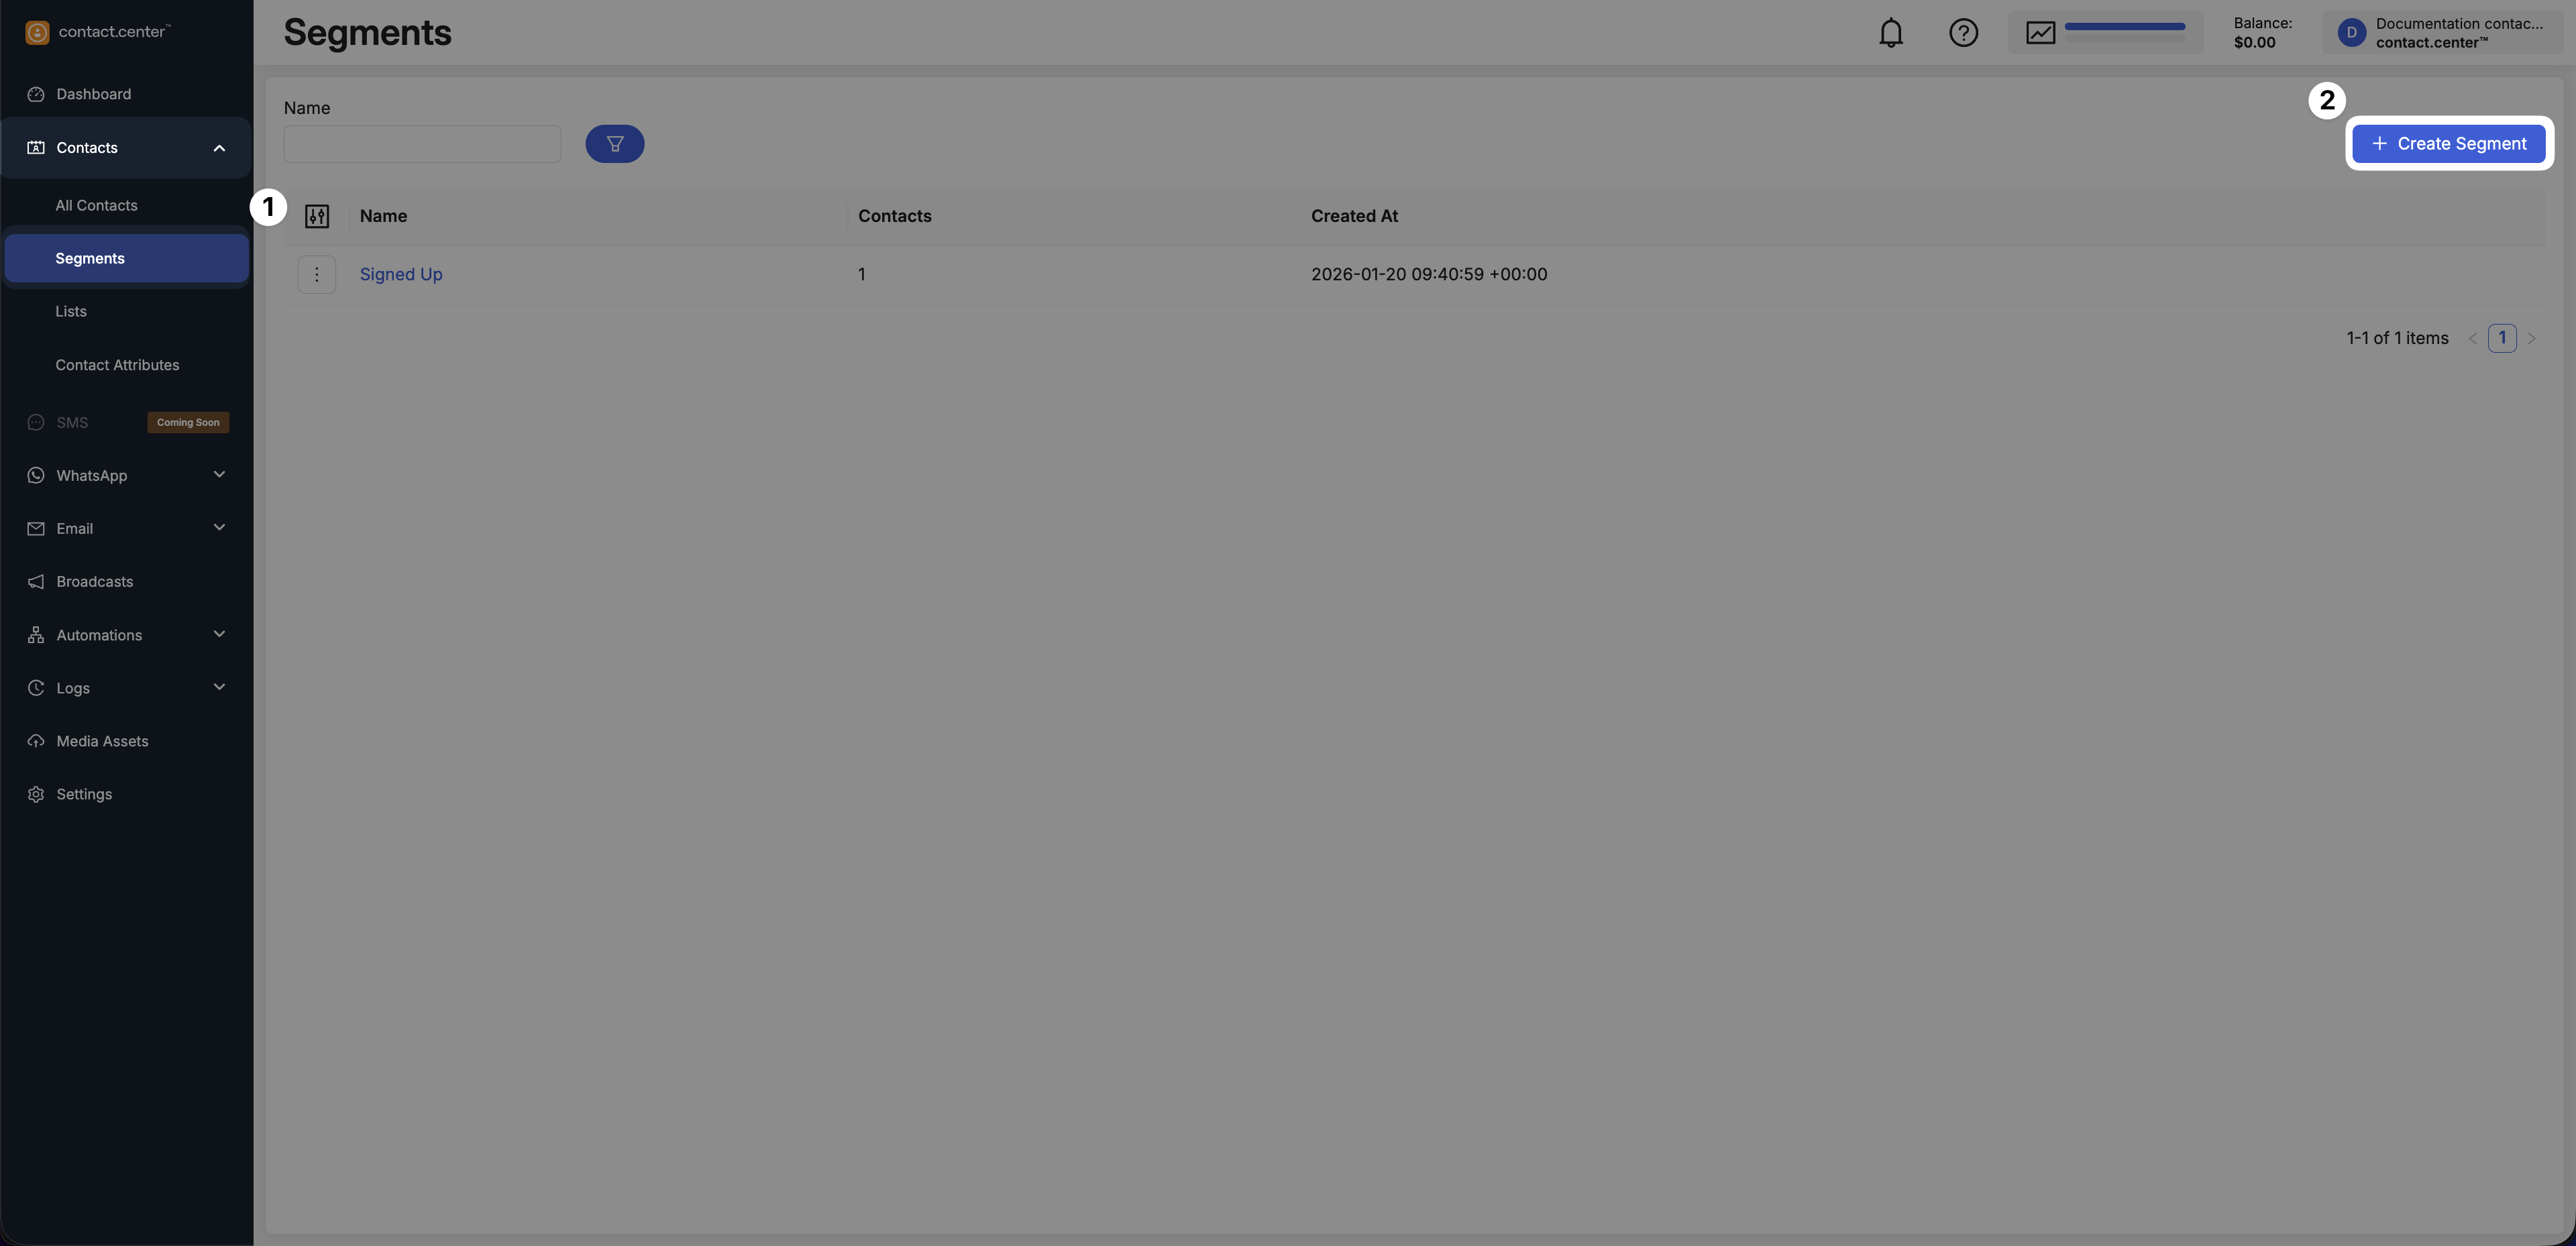
Fig. 1. Create Segment button.
Step 2: Enter a Segment Name
Enter a descriptive Name for the segment (e.g., Email Subscribed Segment).
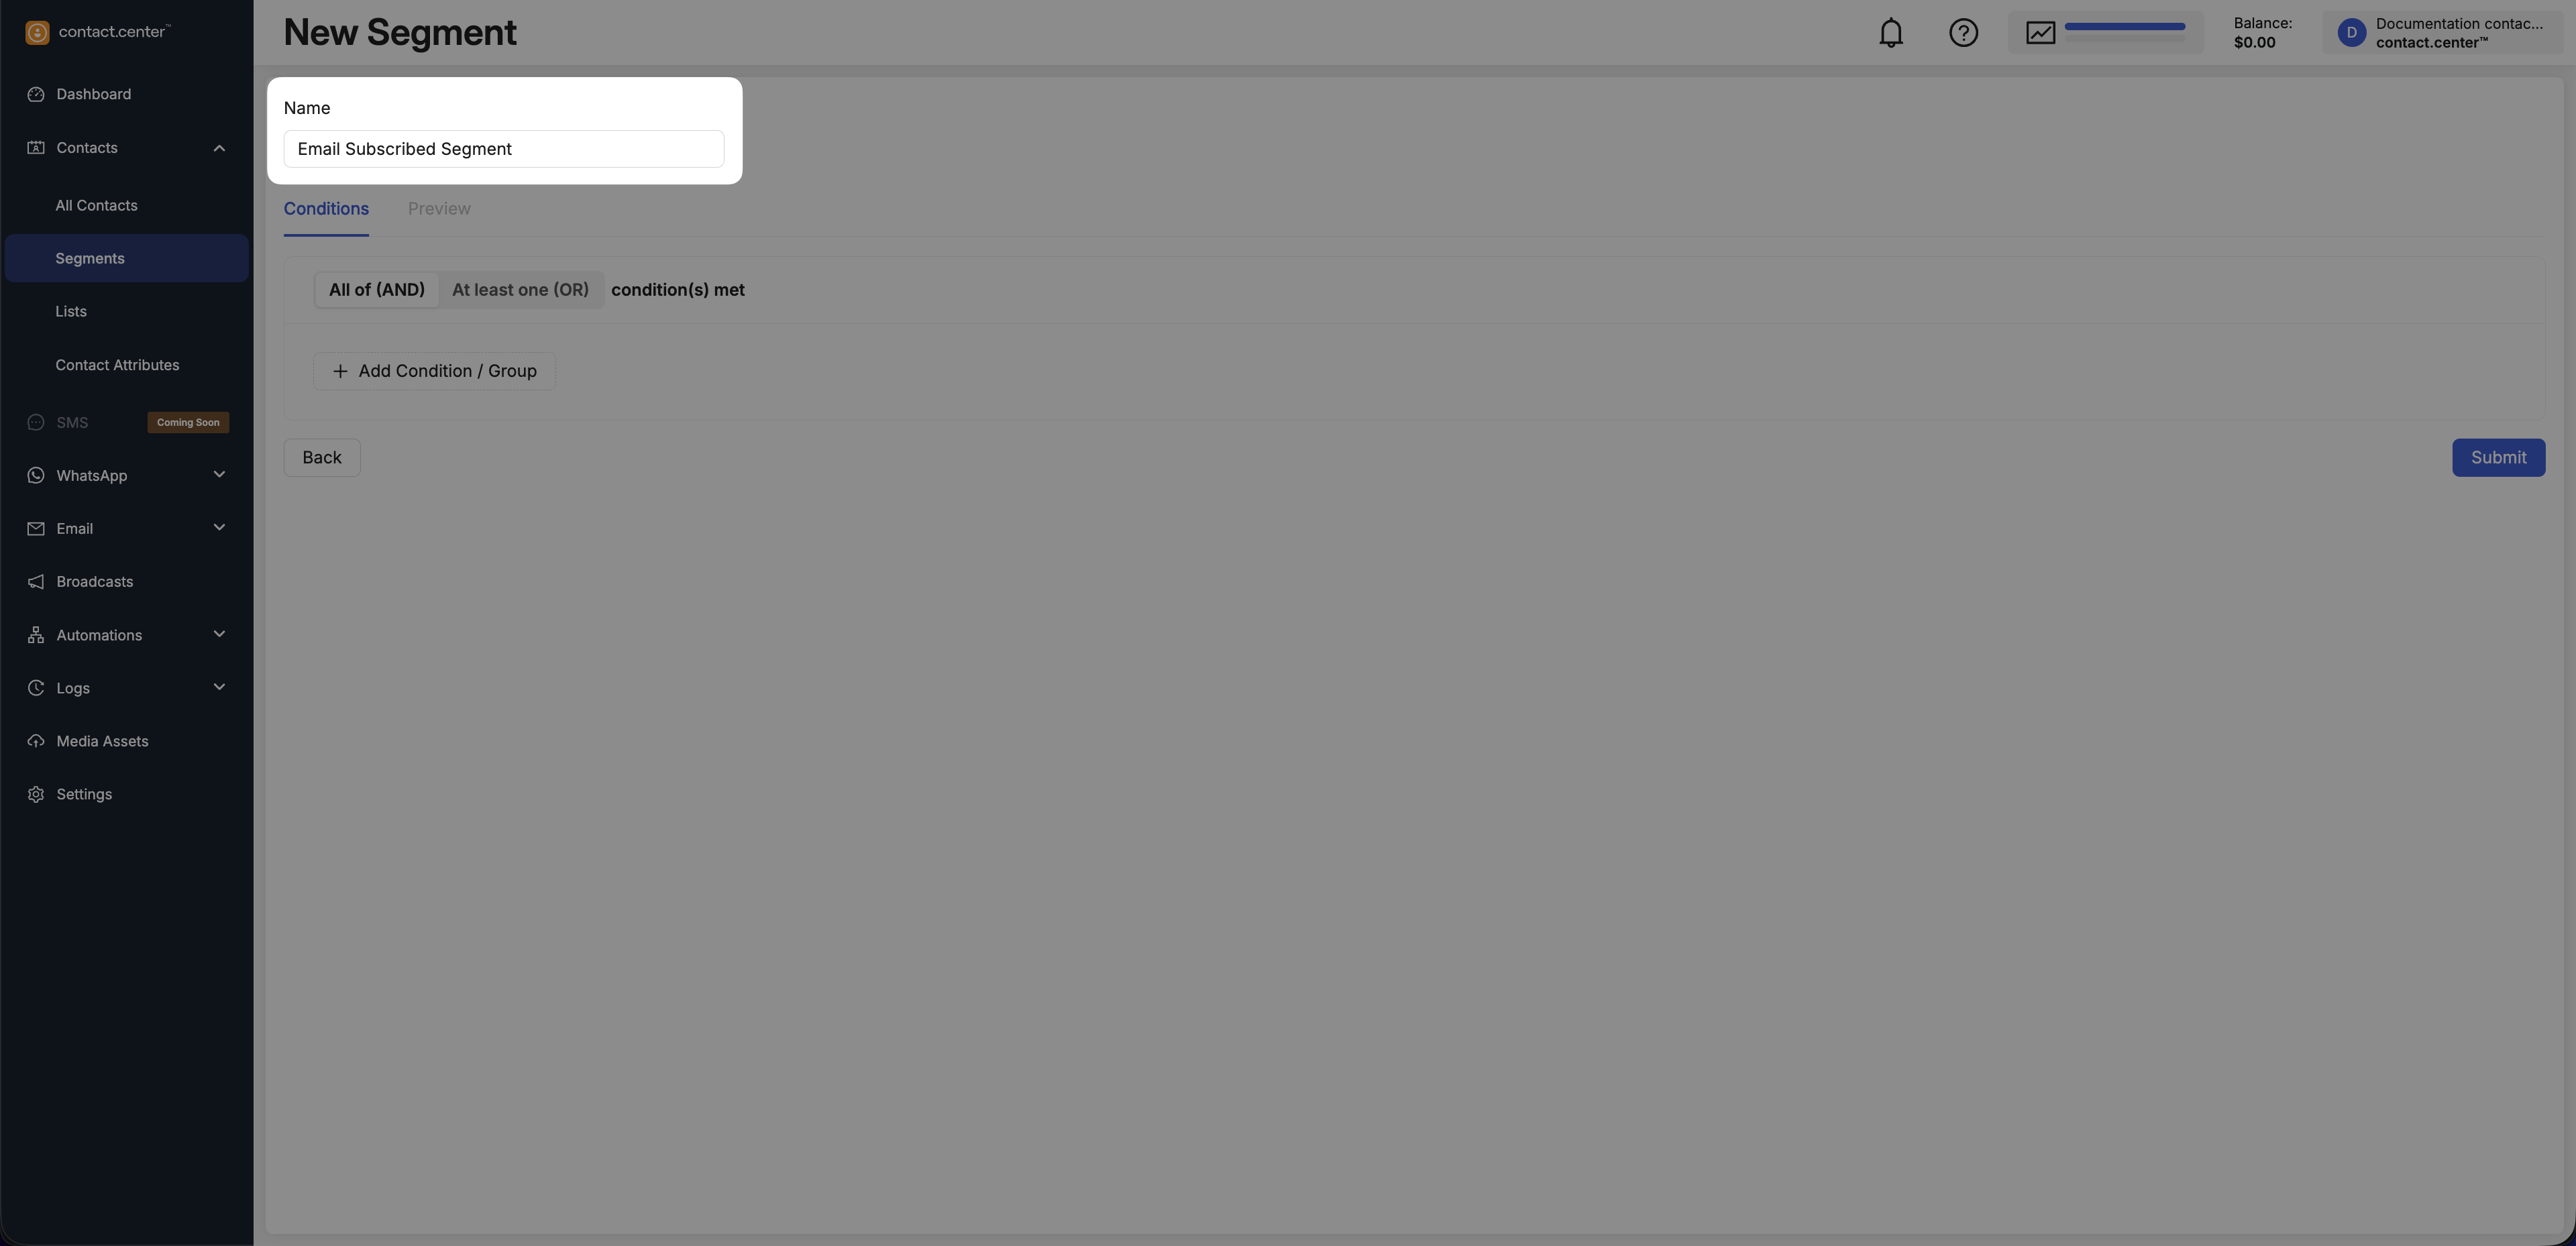
Fig. 2. Segment name field.
Step 3: Define Segment Conditions
Use conditions and logic to define which contacts belong to the segment.
Choose Condition Logic
Select how the segment should match contacts:
All of (AND) - contacts must match every condition.
At least one (OR) - contacts must match any condition.
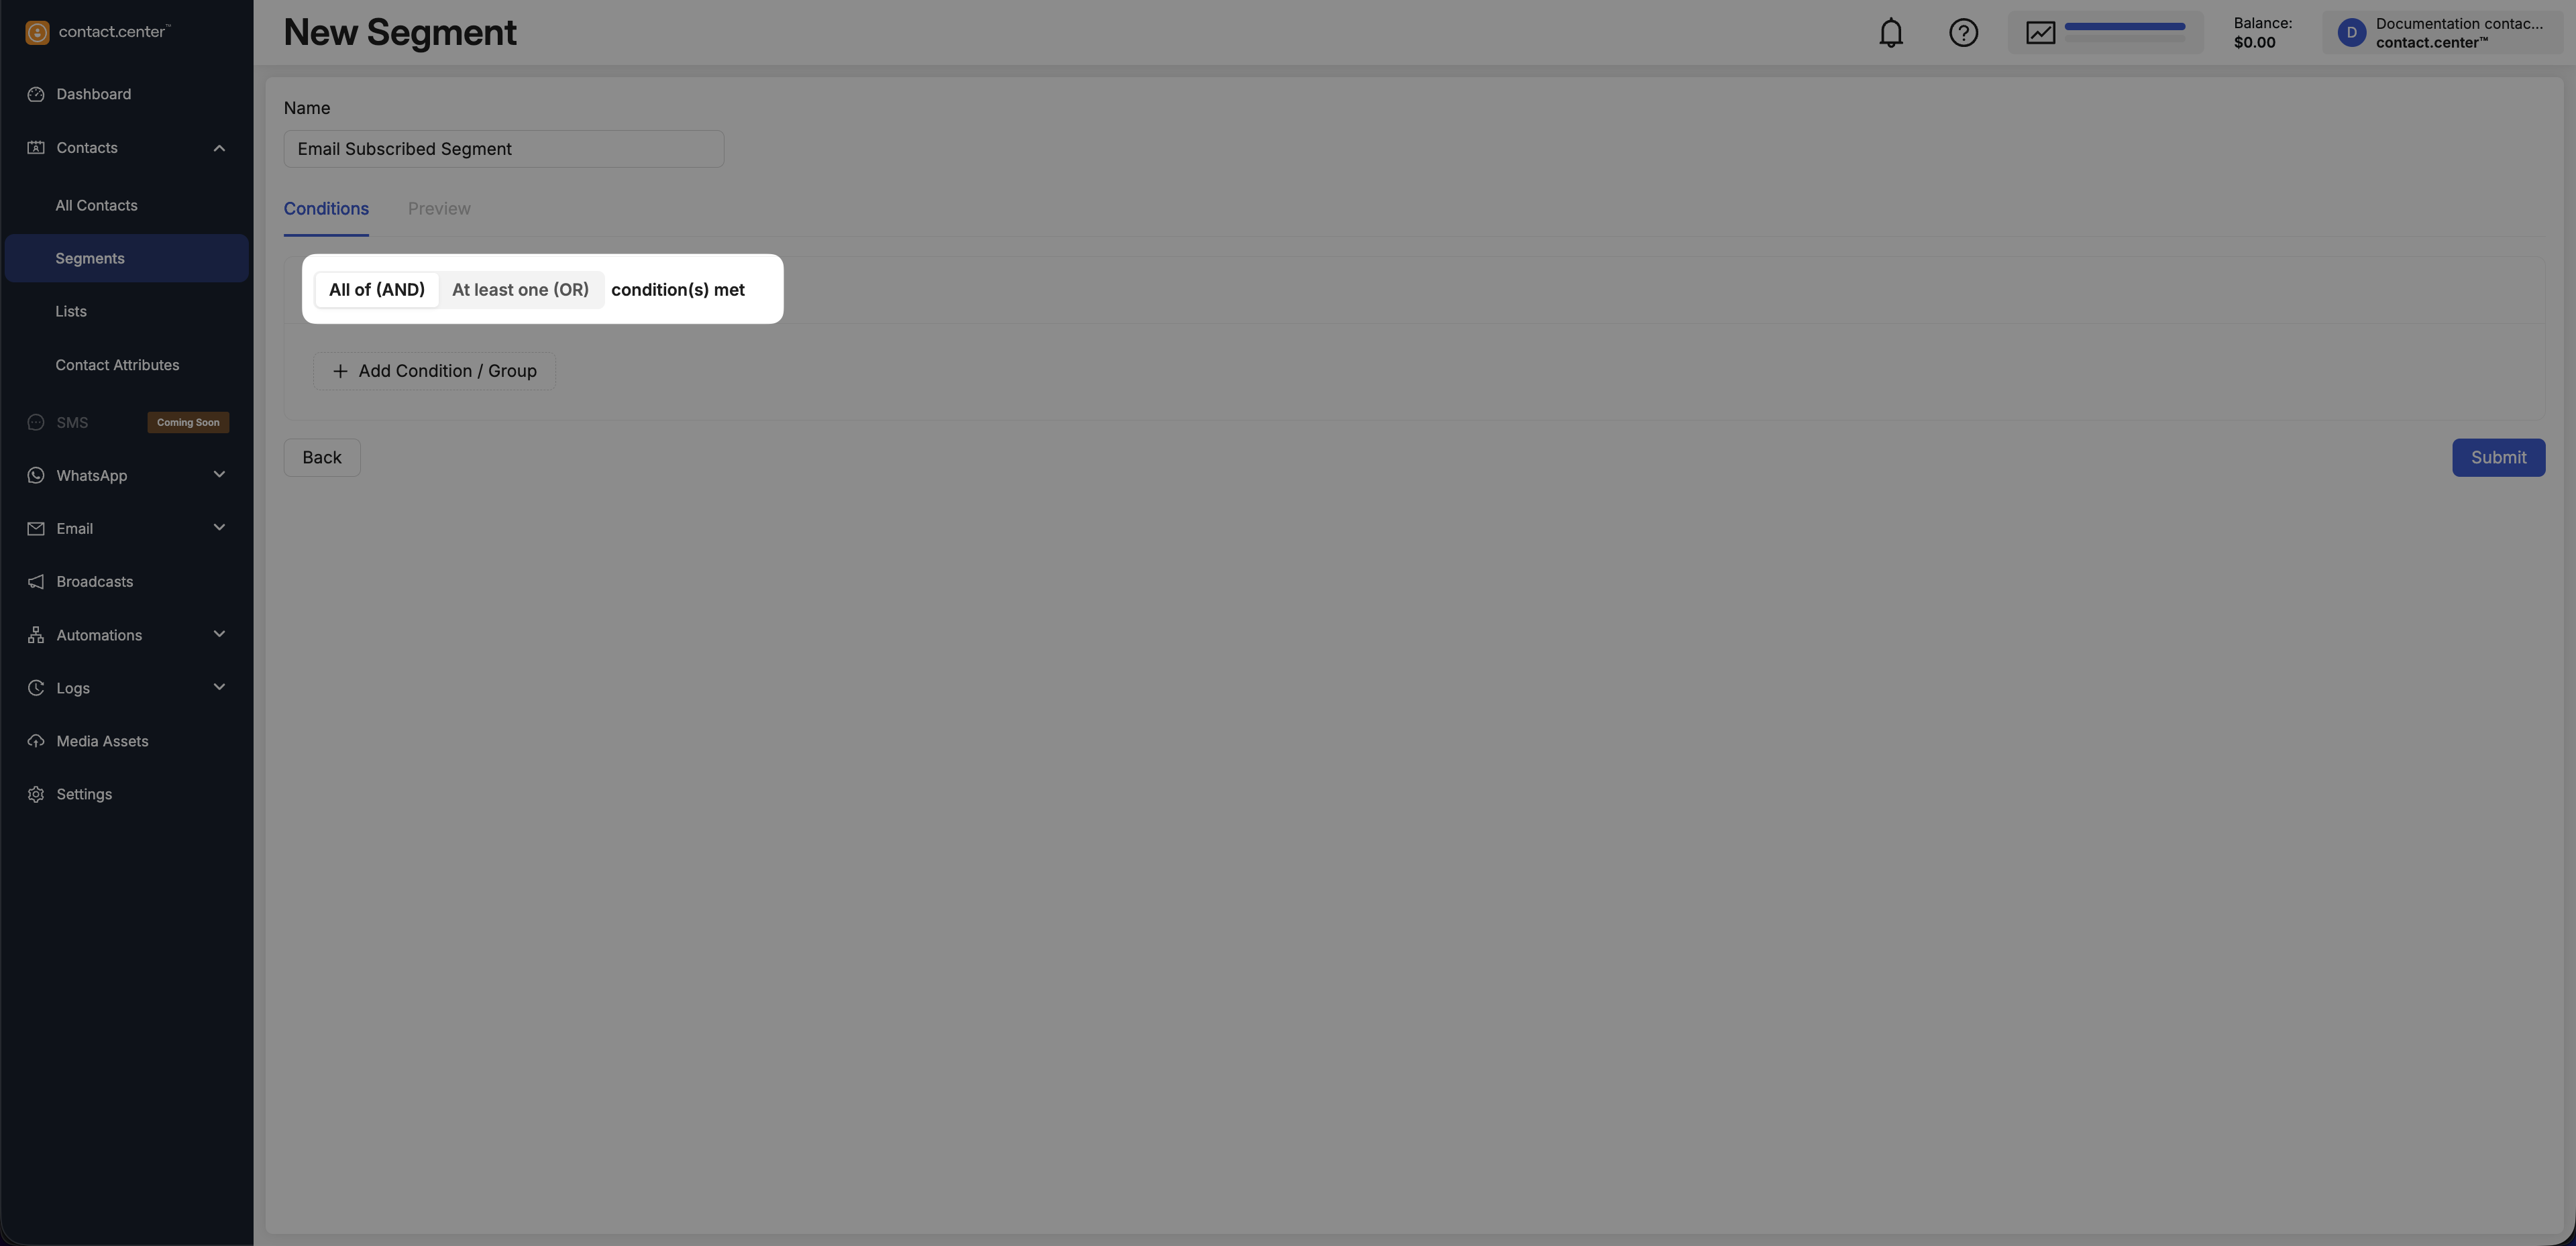
Fig. 3. Condition logic selector.
Add Conditions and Groups
Select a Condition to define an individual filter, or Group to create nested conditions with combined logic.
Conditions define individual rules that contacts must match.
To add a condition:
Click Add Condition / Group.
Select Condition.
Select a contact attribute.
Choose an operator.
Provide a value.
Available attributes include both system and custom attributes. For more information, see Contact Attributes.
Note
The available operators (e.g., Equals, Contains, Exists) change based on the attribute type.
Some operators (e.g., Exists) do not require a value. In these cases, the condition is defined only by the attribute and operator.
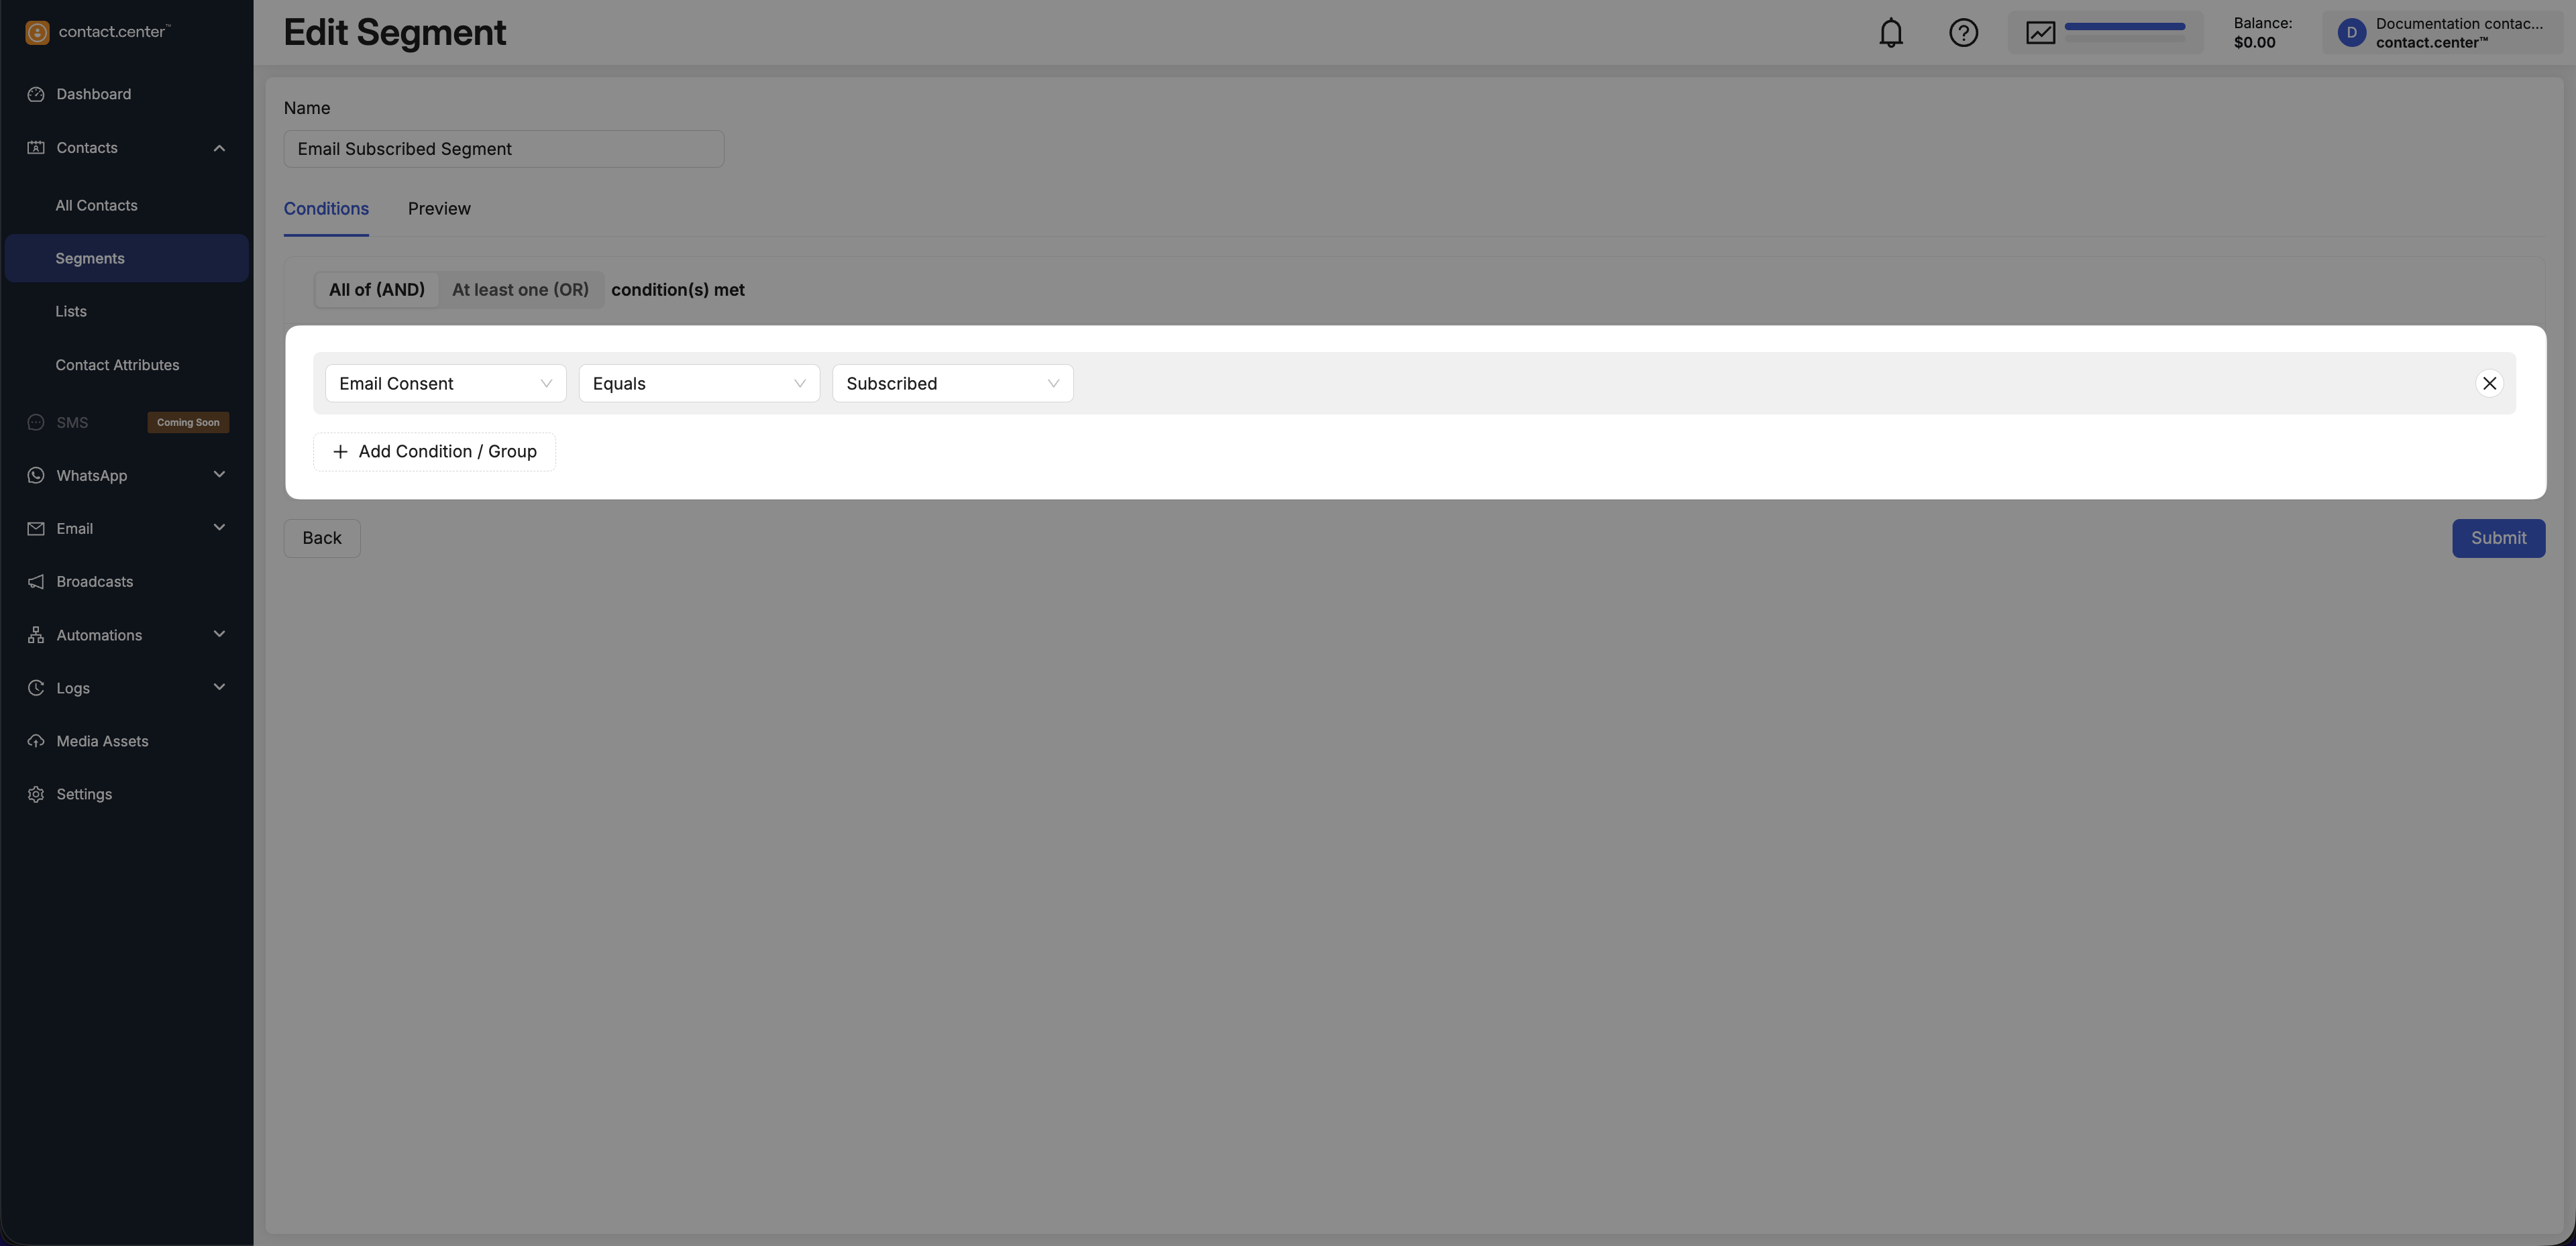
Fig. 4. Adding a condition to a segment.
Groups allow you to combine multiple conditions and control how they are evaluated.
Tip
Use groups when you need:
Nested logic (for example, combining AND and OR rules)
More complex targeting scenarios
Clear separation of rule sets
To add a group:
Click Add Condition / Group.
Select Group.
Choose the group logic (All of (AND) or At least one (OR)).
Add conditions inside the group.
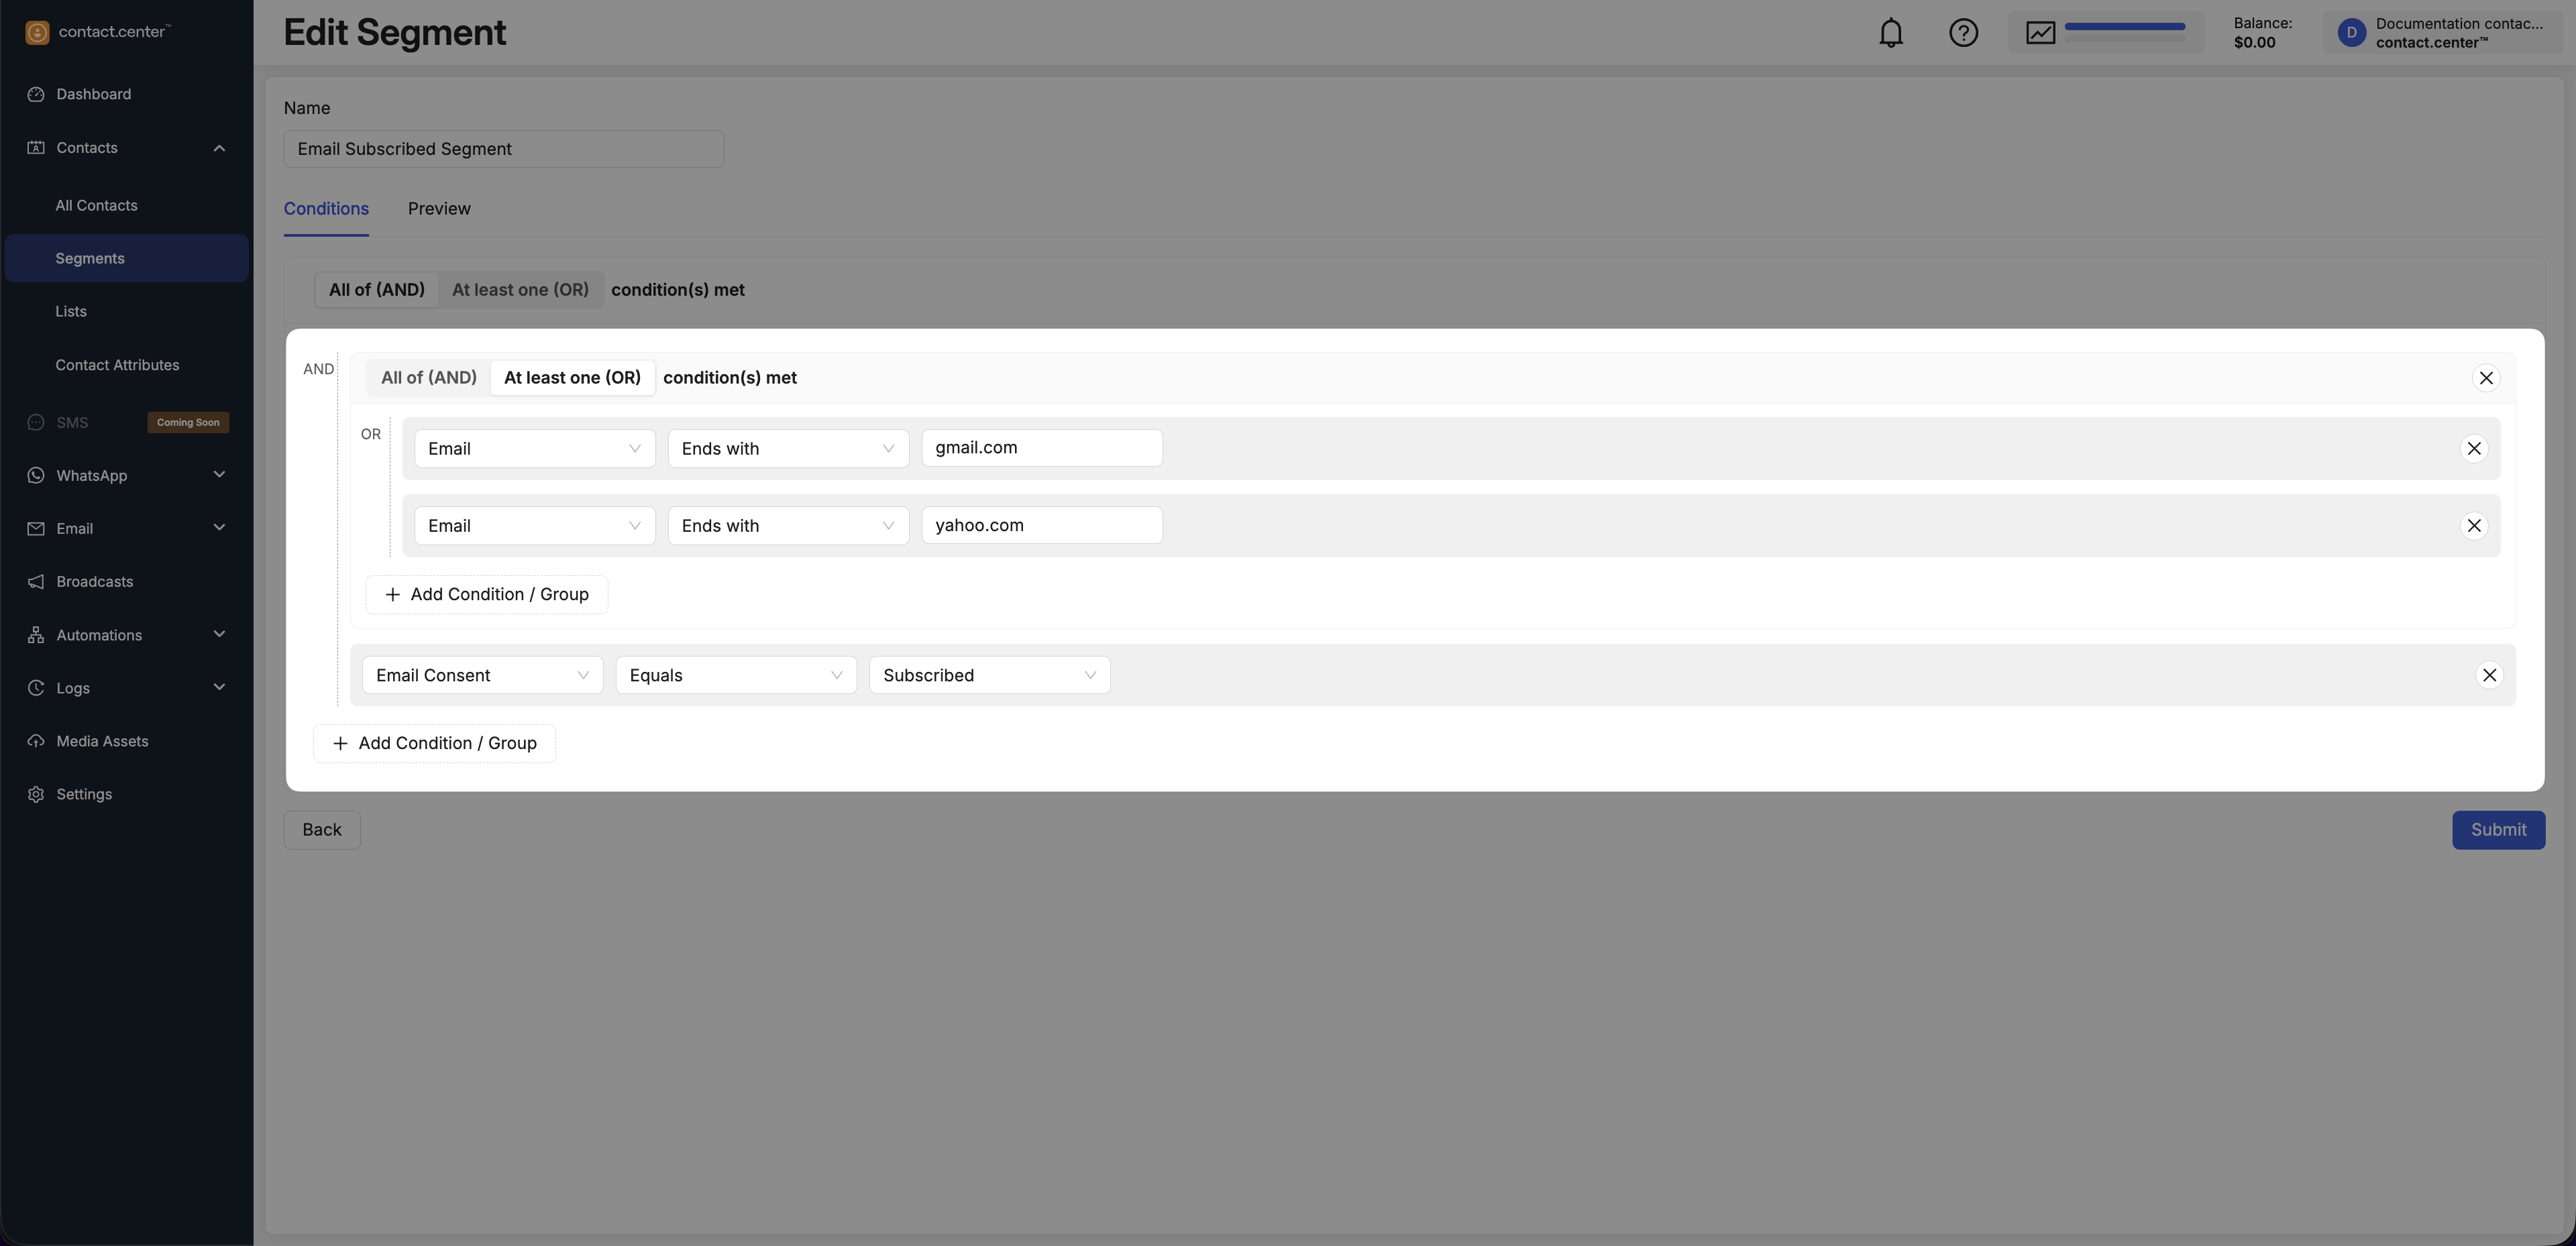
Fig. 5. Adding a group of conditions.
Segment Examples
The following examples demonstrate common segment configurations and show how condition logic and grouped conditions work together in real-world scenarios.
Email subscribers with Gmail addresses
Use this segment when you want to target contacts who are subscribed to Email and use a Gmail address.
Segment logic - All of (AND)
Attribute |
Operator |
Value |
|---|---|---|
Email Consent |
Equals |
|
Ends with |
|
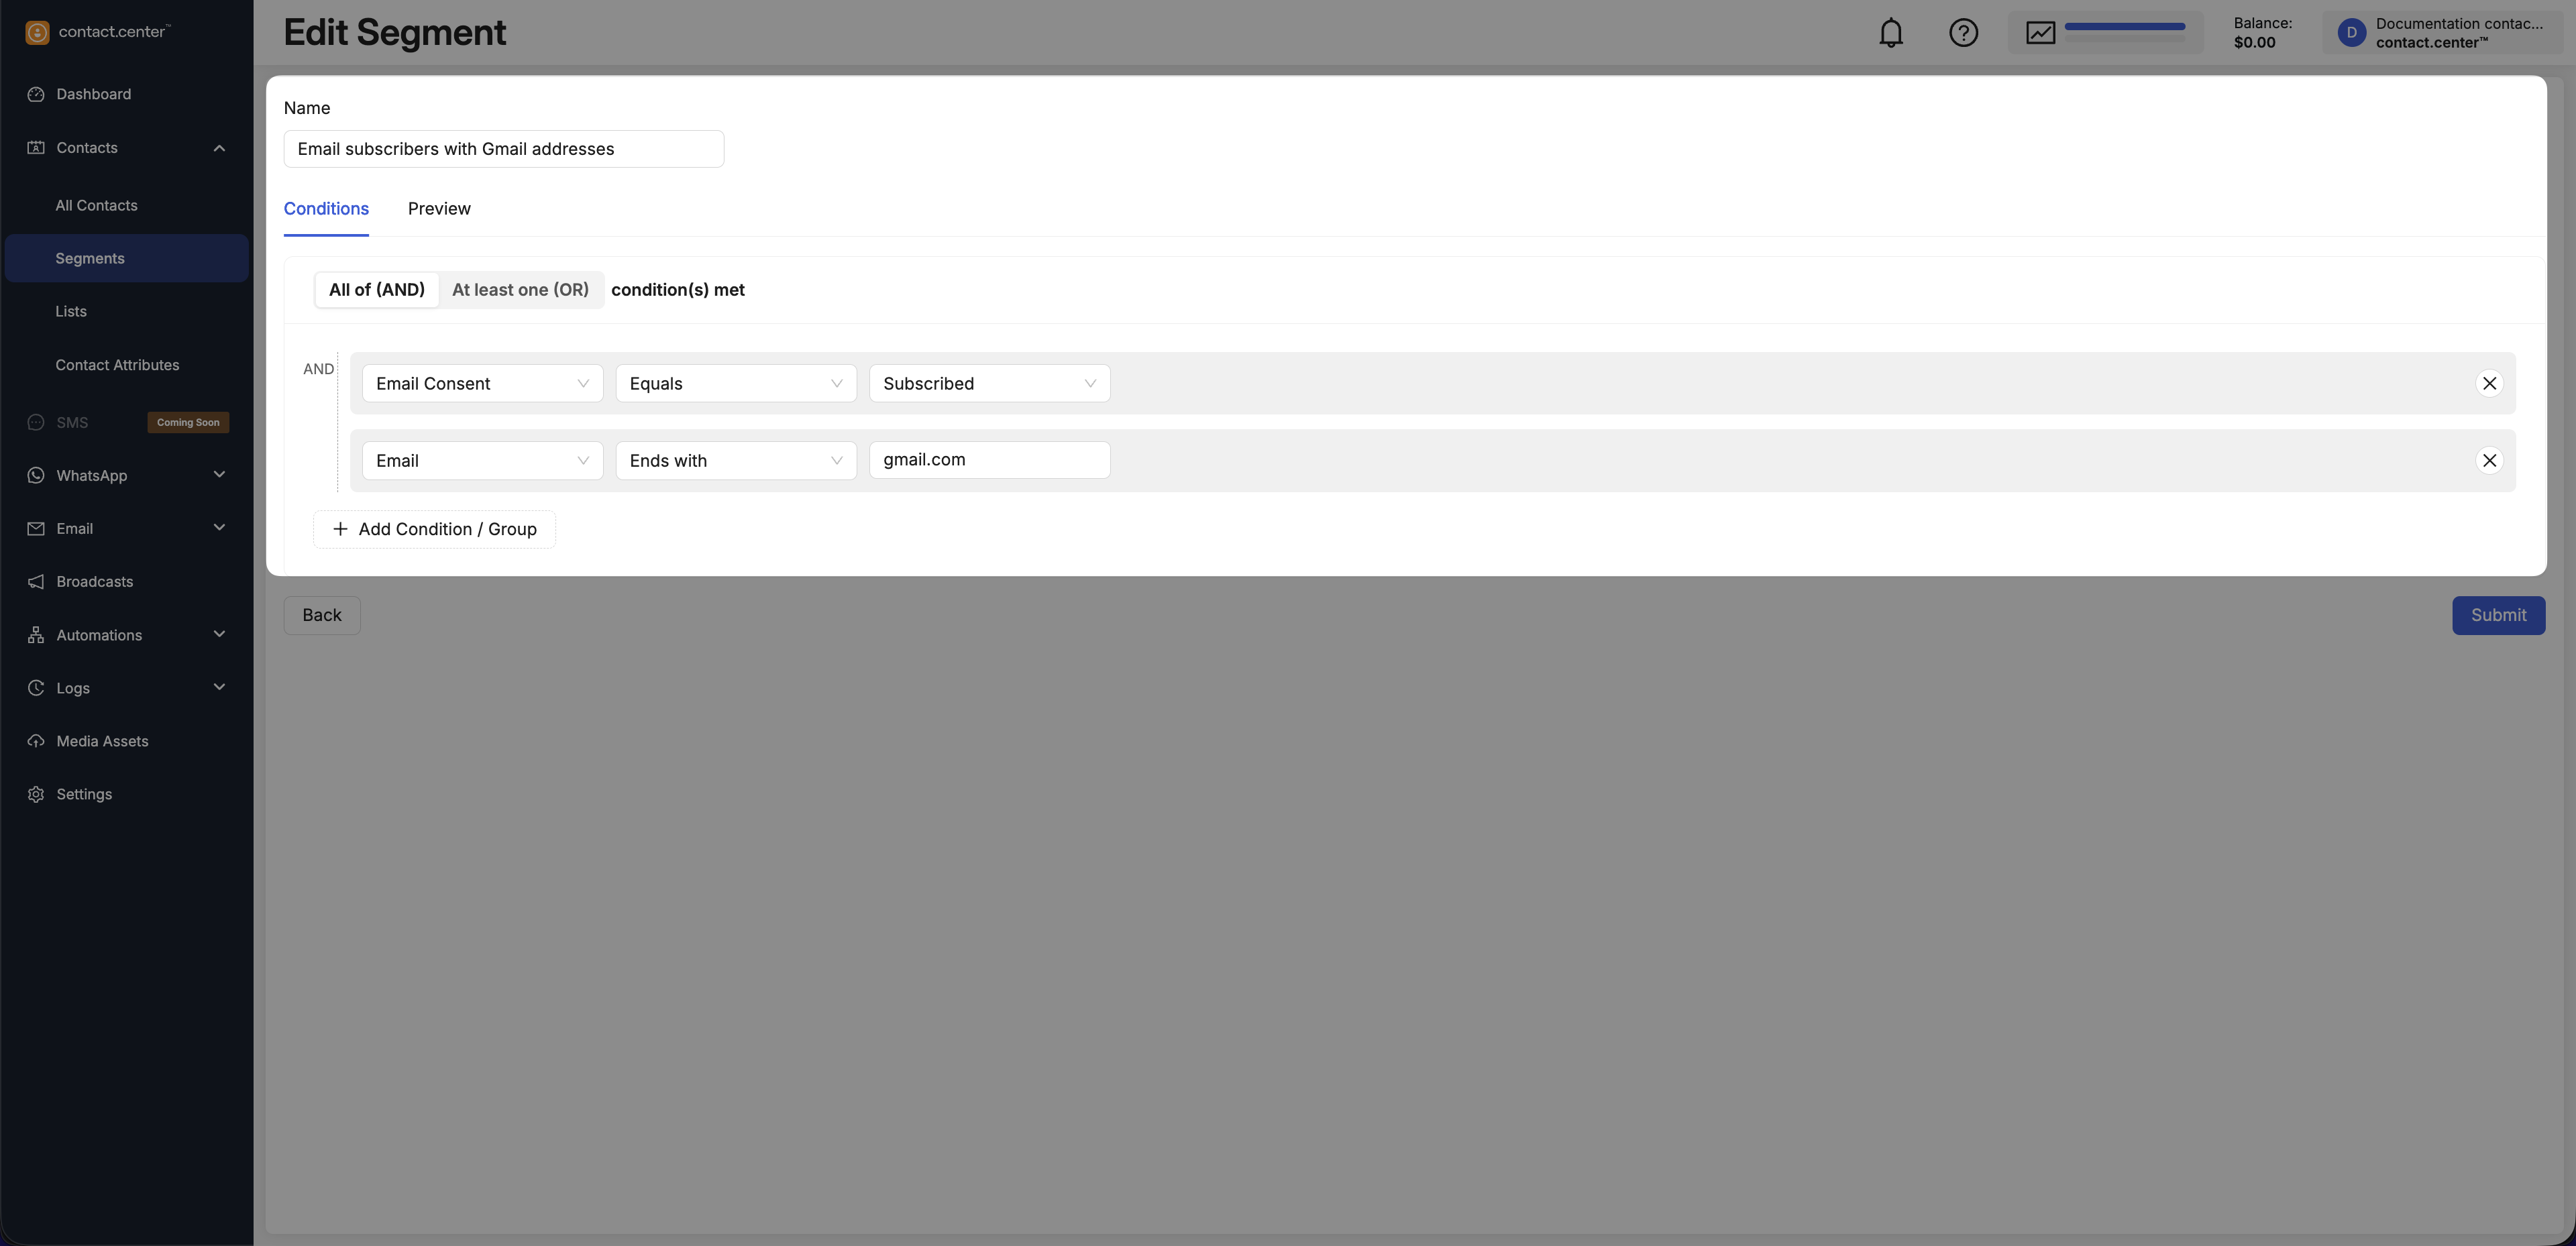
Fig. 6. Example of a segment using email subscribers with Gmail addresses
Contacts subscribed to SMS or WhatsApp
Use this segment when you want to reach contacts who are subscribed to at least one of multiple messaging channels.
Segment logic - At least one (OR)
Attribute |
Operator |
Value |
|---|---|---|
SMS Consent |
Equals |
|
WhatsApp Consent |
Equals |
|

Fig. 7. Example of a segment using SMS consent or WhatsApp consent.
Contacts in a specific country
Use this segment when you want to target contacts in a specific country.
Segment logic - All of (AND)
Attribute |
Operator |
Value |
|---|---|---|
Country |
Equals |
|

Fig. 8. Example of a segment using contacts by country equals United States
Contacts with phone numbers
Use this segment when you want contacts who have a phone number set (for example, before launching an SMS campaign).
Segment logic - All of (AND)
Attribute |
Operator |
|---|---|
Phone number |
Exists |
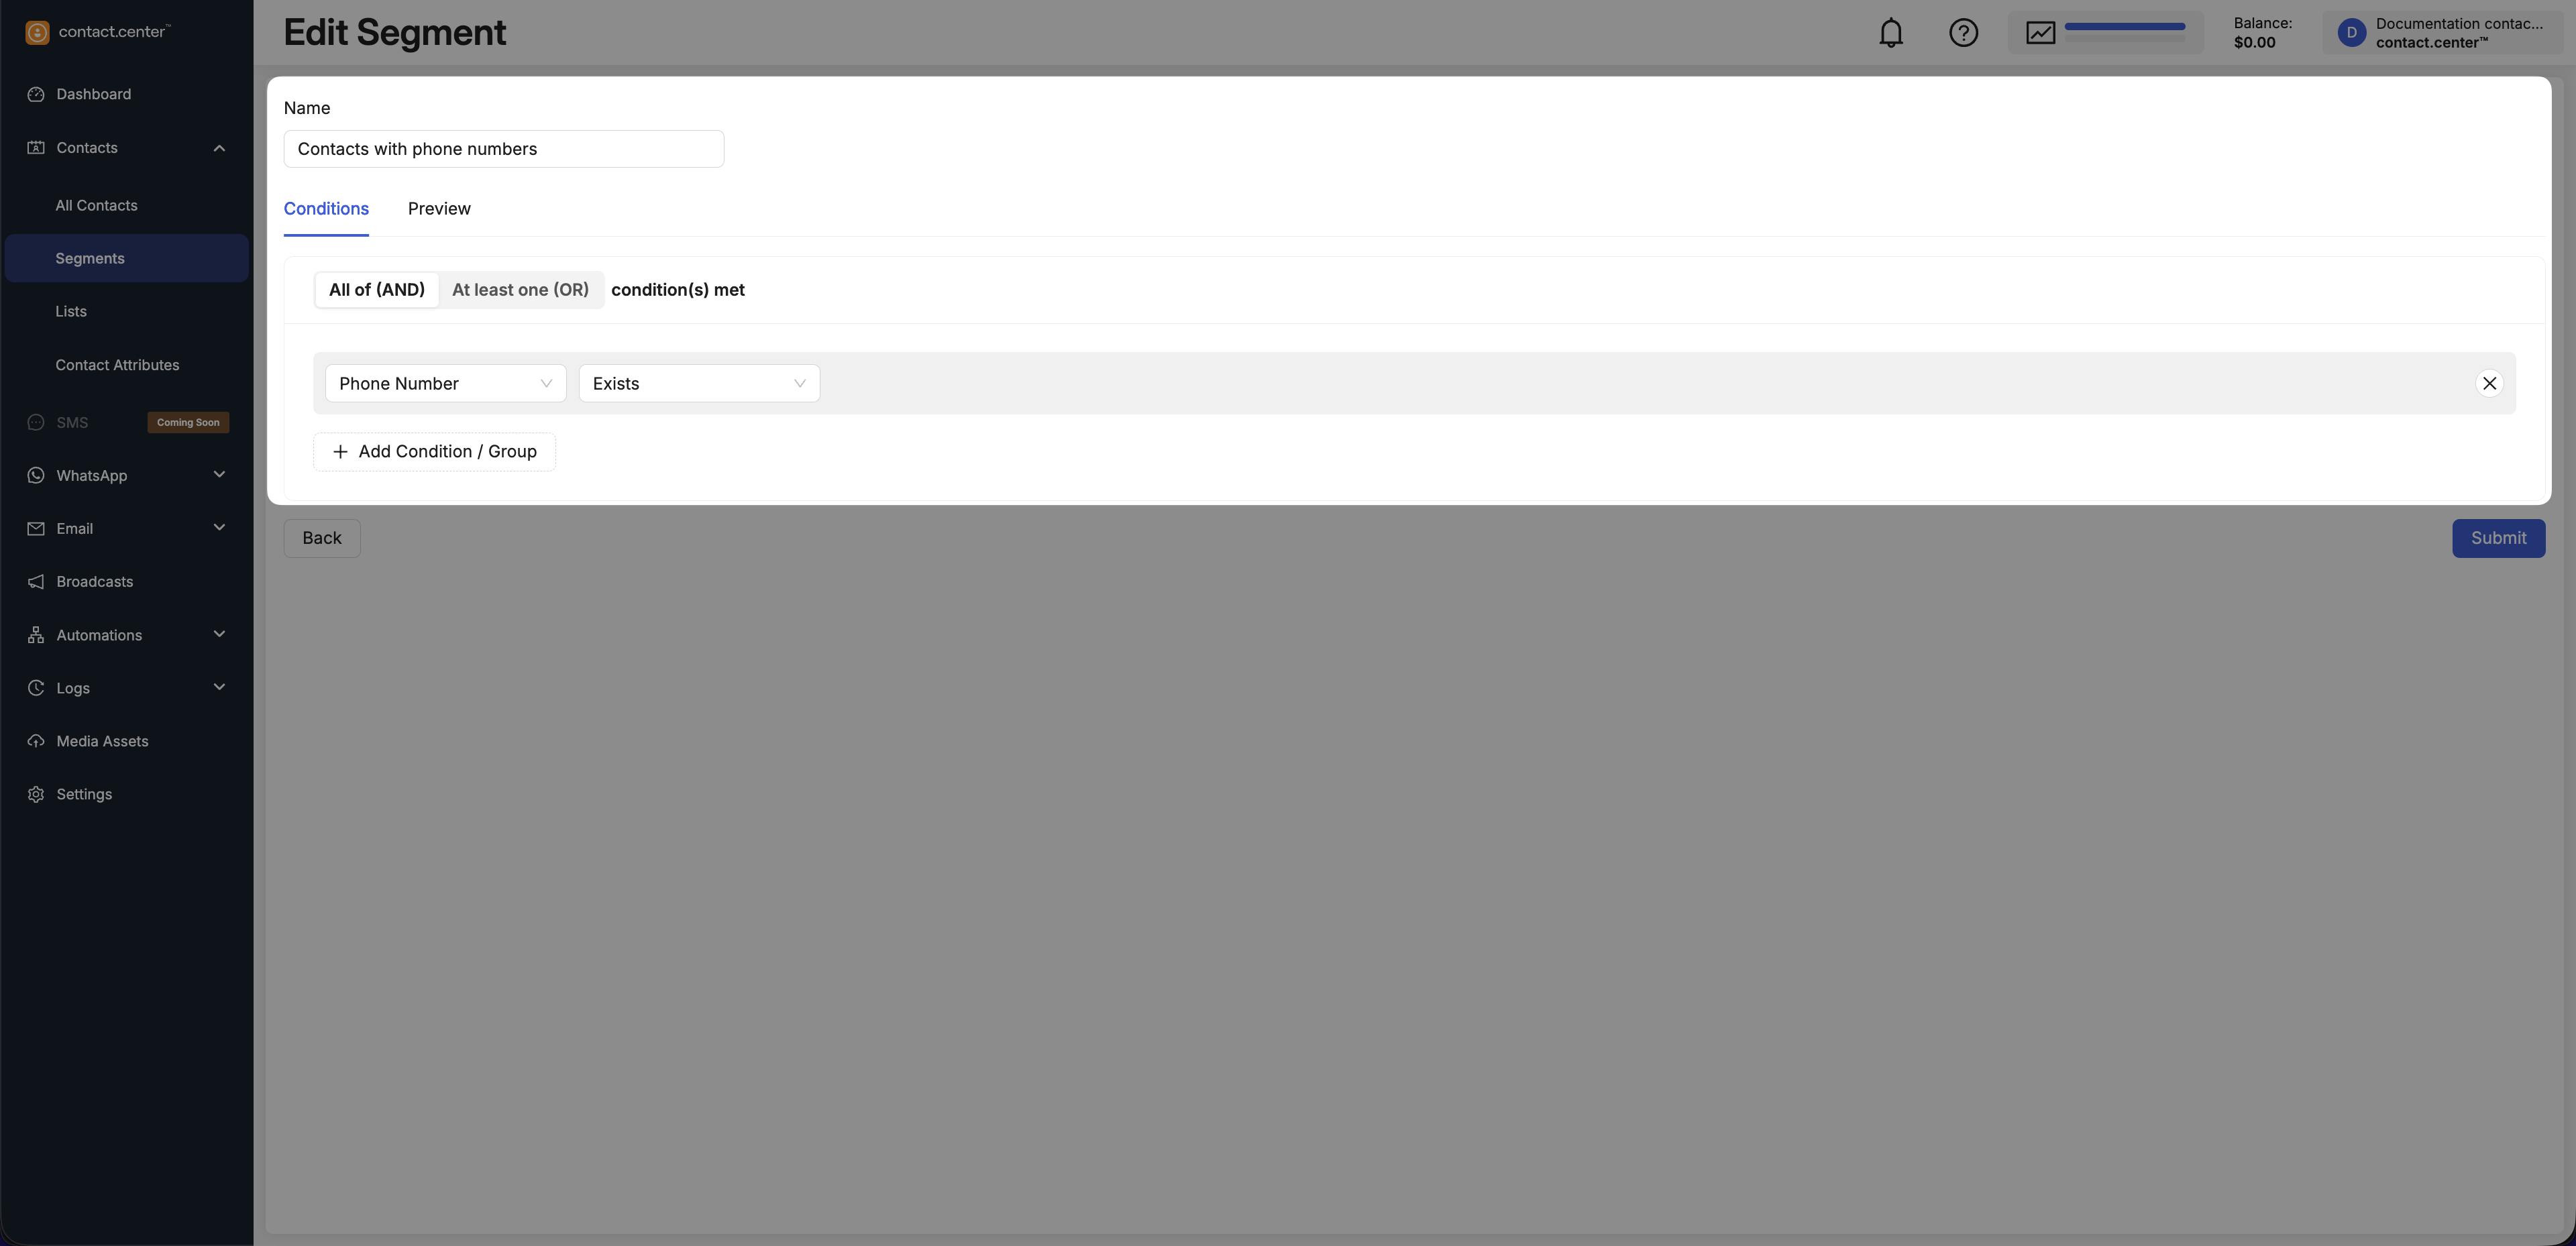
Fig. 9. Example of a segment using phone number exists operator
Email subscribers using Gmail or located in United States
Use this segment when you want to target contacts who are subscribed to Email and either use Gmail or are located in United States.
Segment logic - All of (AND)
Top-level conditions:
Attribute |
Operator |
Value |
|---|---|---|
Email Consent |
Equals |
|
Grouped conditions - At least one of (OR)
Lower-level conditions:
Attribute |
Operator |
Value |
|---|---|---|
Ends with |
|
|
Country |
Equals |
|
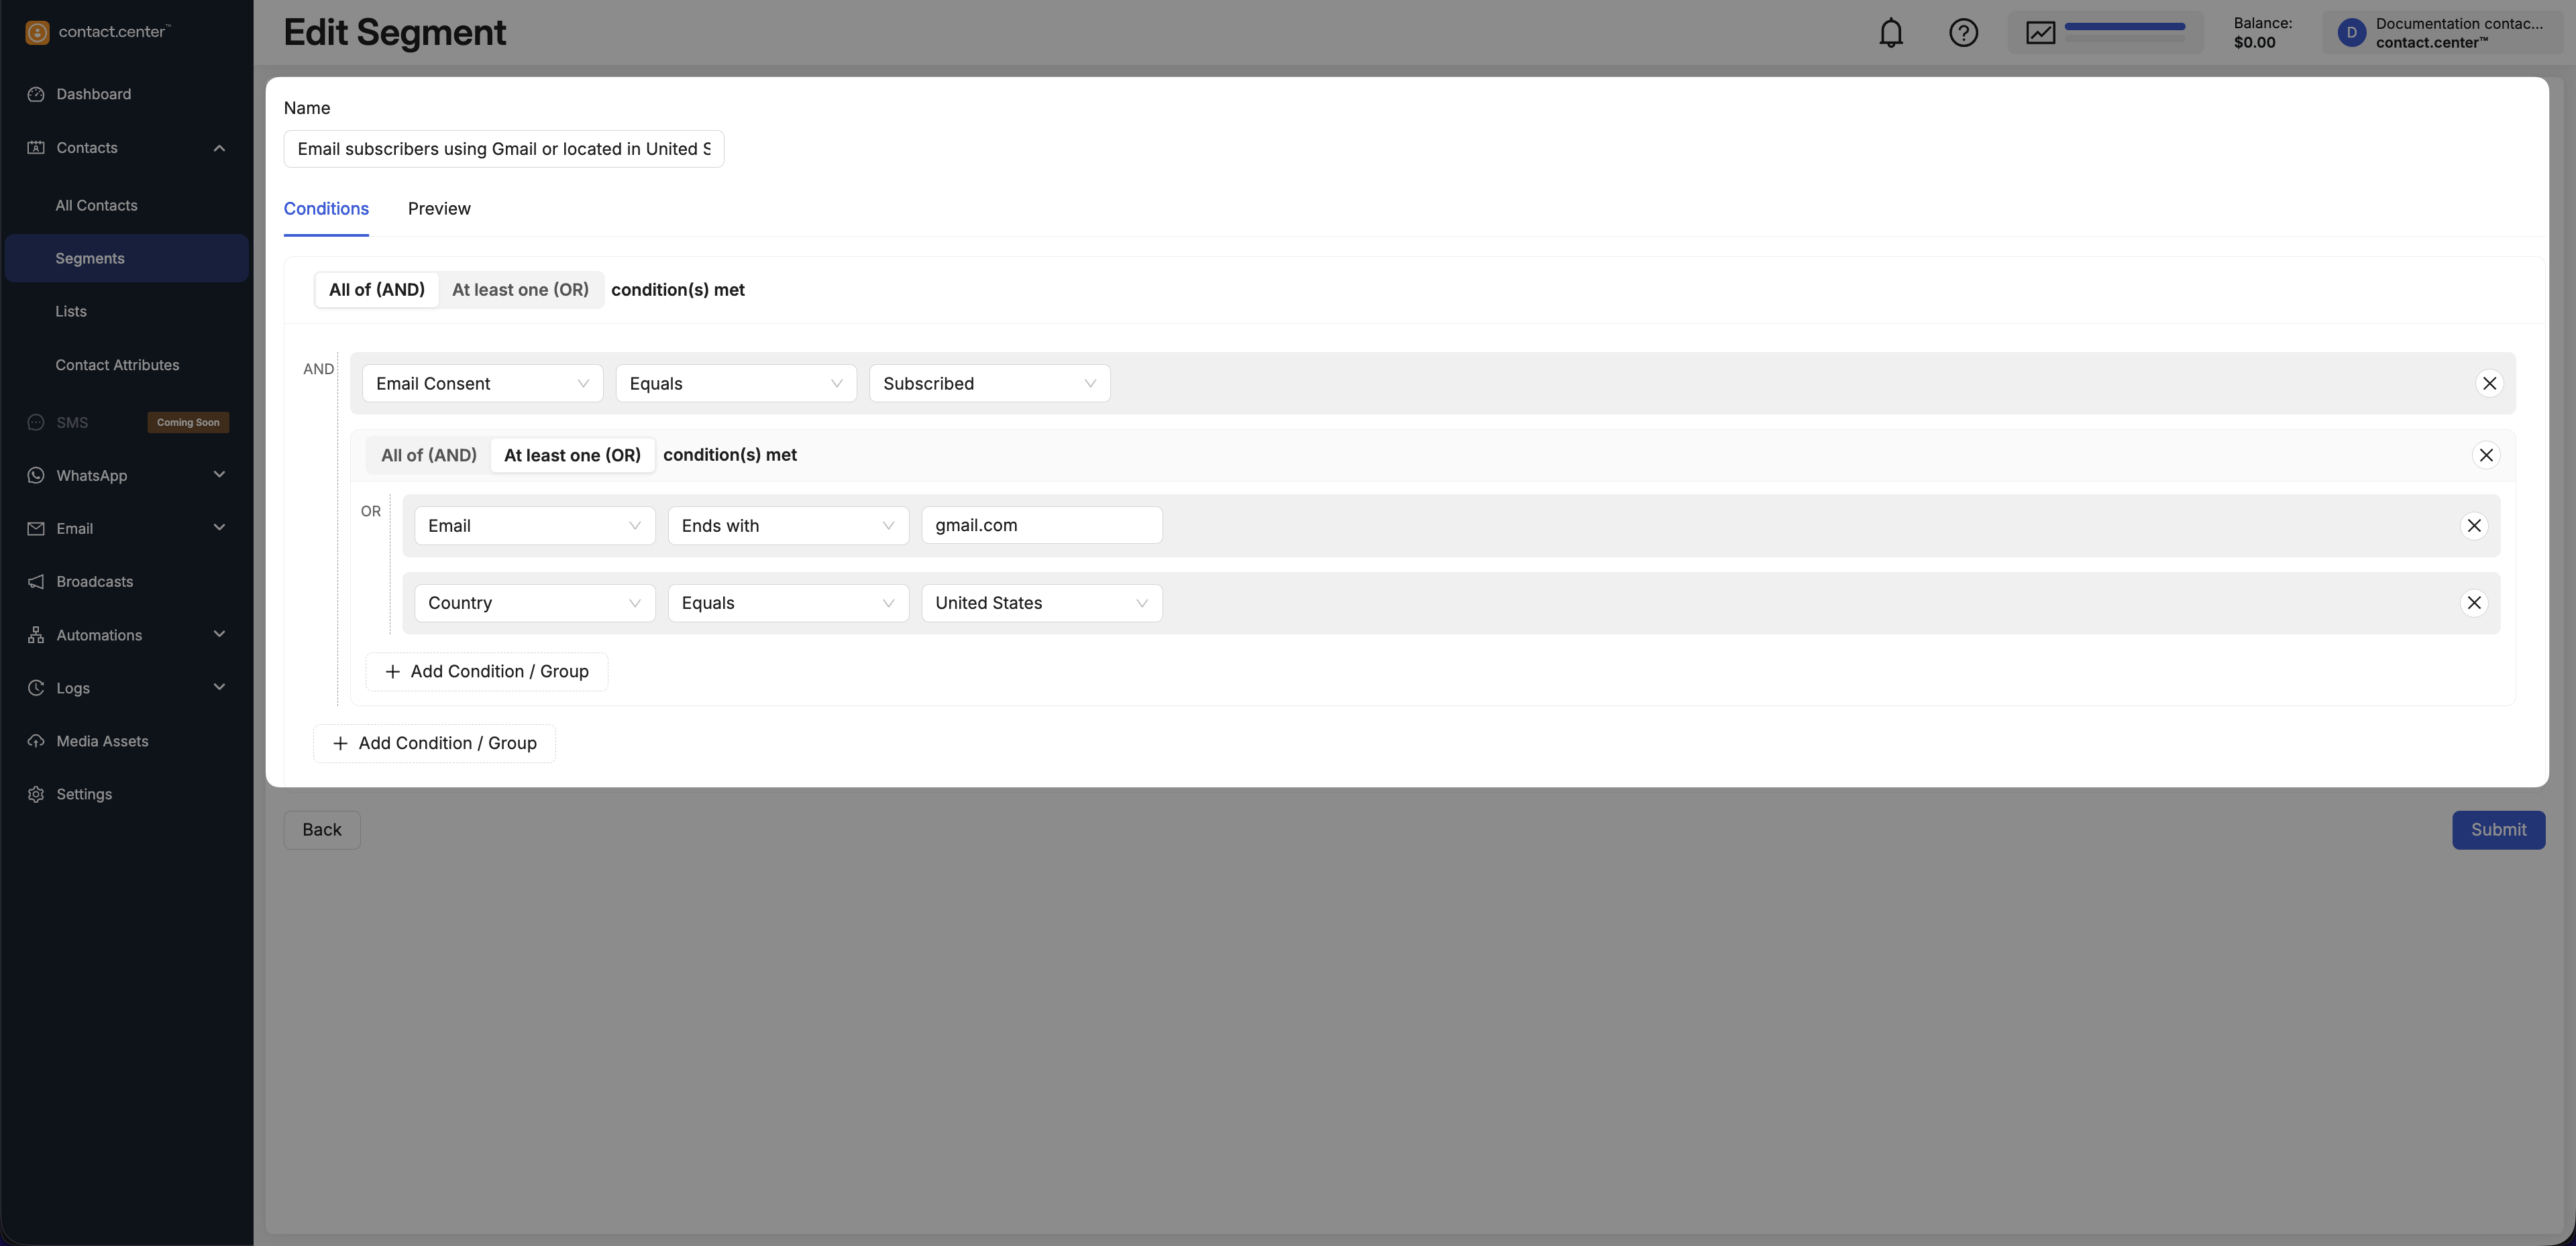
Fig. 10. Example of a segment using nested condition groups.
Step 4: Preview Matching Contacts
Click the Preview tab to see which contacts currently match the configured rules.
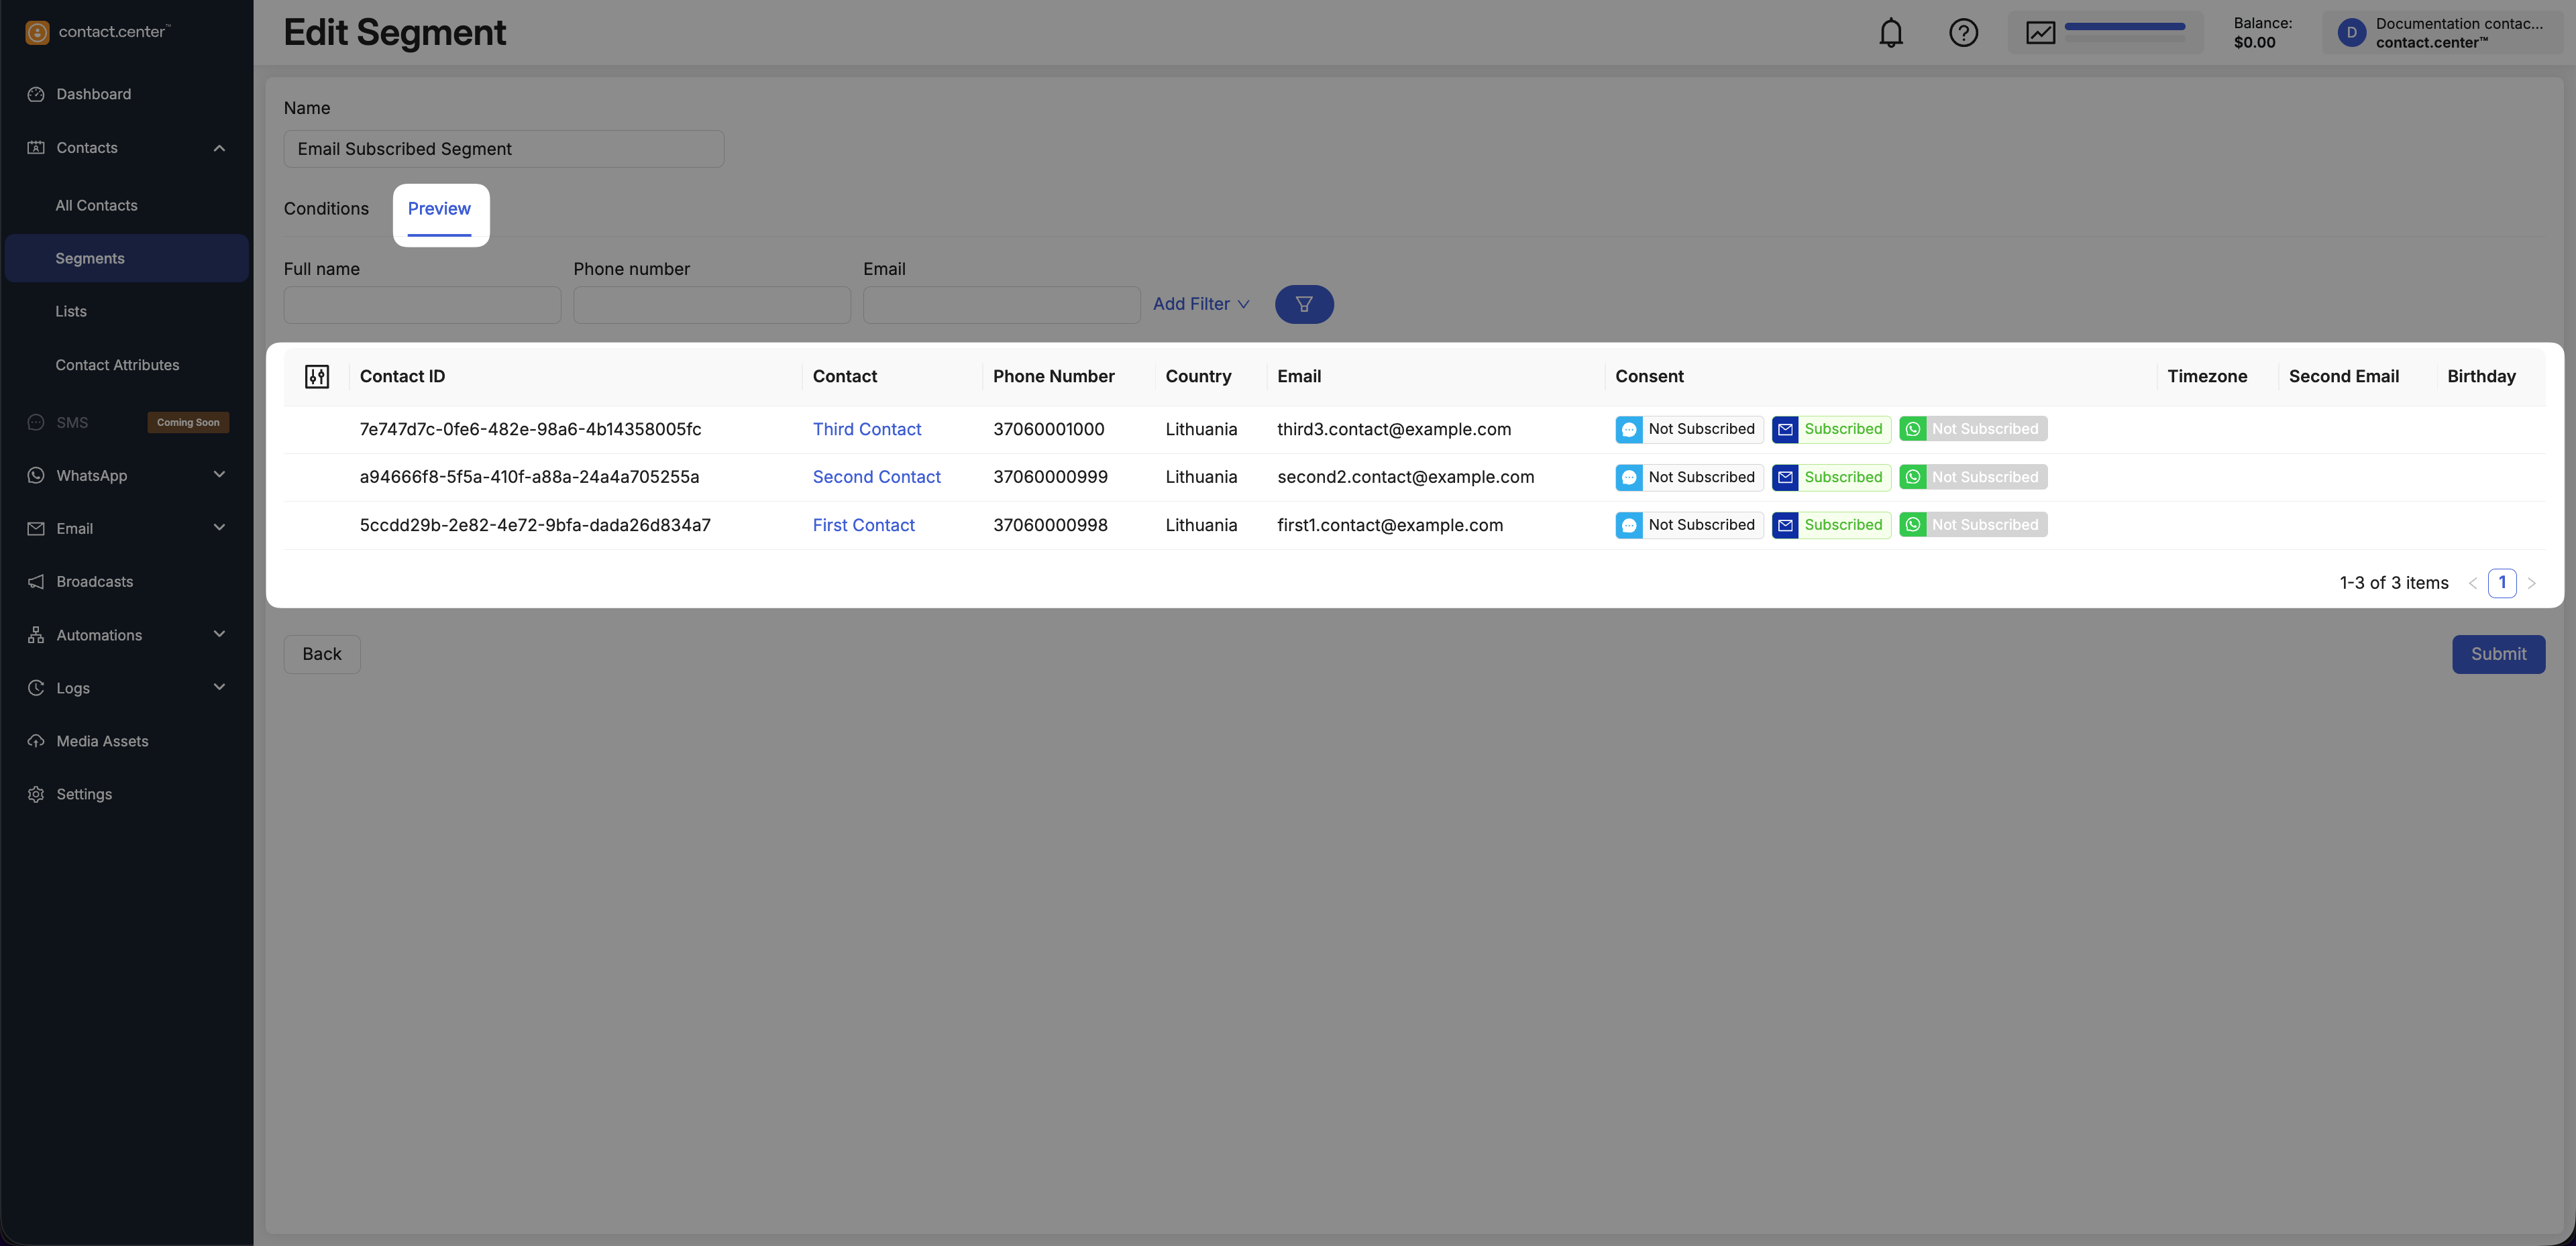
Fig. 11. Previewing matching contacts.
Step 5: Save the Segment
Once the segment conditions are configured and the preview confirms the expected results, click Submit to save and activate the segment.
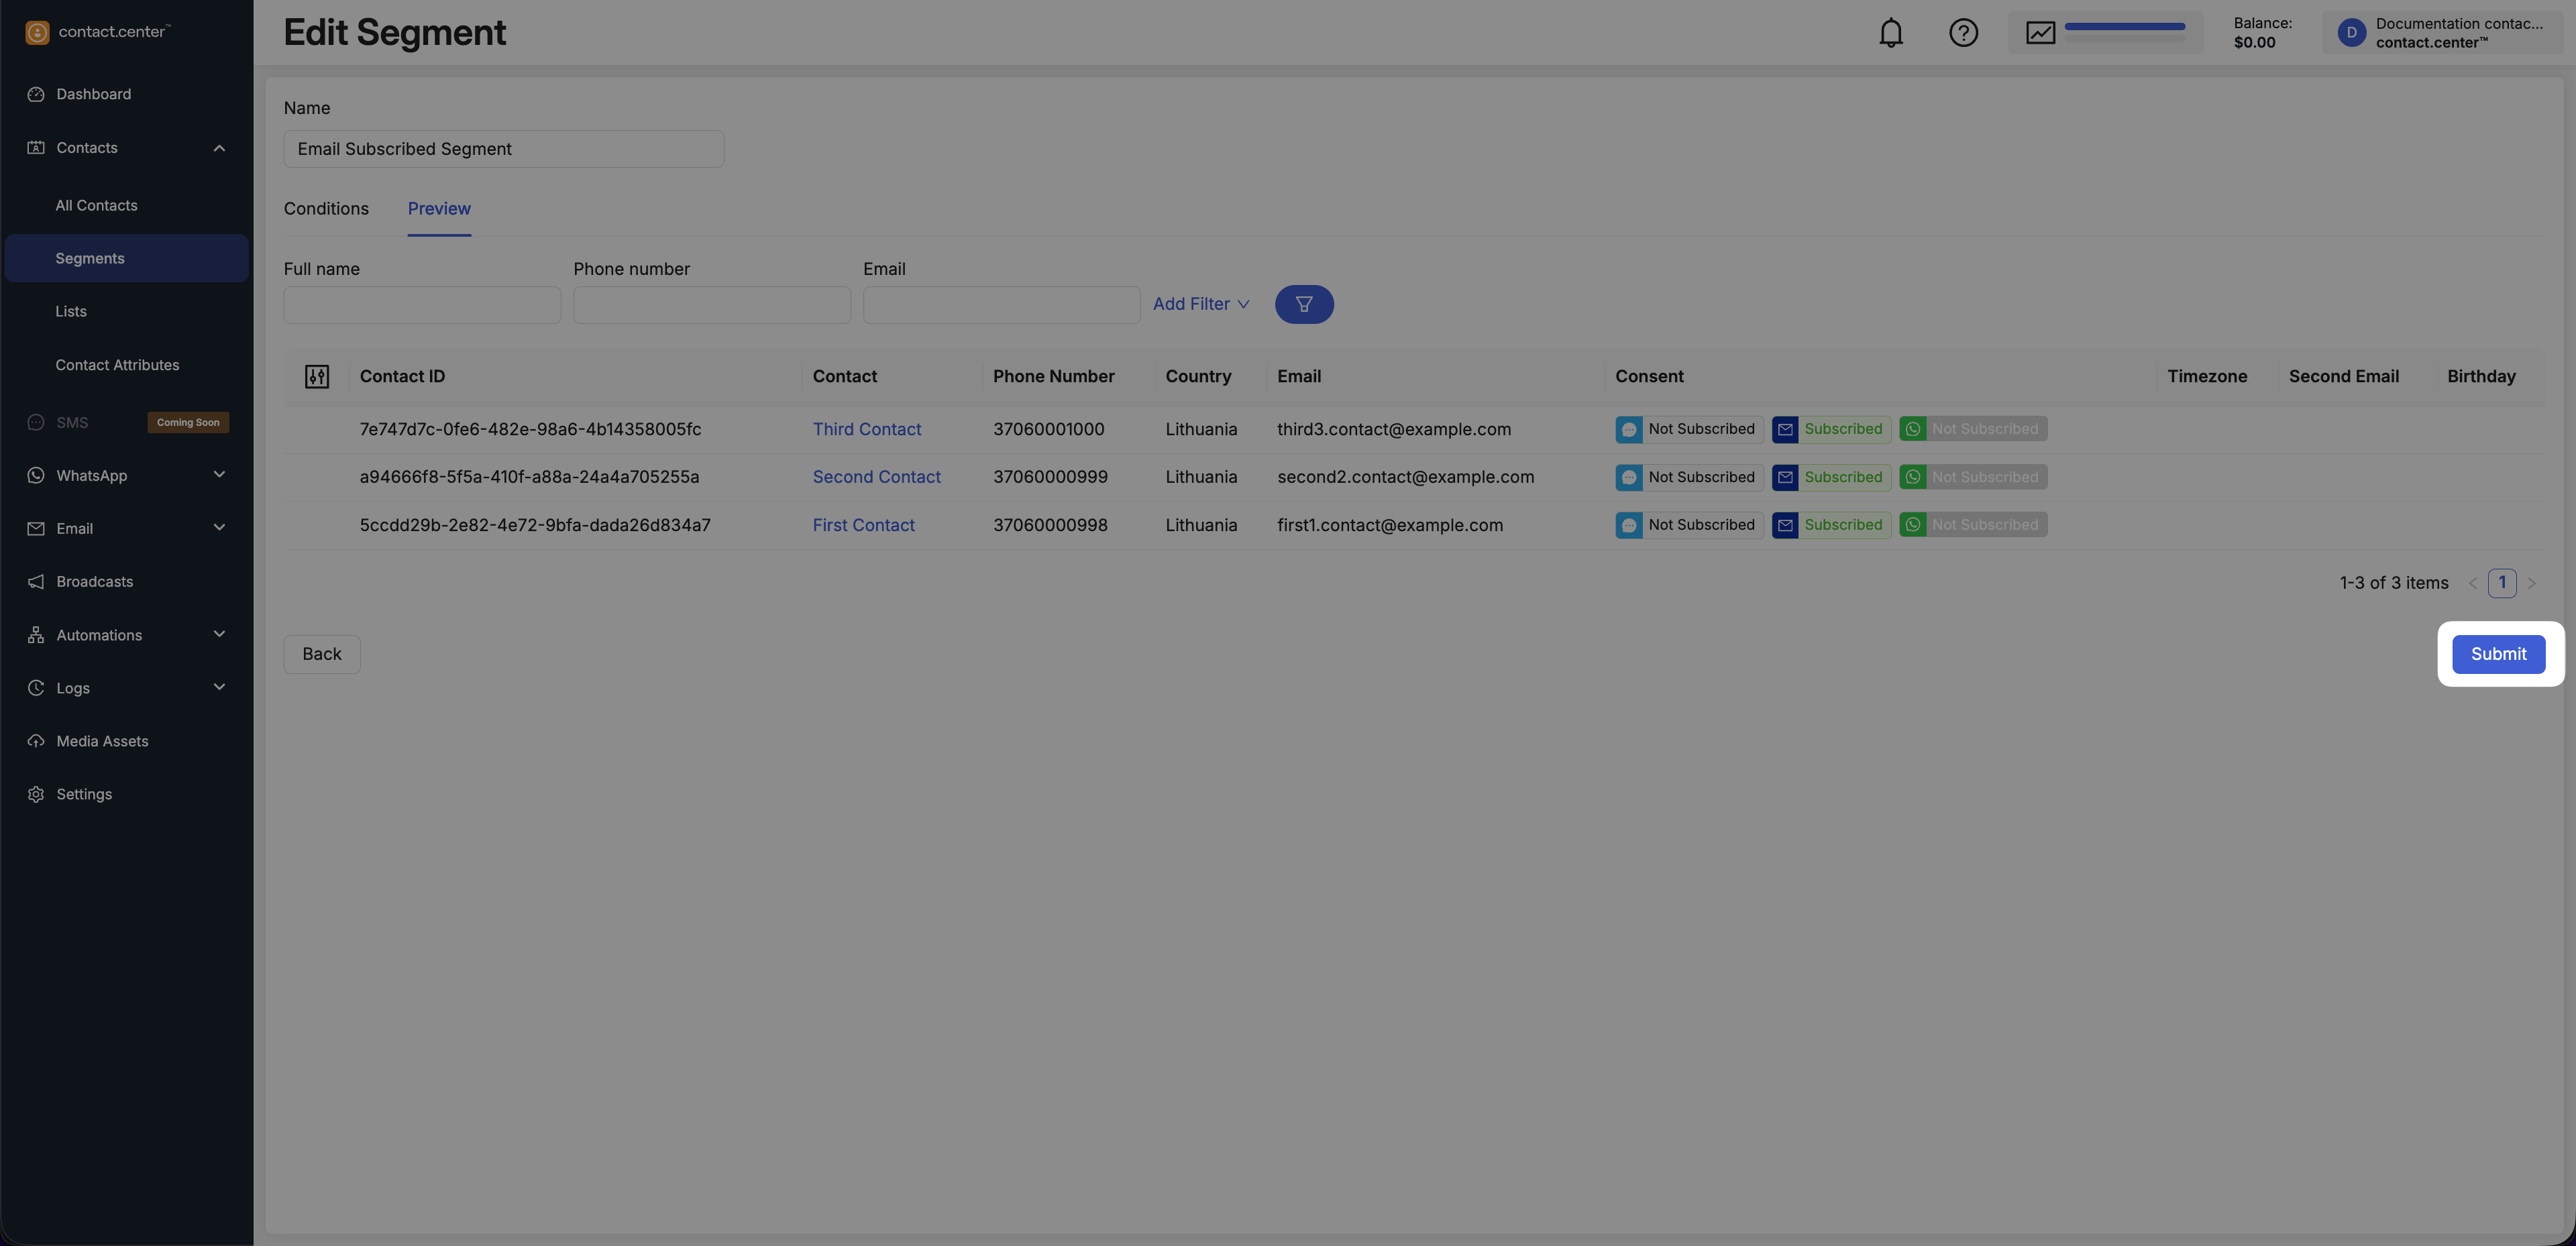
Fig. 12. Save and activate the segment.
Edit Contact Segment
Use segment editing to update conditions and review matching contacts.
Go to Contacts → Segments.
Locate the segment you want to update.
Click Edit in the actions menu.
Perform the needed changes and click Submit to save the changes.
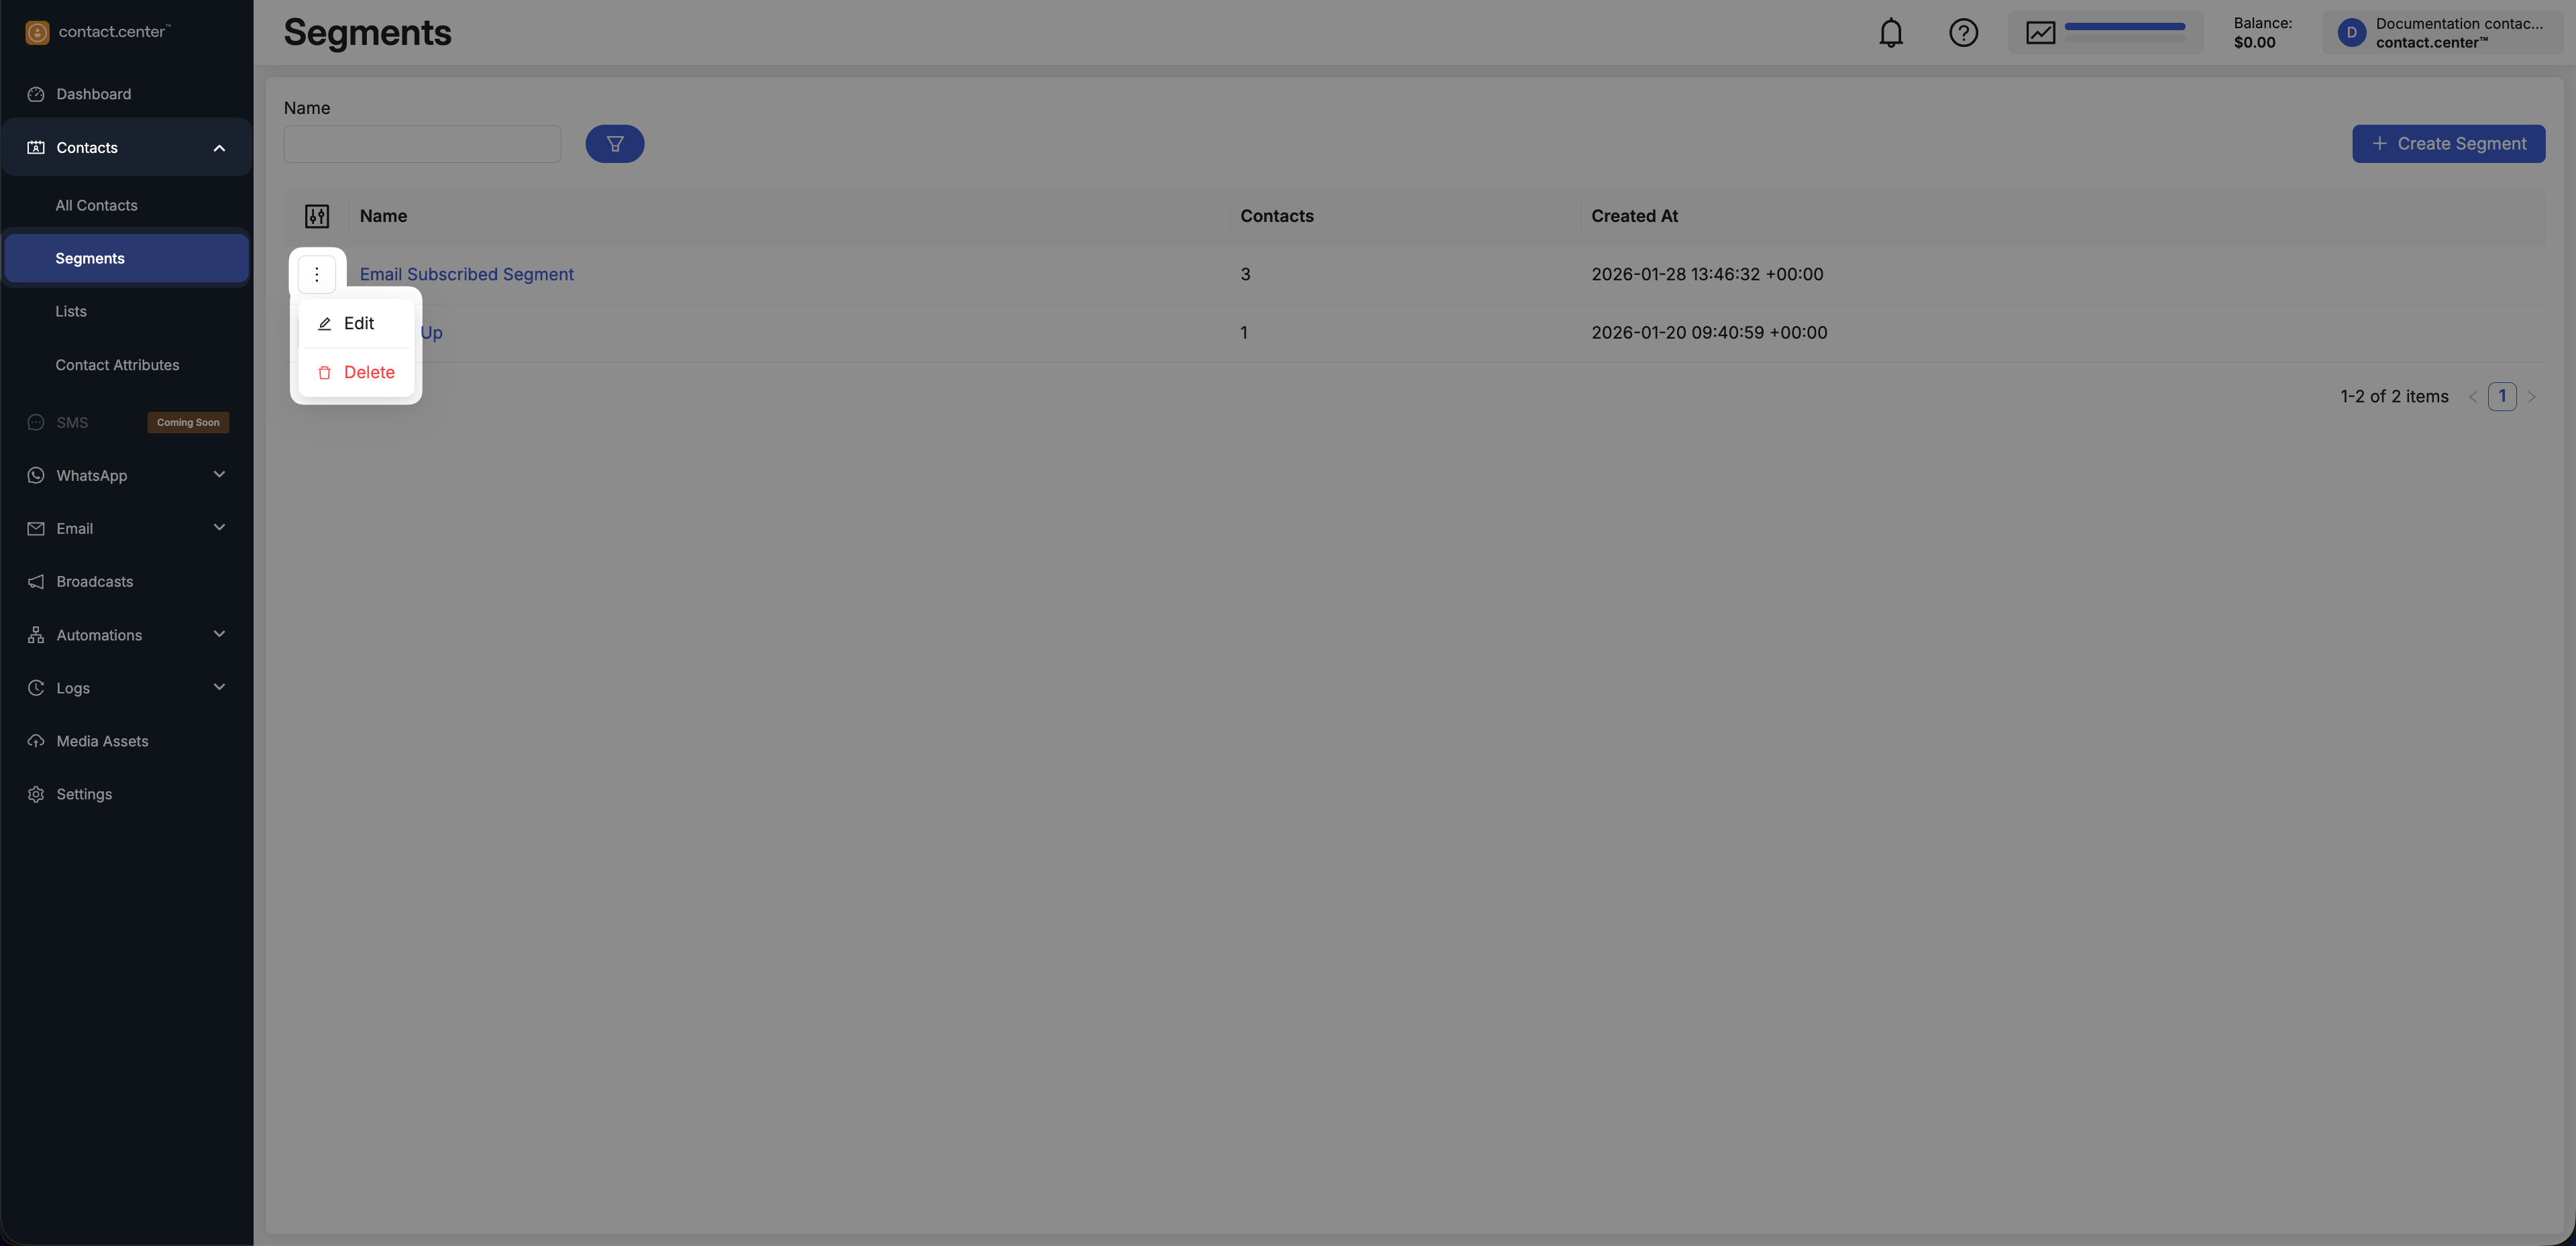
Fig. 13. Segment actions menu.
Preview Contacts in Segments
Use the Preview tab to review contacts that currently match the segment rules.
Edit the segment.
Open the Preview tab.
Fig. 15. Segment Preview tab.
Filter Contacts in Preview
Use filters above the preview table to narrow down the displayed contacts based on contact attributes.
Enter values in one or more filter fields.
Click the Filter button to apply the selected filters.
The preview table is updated only after the Filter button is clicked.
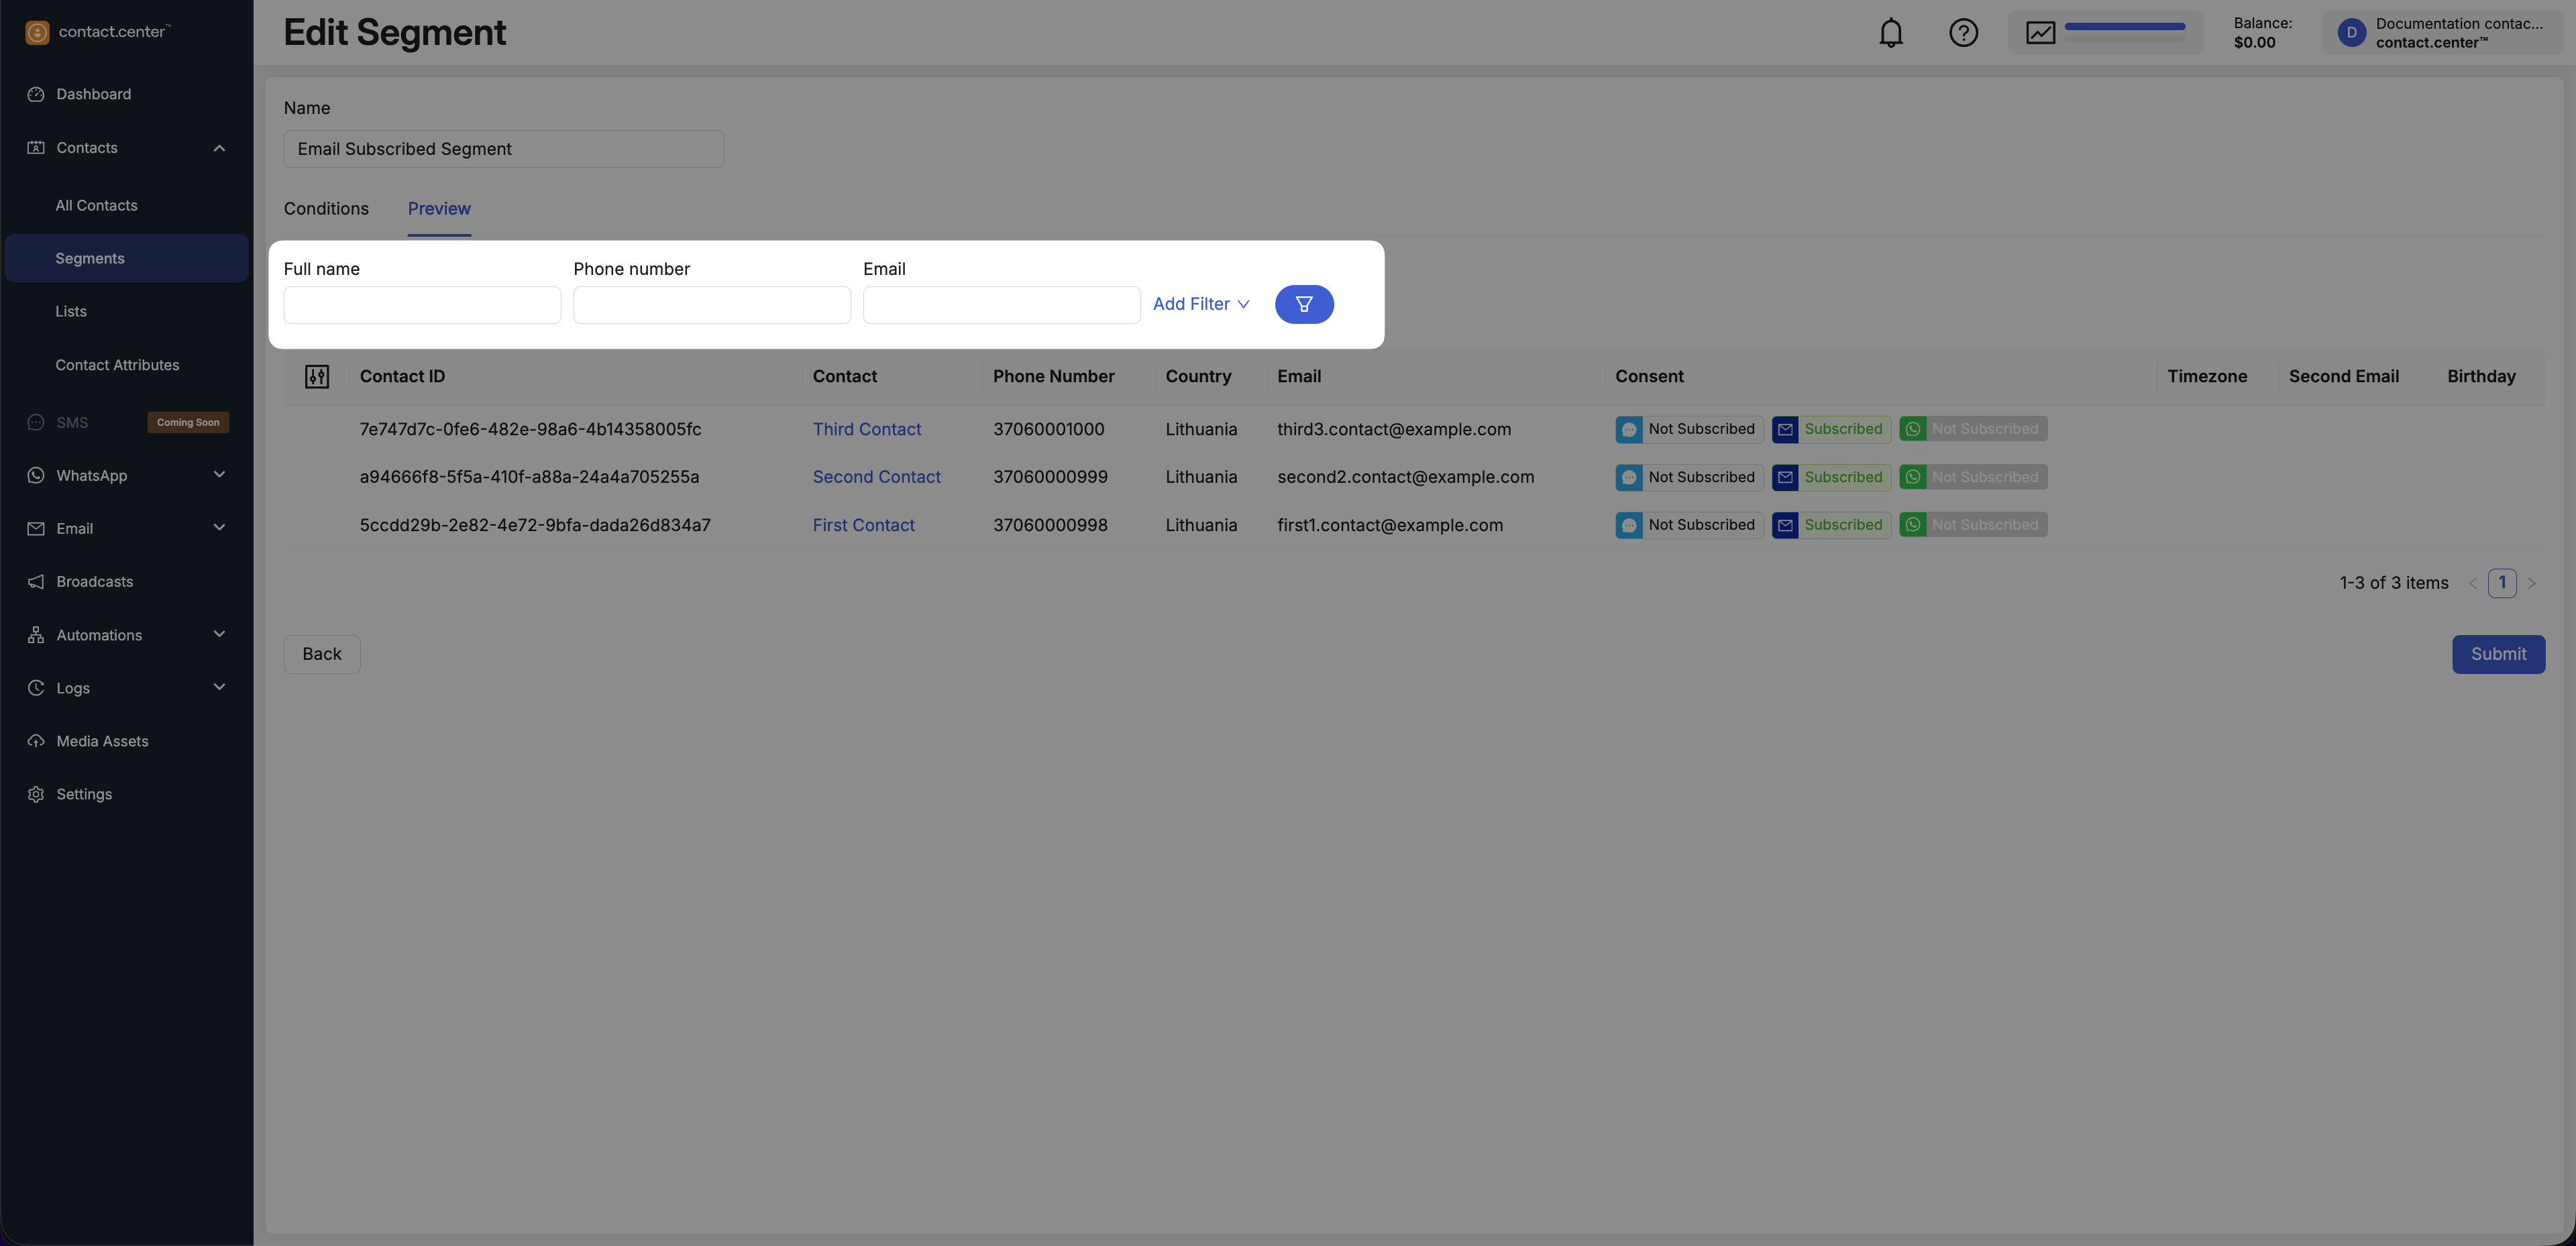
Fig. 16. Filter fields in Segment Preview.
Add a Filter
Use Add Filter to access additional filters based on contact attributes.
Click Add Filter.
Select an available filter from the list.
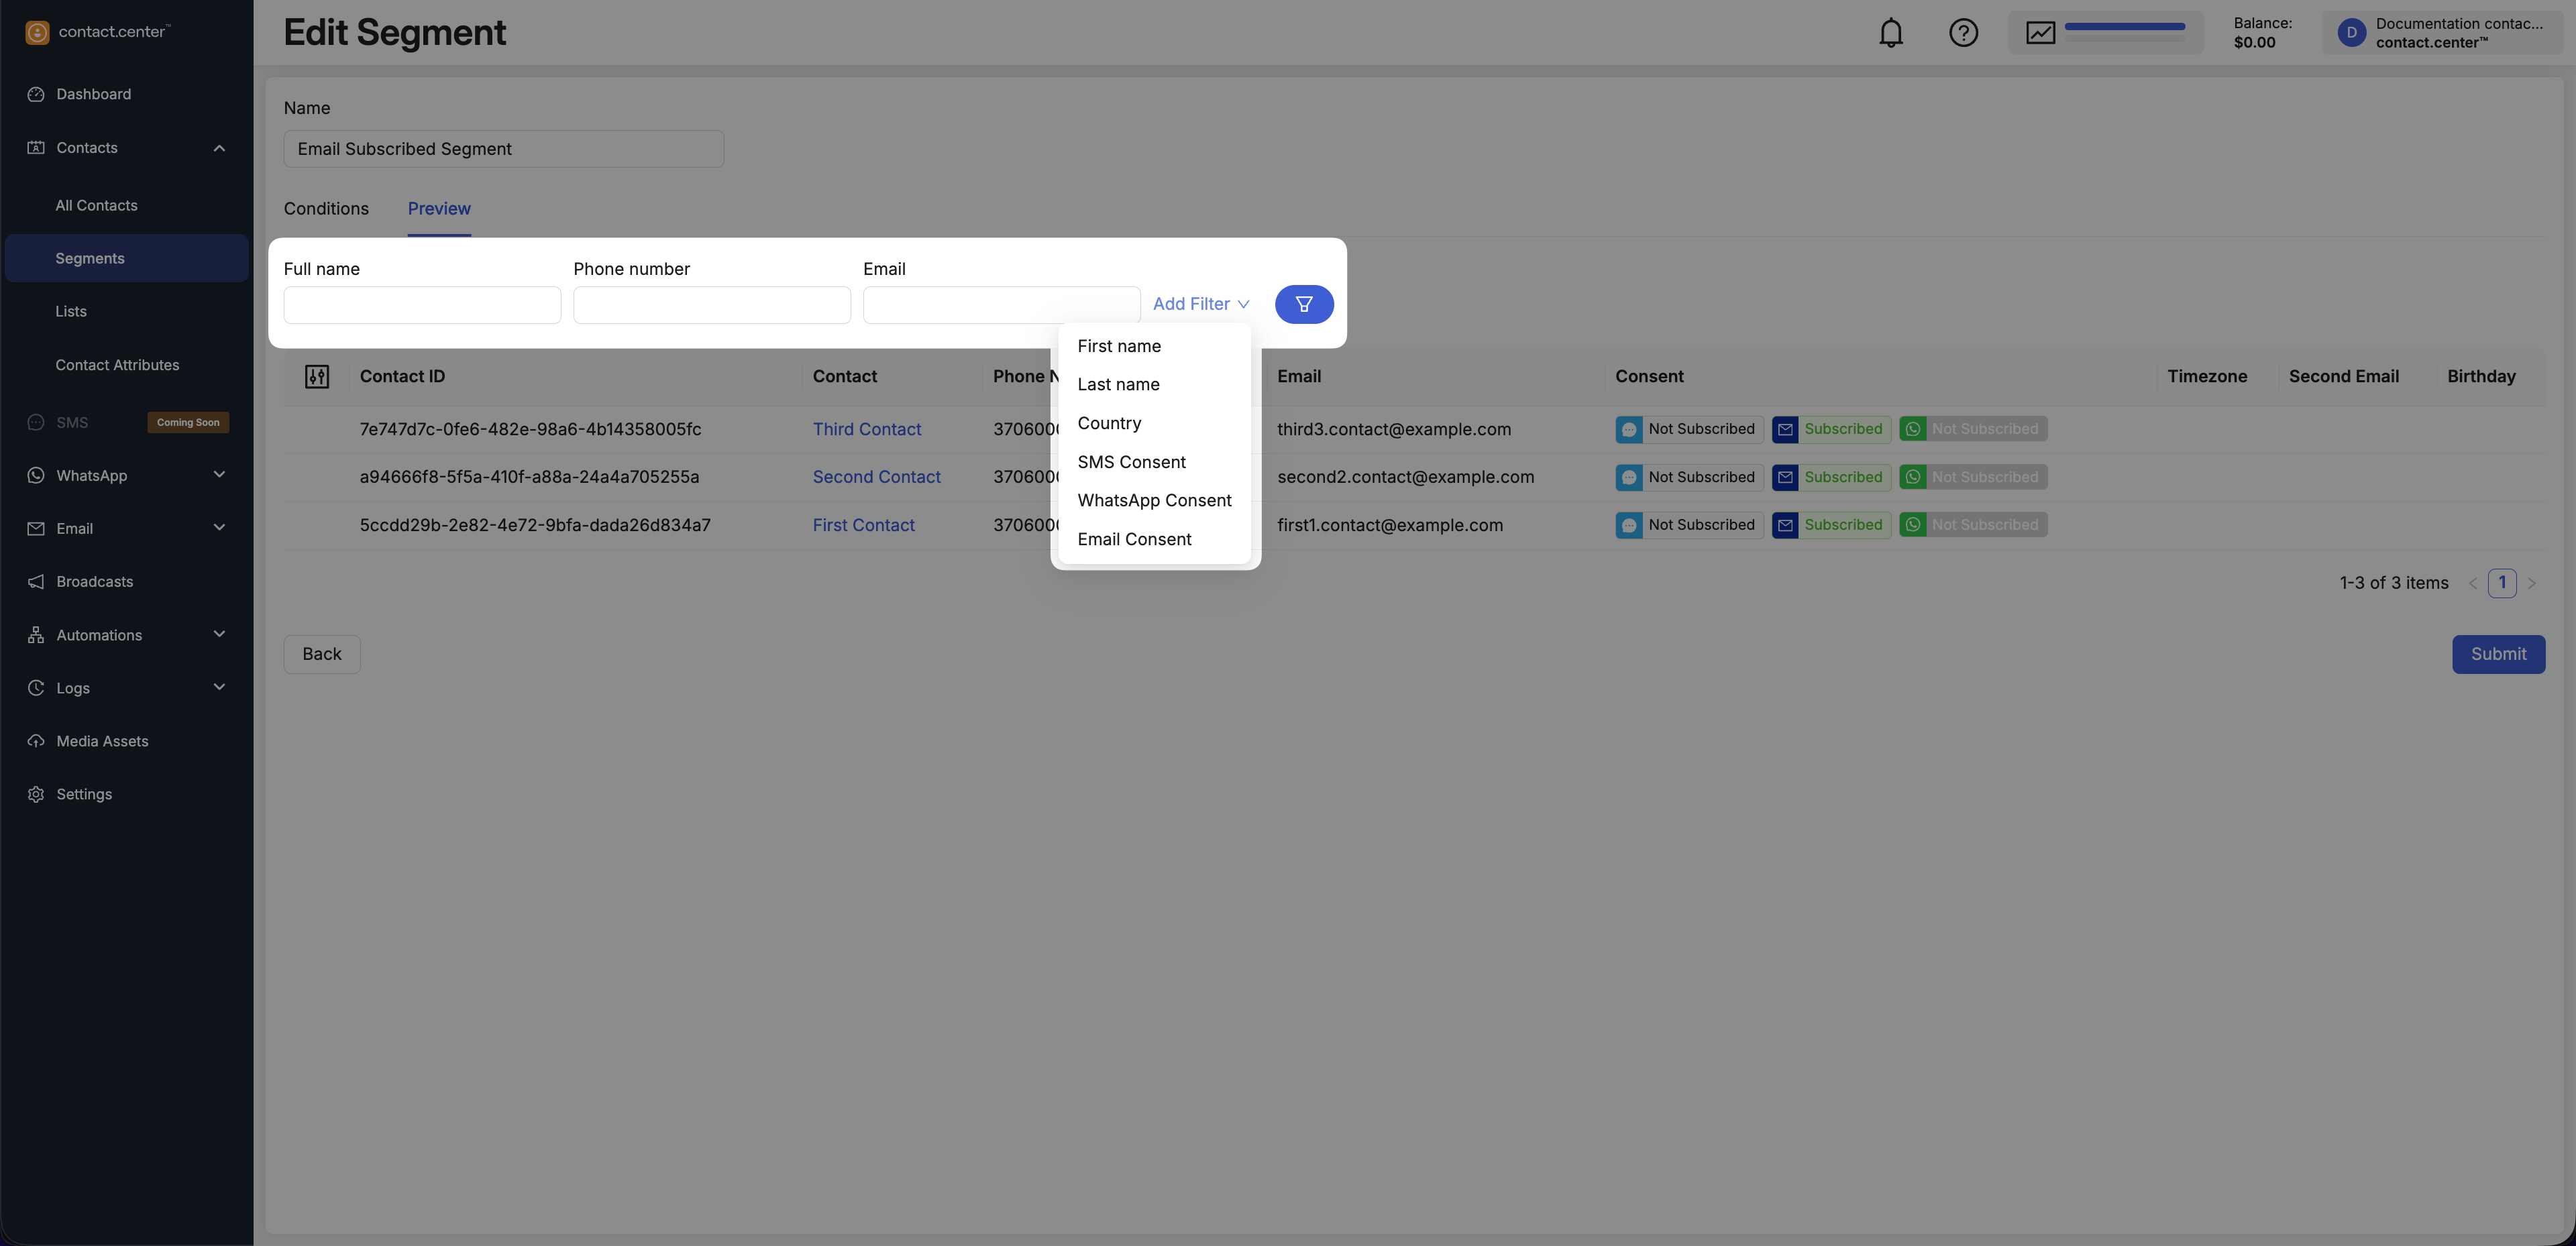
Fig. 17. Add a filter in Segment Preview.
Available Filters
The following filters are available for use. This includes both default filters and filters added via Add Filter.
Filter |
Description |
|---|---|
Full name |
Filters contacts by full name. |
Phone number |
Filters contacts by phone number. |
Filters contacts by email address. |
|
First name |
Filters contacts by first name. |
Last name |
Filters contacts by last name. |
Country |
Filters contacts by country. |
SMS Consent |
Filters contacts by SMS subscription status. |
WhatsApp Consent |
Filters contacts by WhatsApp subscription status. |
Email Consent |
Filters contacts by email subscription status. |
Note
The list of available filters is based on contact attributes defined in your workspace. To make additional attributes available for filtering, create them in Contact Attributes.
Customize Visible Columns
You can choose which columns are shown in the preview table.
Click the Customize columns icon on the left side of the table.
Toggle columns on or off.
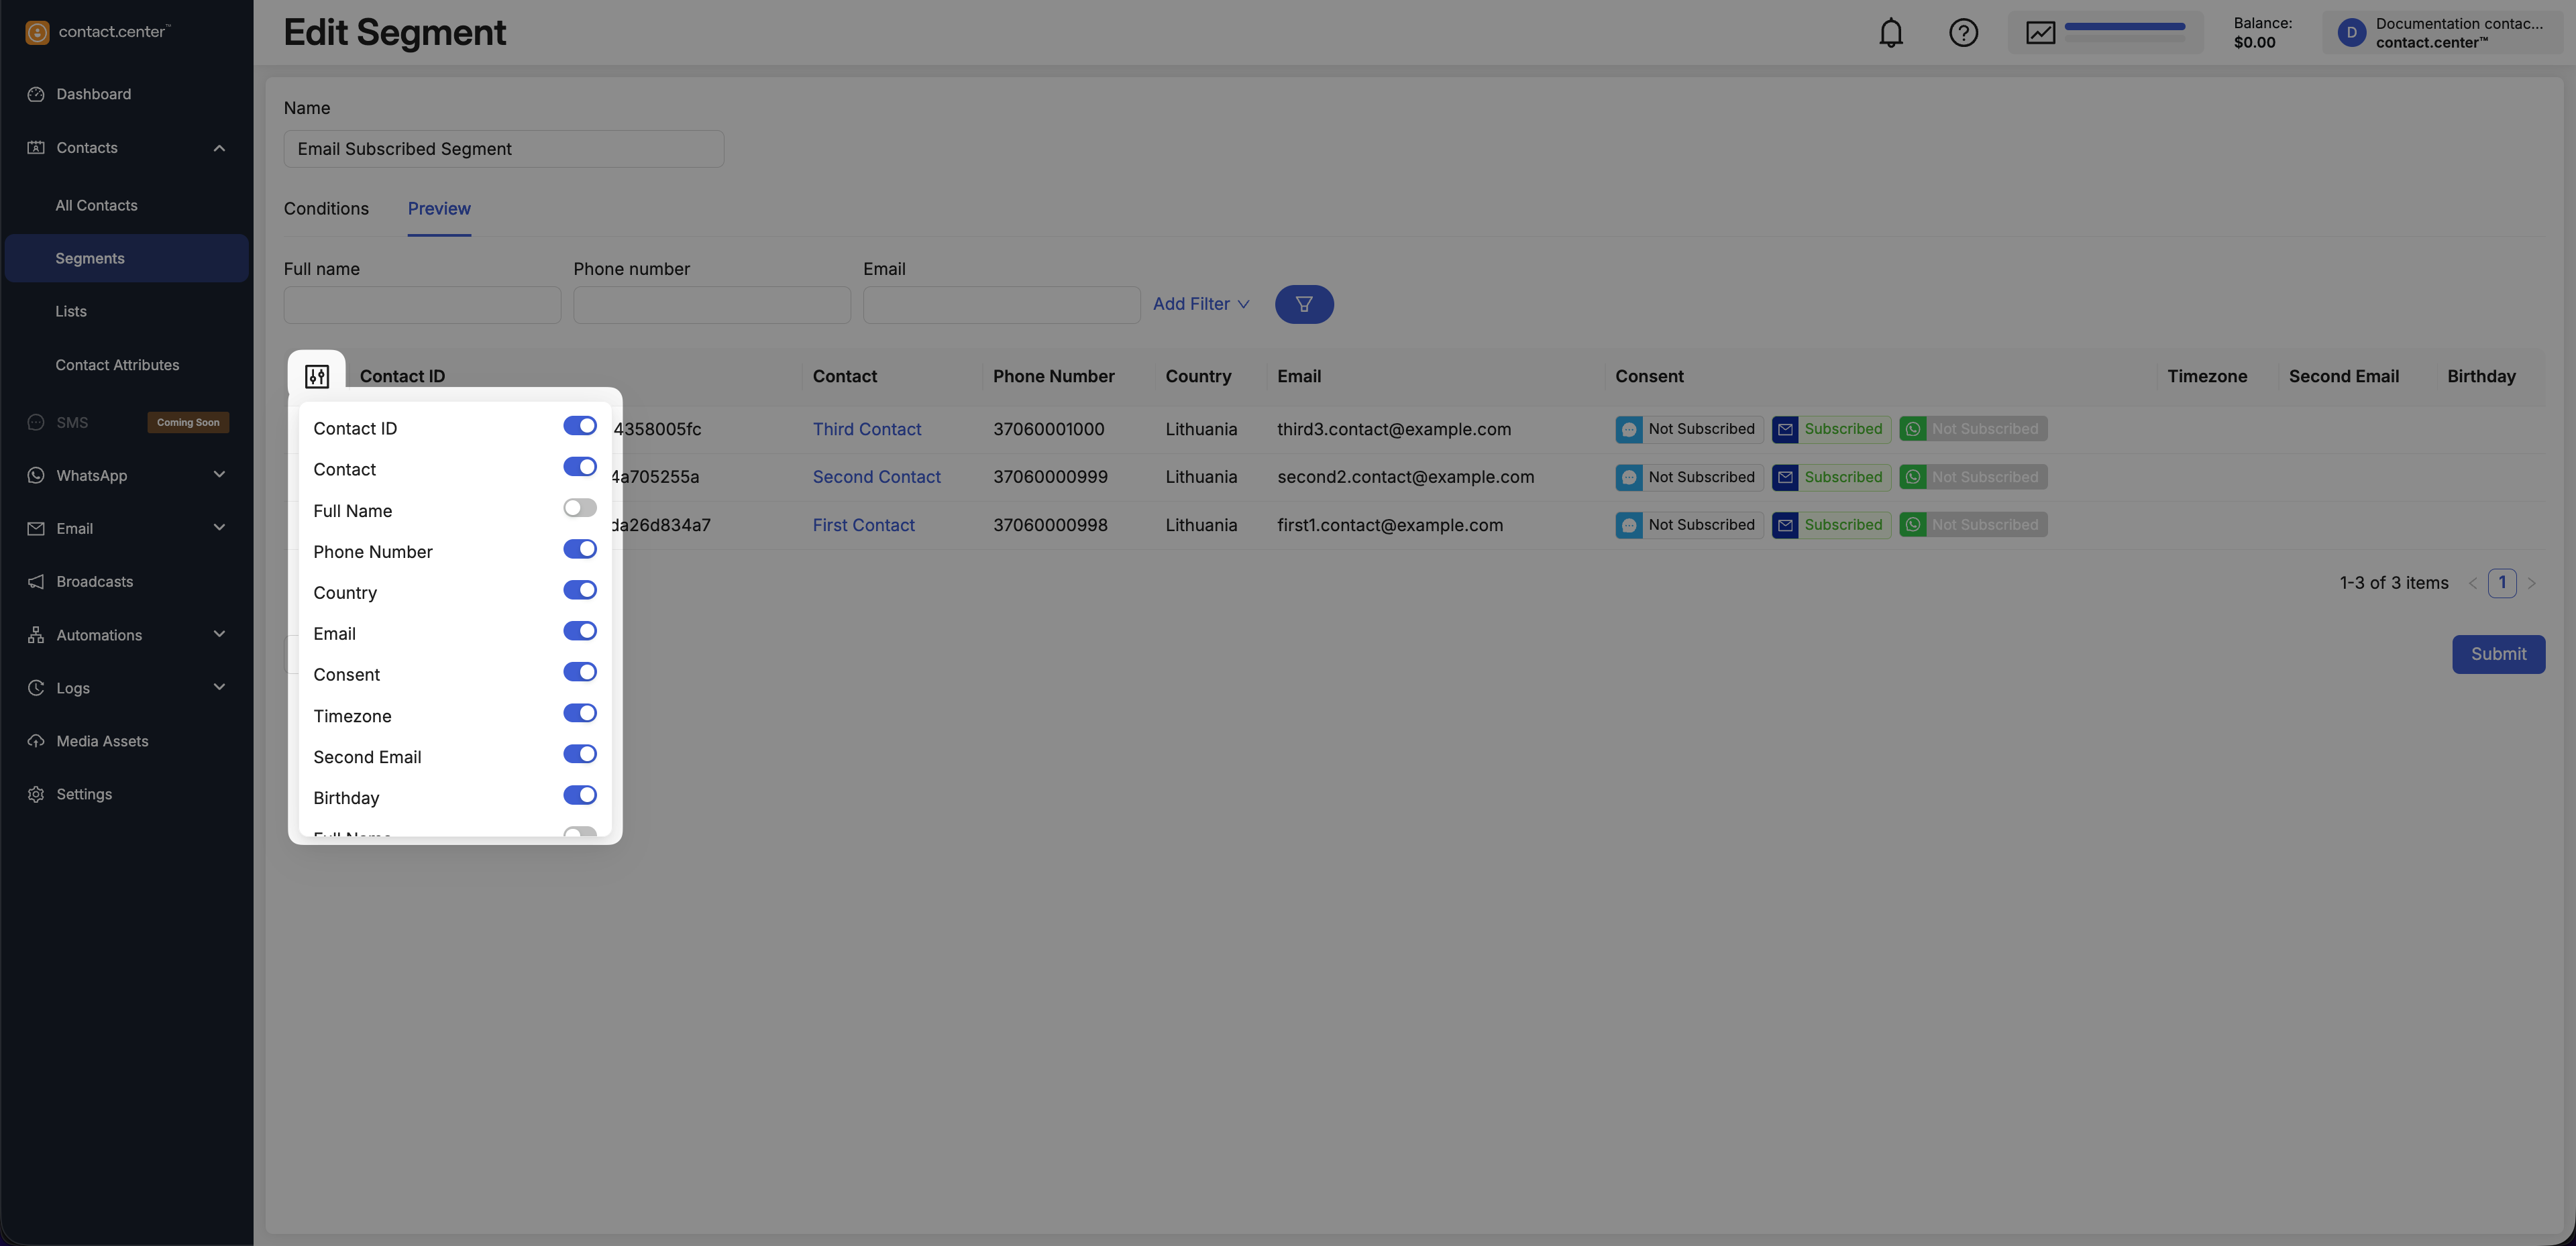
Fig. 18. Customize visible columns in Segment Preview.
Delete Contact Segment
Deleting a segment permanently removes the segment definition, but does not delete any contacts.
Warning
Before deleting a segment, make sure it is not used by any active or scheduled broadcasts or automations.
Go to Contacts → Segments.
Locate the segment you want to delete.
Click Delete in the actions menu.
Fig. 19. Segment actions menu.
In the Delete segment window, click Delete to confirm the action.
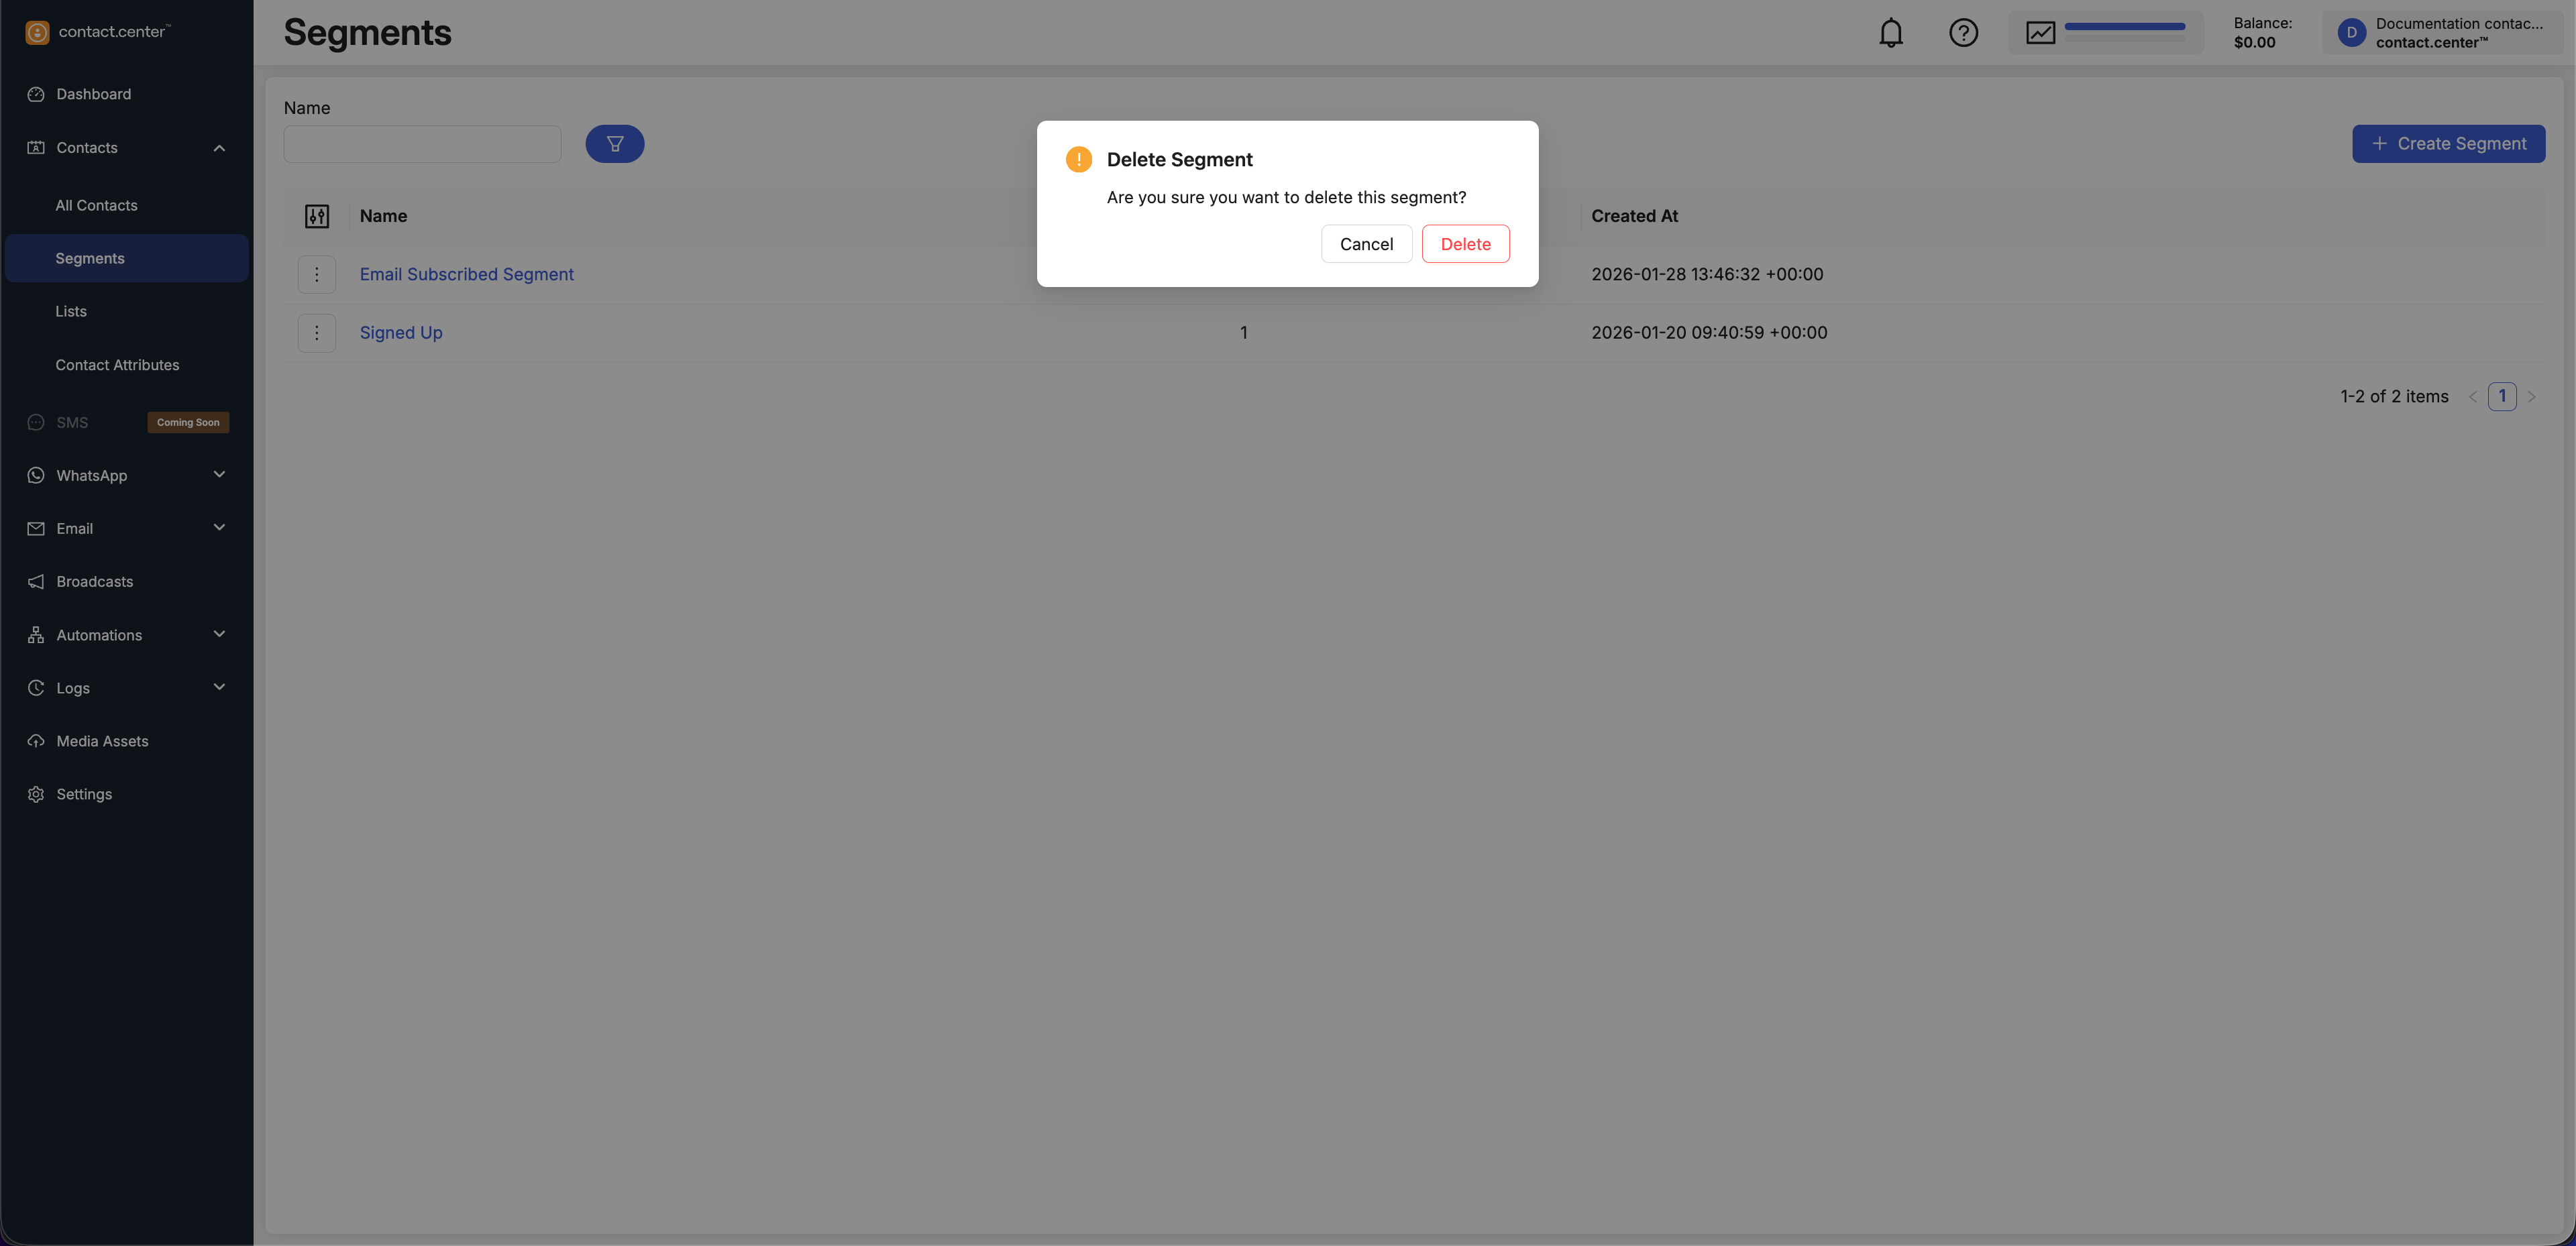
Fig. 20. Delete segment confirmation window.